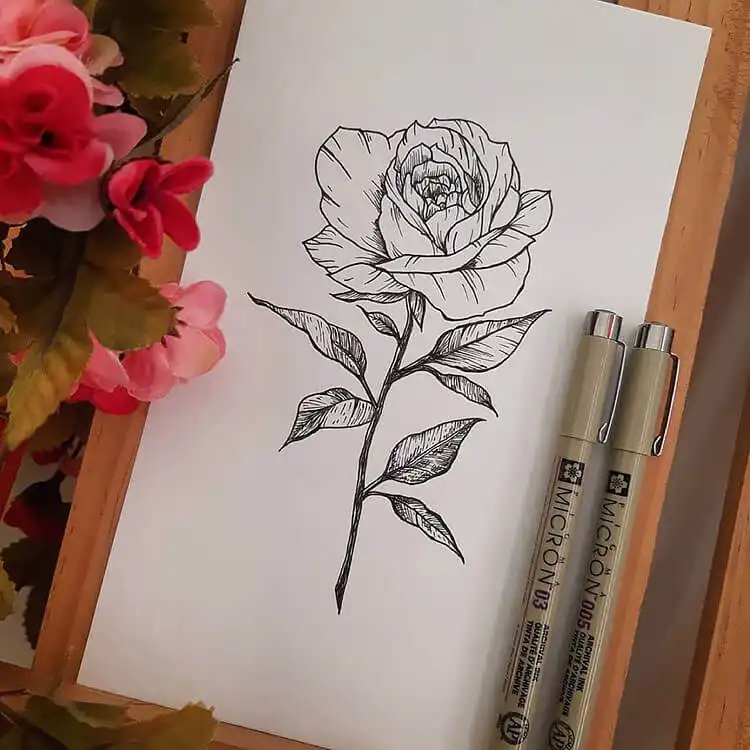
Mastering the Art of Drawing Roses: Easy Flower Drawing Ideas
Embark on a captivating artistic journey to master the delicate beauty of roses. This comprehensive guide, “How to Draw Roses – Flower Drawing Ideas,” provides aspiring artists with easy-to-follow tutorials and inspiring techniques to bring these iconic flowers to life on paper. Whether you’re a beginner or looking to refine your skills, you’ll discover a variety of approaches to drawing stunning roses.
From simple three-step sketches to detailed realistic renderings, we’ll explore foundational shapes, shading techniques, and even explore adding vibrant colors with different mediums. Get ready to unleash your creativity and transform your sketchbook into a garden of exquisite blooms. Consider exploring more 15 Acrylic Canvas Painting Ideas for Beginners – Flowers to expand your botanical art.
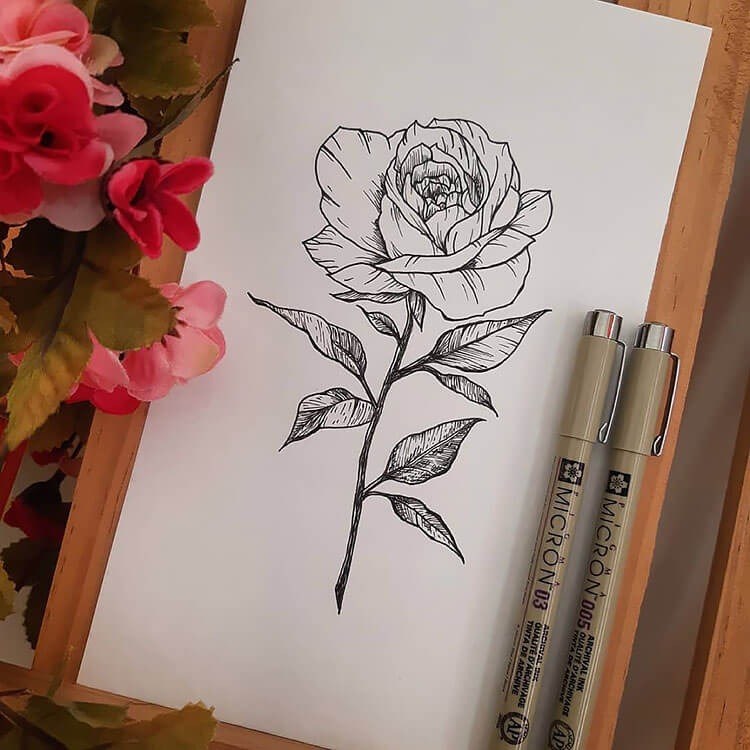
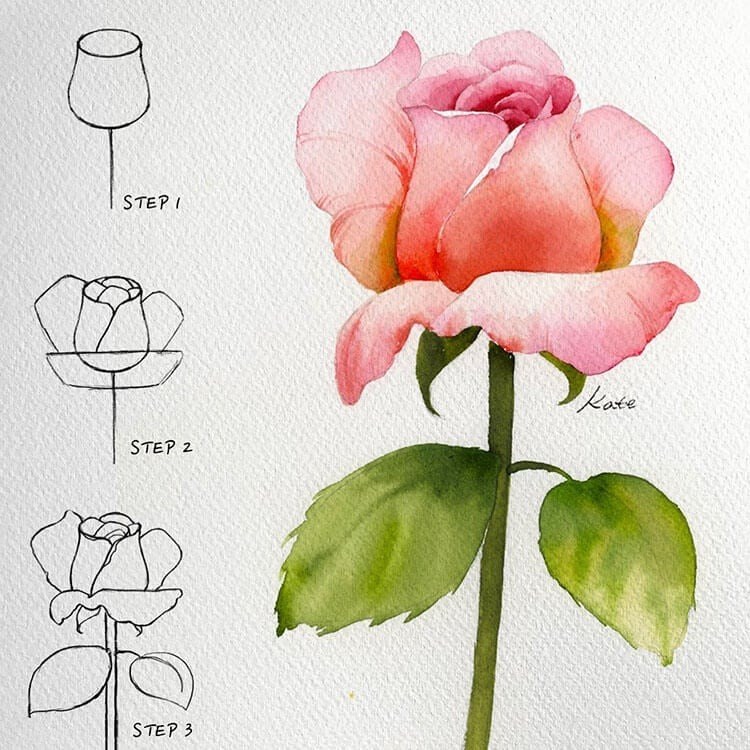
Yes, You Can Draw a Rose in Three Steps
Discover the surprising simplicity of drawing a rose in just three easy steps, perfect for quick sketches and foundational understanding. This method breaks down the complex appearance of a rose into manageable, intuitive strokes, proving that stunning results are within reach for everyone. It’s an excellent starting point for building confidence in botanical illustration.
The tutorial style emphasizes fluidity and basic forms, making it ideal for those new to drawing or seeking a rapid approach. For further inspiration in this elegant style, look to the works of artists like Kate Kyehyun Park, renowned for her beautiful botanical watercolor art, whose approach often simplifies natural forms with grace.
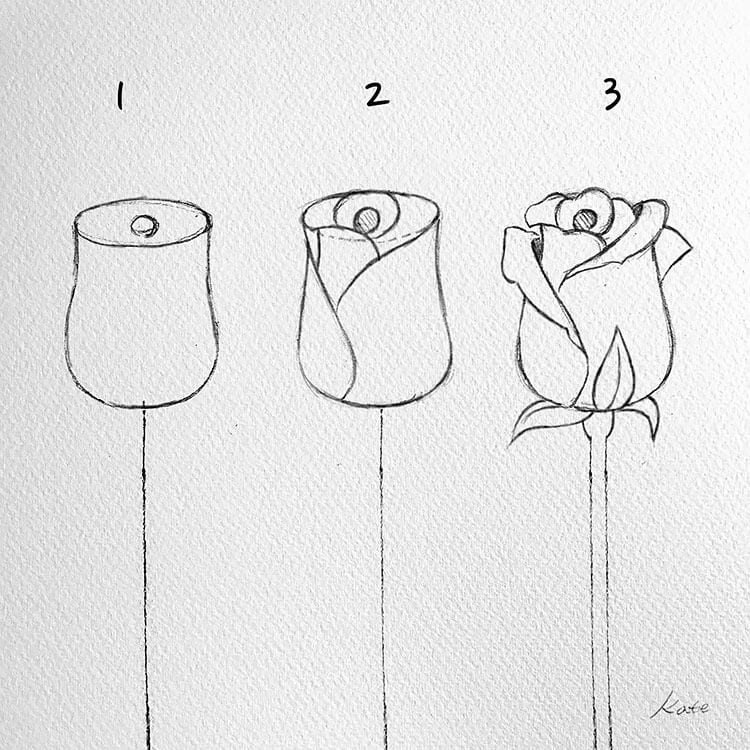
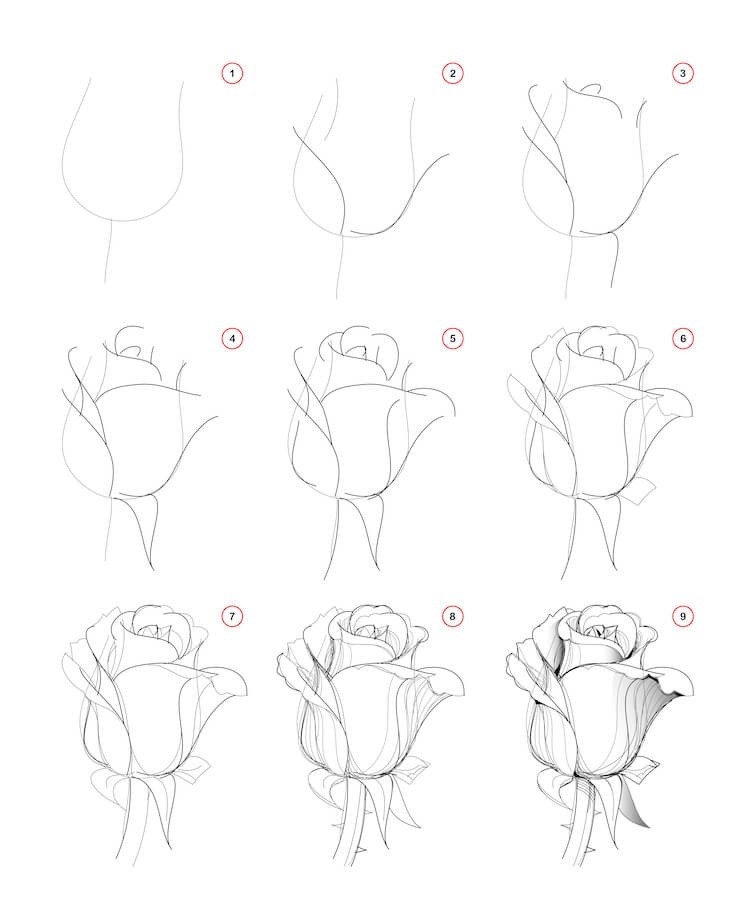
How to Draw a Rose in Nine Steps
Delve into a more detailed process for creating a realistic rose drawing, meticulously broken down into nine progressive steps. This tutorial guides you through each stage, from initial structural outlines to intricate petal formations, ensuring a comprehensive understanding of rose anatomy. The focus here is on precision and building complexity gradually.
A key tip for achieving lifelike petals is to maintain a loose hand while sketching, allowing for organic and natural curves rather than rigid lines. This approach helps capture the soft, flowing nature of rose petals, contributing significantly to a more authentic and visually appealing final piece. Practice this technique to enhance your expressive drawing skills.
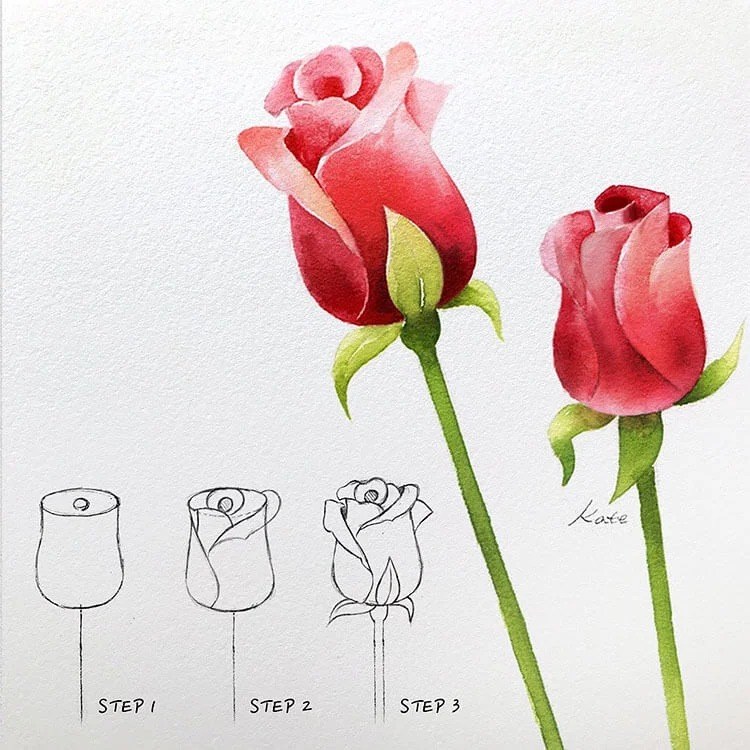
How to Easily Sketch a Rose
Uncover another fantastic method for sketching roses, designed to be both accessible and versatile. This approach not only teaches the fundamental drawing techniques but also seamlessly transitions into adding color. Breaking down sketches into simple, digestible steps significantly eases the artistic process, making it enjoyable and less daunting for all skill levels.
Once your sketch is complete, you have a wealth of options for bringing it to vibrant life. Consider using Watercolor Sky Painting Ideas – Night Sky to apply watercolor paint for a soft, ethereal look, or explore colored pencils for precise detail. Gouache paint, markers, or even acrylic paint can also be utilized to add depth and personality to your floral masterpiece, offering endless creative possibilities.
Why I Like to Use Drawing References
Embracing drawing references is a powerful tool for artistic growth and skill enhancement. By observing how other artists interpret a subject, you can gain fresh perspectives and invaluable insights into various techniques and stylistic choices. References serve as a wellspring of inspiration, fueling new ideas for your own unique creations.
These crucial resources are readily available in diverse forms, from art books and online galleries to photographs you capture yourself. Actively using references, whether from detailed images or real-life observations, significantly accelerates your learning process and helps improve the accuracy and originality of your artwork, fostering a richer artistic vocabulary.
General Advice on How to Draw Roses
At first glance, the intricate layers of a rose’s petals might seem daunting to reproduce on paper. However, by systematically deconstructing the flower into its core components, the task becomes surprisingly achievable. While drawing roses demands patience and consistent effort, it is far from an impossible feat, even for beginners.
Diligent and regular practice is the cornerstone of developing proficiency in drawing roses. Focus initially on understanding the main elements: observe the number, size, and unique shape of each petal. By breaking down the complex structure into these fundamental parts, you’ll steadily build confidence and expertise, transforming perceived challenges into rewarding artistic triumphs.
Rose Petals are Arranged Like a Spiral
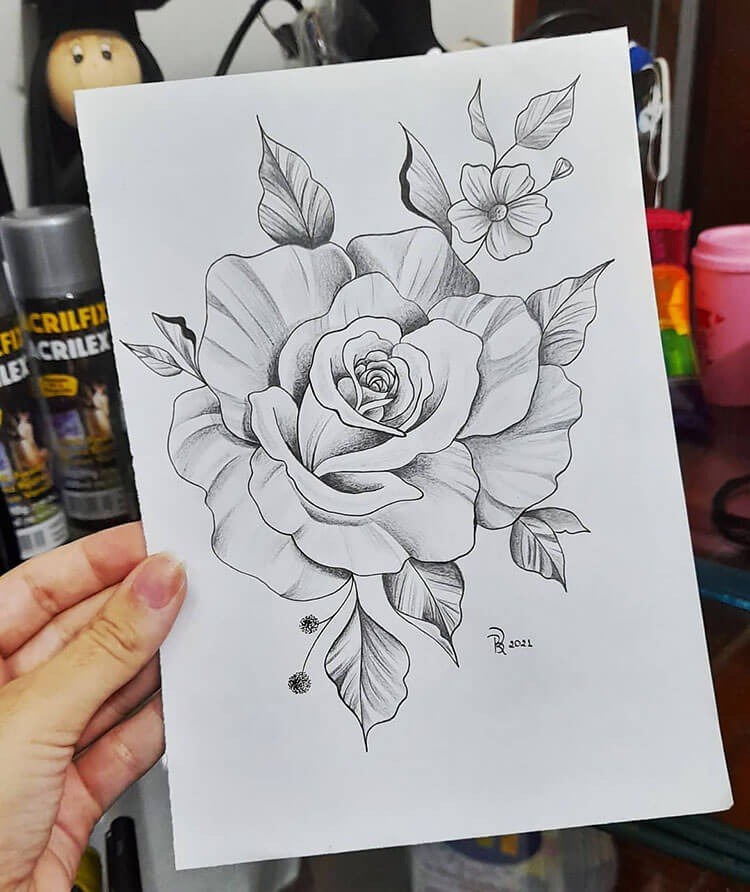
A fundamental observation in drawing roses is the mesmerizing spiral arrangement of their petals. This natural geometric pattern contributes significantly to their iconic elegance and smooth, flowing contours. Paying close attention to this helical structure is crucial for rendering a rose that feels dynamic and authentic on your canvas or sketchbook.
Notice how the outermost petals tend to be larger, gradually diminishing in size as they spiral inward towards the flower’s heart. This distinct progression in petal size and placement creates a sense of depth and natural movement. Replicating this spiral arrangement, even subtly, will elevate the realism and beauty of your rose drawings, capturing their inherent grace.
Start with Just a Few Petals
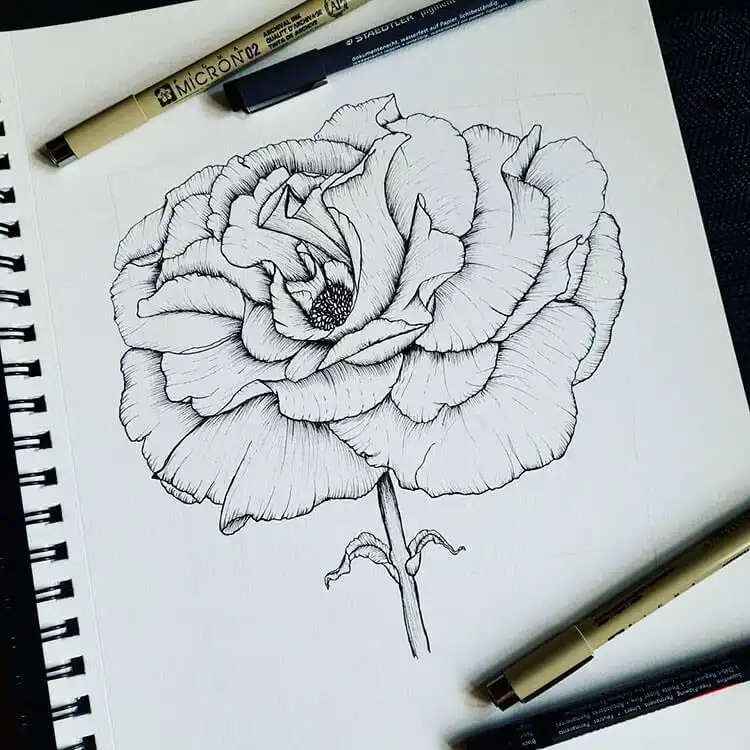
Begin your rose drawing by establishing a simple foundation: two to four petals forming a loose circular shape at the center. This initial core serves as the anchor for the entire flower, dictating its overall direction and proportion. Think of these first petals as the nascent heart of your rose, around which all subsequent layers will unfold organically.
From this starting point, you can progressively add more petals, working both outward to expand the bloom’s circumference and inward to build volume and density. Remember that petals should generally become smaller as you approach the very center. Continue this iterative process, layering petals to create a rich, full, and multidimensional rose that appears to unfurl before the viewer’s eyes.
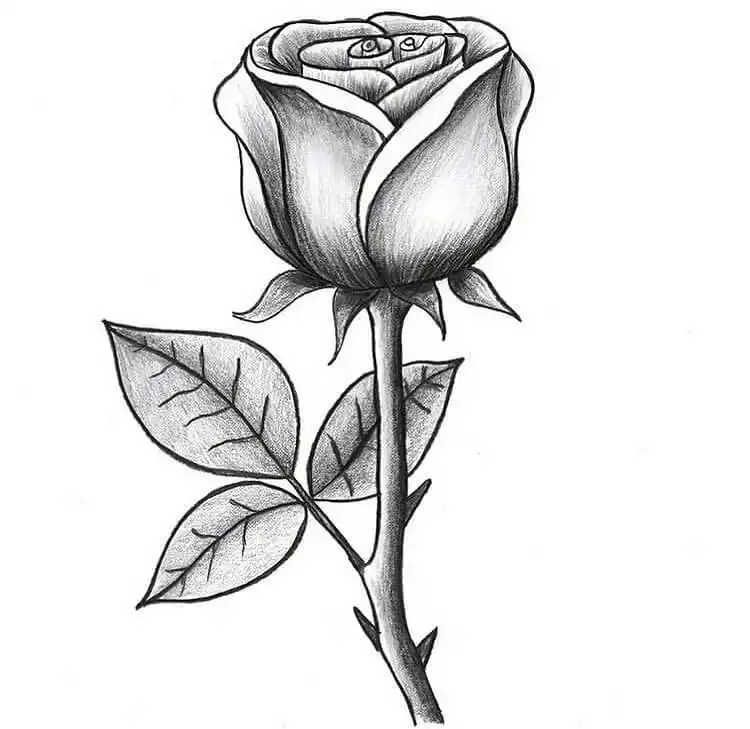
How to Draw a Rose YouTube Tutorials
For those who prefer a dynamic visual learning experience, a wealth of excellent YouTube tutorials offers step-by-step guidance on drawing roses. These video resources provide real-time demonstrations, allowing you to follow along at your own pace and observe techniques in action. They are invaluable for understanding movement and stroke direction.
Explore tutorials like “How to Draw a Rose Easy Art Tutorial for Beginners” for fundamental skills, “How to Draw a Rose In 10 Minutes Step-by-Step Real-Time” for quick practice, and general “How to Draw a Rose” videos for diverse artistic styles. Visual instruction can often clarify nuances that text descriptions might miss, making complex steps more approachable. Consider supplementing with How to Draw Lips Easily – Human Anatomy Drawing Tutorial for varied drawing practice.
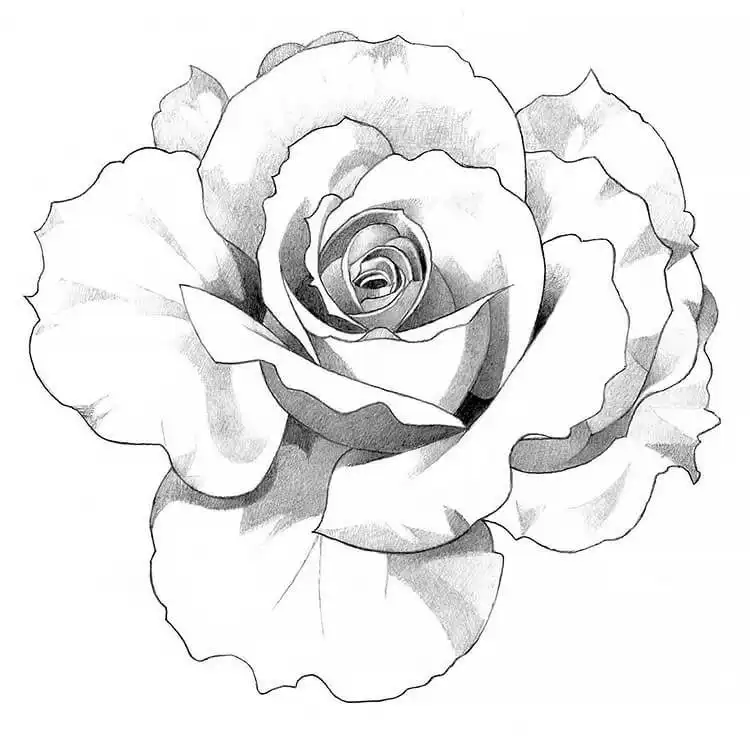
Using Watercolor for Your Rose
Transform your rose drawings with the ethereal beauty of watercolor, a medium known for its soft blends and luminous effects. One simple technique involves beginning with a basic circular shape, then carefully building up petal forms with translucent washes. The key lies in understanding how to layer colors to create depth and delicate shading within the petals.
Advice on blending and adding darker areas is crucial for achieving a realistic watercolor rose, allowing light and shadow to play across the forms. Many artists find dual brush pens exceptionally useful for this, as they effortlessly create beautiful watercolor effects with precision and vibrant color, simplifying the blending process and enhancing artistic flow.
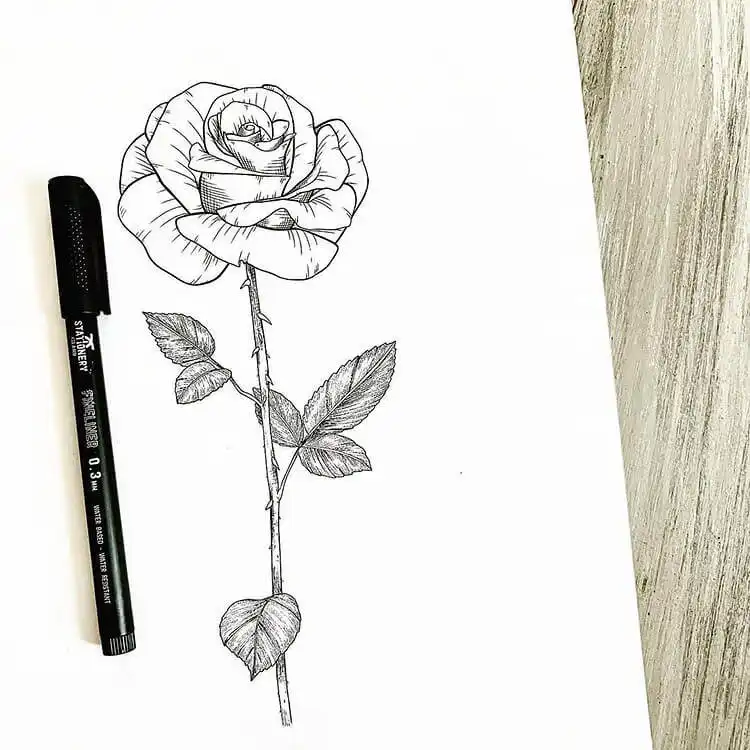
It’s Time to Draw a Rose
Now that you’ve absorbed various techniques and insights, it’s the perfect moment to apply your newfound knowledge to drawing your very own rose. Observe how many detailed tutorials break down the drawing process into simple, sequential actions, making the journey from blank page to finished bloom feel entirely manageable. You’ll realize it’s not as challenging as it appears.
Many guides suggest starting with a simple circle, progressing to round swirls, and then adding structural lines often referred to as “spider-style legs” to define the petal placement. Each step builds upon the last, demystifying the complexity of the rose. Embrace this structured approach, and watch as your drawing skills flourish with each practice session, cultivating beautiful results.
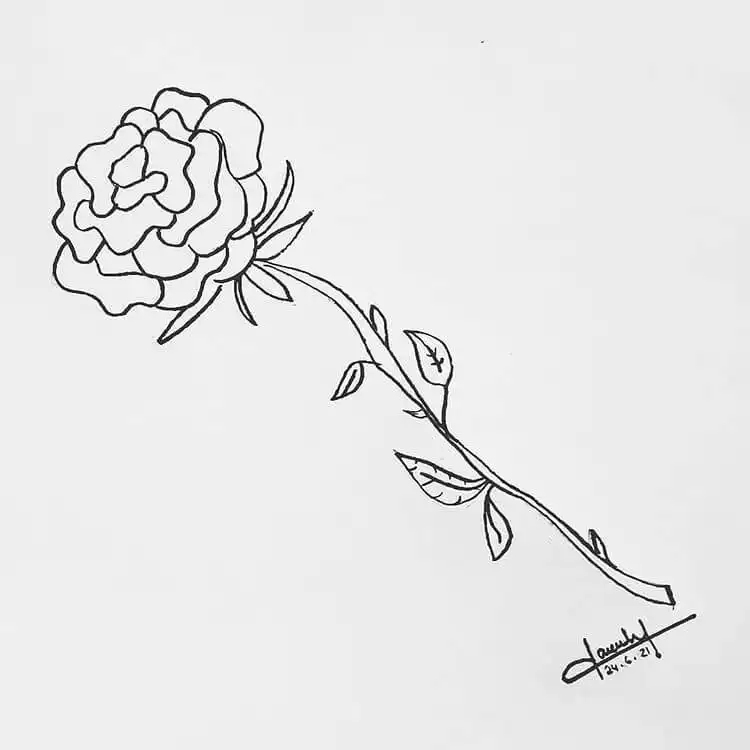
We hope you’ve enjoyed learning how to draw roses and found these ideas inspiring. Don’t forget to save this guide to your Pinterest board for future reference, share it with fellow art enthusiasts, and let us know your favorite rose drawing technique in the comments below!


