This post contains affiliate links. As an Amazon Associate, we earn from qualifying purchases, which helps support this site at no extra cost to you. Shop our Amazon Crocheting Storefront here.
No-Sew Crochet Bass Fish Design – Fun & Easy Pattern
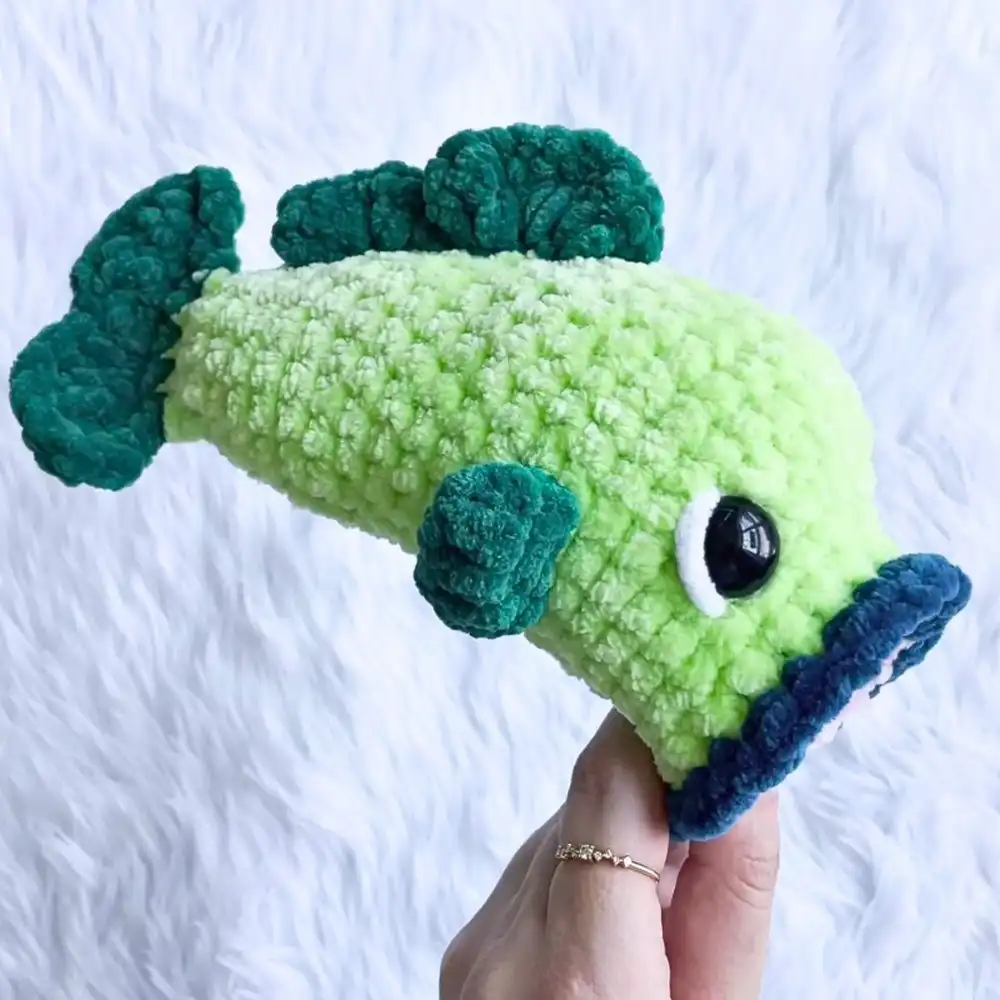
Discover the joy of creating a delightful aquatic friend with this comprehensive No-Sew Crochet Bass Fish Design – Fun & Easy Pattern. Perfect for both beginners and experienced crocheters, this pattern eliminates the need for any post-assembly sewing, making the process smooth and enjoyable. You’ll craft a charming bass fish with beautifully integrated fins, a curved tail, and expressive features, all from a single piece of plush yarn.
This unique technique builds the fins directly into the body as you crochet, ensuring a seamless finish and a sturdy toy. Whether you’re looking for a fun new project, a cheerful nursery decoration, or a handmade gift that truly stands out, this pattern delivers on all fronts. For more quick projects, explore various easy 1-hour crochet projects that bring instant gratification.
Materials & Tools Needed
To embark on this delightful no-sew crochet bass fish adventure, gathering the right materials is key. The specified Premier Parfait Chunky Yarn provides a wonderfully soft, velvety texture that makes the finished fish incredibly cuddly. Using a 5 mm hook ensures your stitches are consistent and results in a plush, firm fabric that holds its shape well.
The chosen color palette—Rose, Key Lime, Peacock, Emerald, and a scrap of white plush yarn—allows for a vibrant, realistic yet playful bass. Ensure your stitch marker is handy to keep track of rounds, especially during shaping, and use quality scissors for clean cuts. The 20 mm safety eyes will give your fish a lively, endearing expression, while polyfill stuffing brings it to life with a satisfying plumpness.
- Crochet Hook: 5 mm hook
- Yarn: Premier Parfait Chunky Yarn in Rose (pink), Key Lime (light green), Peacock (dark green), Emerald (dark teal/blue for lips), White plush yarn (scrap piece for eye detailing)
- Additional Supplies: Scissors, Stitch Marker, Embroidery Needle, 20 mm Safety Eyes, Polyfill Stuffing
Finished Size & Customization Ideas
The beauty of this no-sew crochet bass fish pattern lies in its adaptability and charming finished size. Typically measuring around 4–5 inches long, its exact dimensions can vary slightly based on your yarn weight and personal tension. This makes each fish uniquely yours, a true testament to handmade craftsmanship.
Unleash your creativity with endless customization possibilities. Experiment with bold, contrasting colors for a whimsical fish, or opt for more natural tones for a realistic look. You can also add subtle decorative stitching along the fins or body using embroidery floss, or even try different yarn textures—like a shimmery thread for the fins—to add an extra touch of sparkle and allure. Consider pairing your bass with other amigurumi bee patterns for a diverse collection of stuffed friends.
- Approximate Size: The finished bass fish measures around 4–5 inches long, depending on your yarn weight and tension.
- Customization Ideas: Use different color combinations for a unique look. Add decorative stitching, embroidered patterns, or fins in contrasting colors. Experiment with different yarn textures for varying effects, like using shimmer yarn for the fins.
Pattern Abbreviations & Terminology
Understanding crochet abbreviations and terminology is crucial for successfully following any pattern, and this bass fish design is no exception. This pattern exclusively uses US terminology, which is standard in many English-speaking regions and ensures clarity in instructions. Familiarize yourself with each abbreviation before you begin to avoid confusion and ensure your project turns out perfectly. If you ever find yourself struggling with a stitch, a good Crochet Stitch Dictionary can be an invaluable resource.
A consistent understanding of these terms will streamline your crocheting process, allowing you to focus on the meditative rhythm of stitch creation. Pay close attention to stitch counts after each round to maintain the correct shaping and size for each part of your adorable bass fish.
- MR: Magic Ring
- SC: Single Crochet
- INC: Increase (2 SC in one stitch)
- DEC: Decrease (invisible decrease, single crochet two stitches together)
- HDC: Half Double Crochet
- DC: Double Crochet
- Ch: Chain
- Sl St: Slip Stitch
(Note: Pattern follows US terminology.)
Step-by-Step Detailed Crochet Instructions
This section provides a comprehensive breakdown of the crochet pattern, guiding you through each part of creating your no-sew bass fish. Follow these detailed instructions carefully, round by round, to construct each component and seamlessly integrate them into the final form. The beauty of this pattern lies in how each piece flows into the next without the need for separate sewing.
Part 1: Fish Mouth
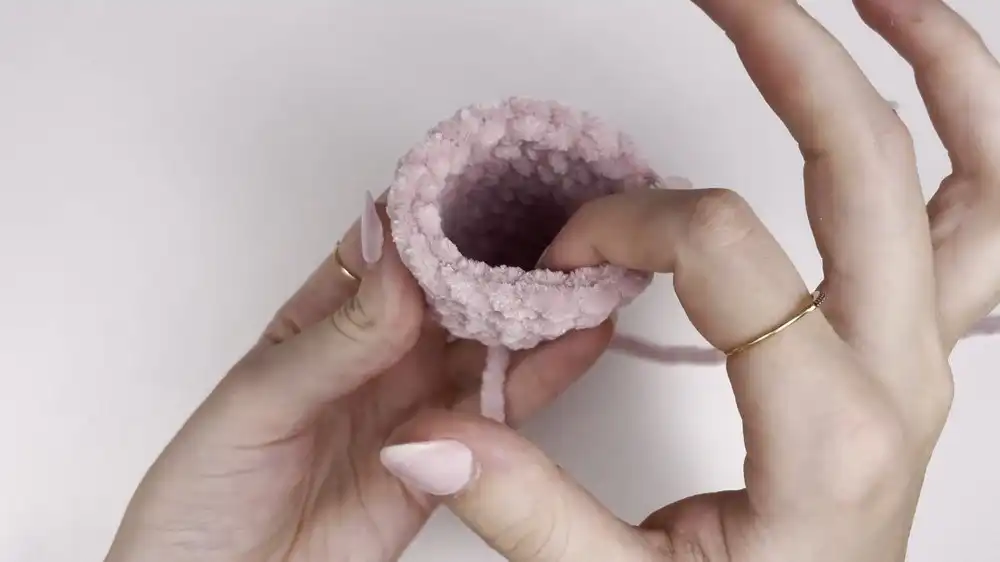
Beginning with the fish’s mouth sets the stage for the entire project, establishing the base for its head and body. The magic ring creates a tight center, preventing any holes, which is ideal for amigurumi. Subsequent rounds of single crochets and increases gradually shape the mouth, giving it a subtle curve that adds character.
Working into the front loops only in Round 9 creates a distinct ridge, which will later serve as the attachment point for the lips, adding depth and definition. Tying off and flipping the mouth inside out ensures a clean finish and prepares the piece for seamless attachment to the body foundation.
- Round 1: Work 6 SC into a magic ring. Place a marker in the last stitch.
- Round 2: Work 6 INC all the way around (12 SC).
- Round 3: Alternate 1 SC, 1 INC (repeat x6) for 18 SC.
- Rounds 4–8: Work 18 SC for 5 rounds. (Total: 90 SC)
- Round 9: Work 18 SC into the front loops only.
- Finishing: Sl St into the next stitch and tie off. Flip the mouth inside out so the tail of the magic ring sticks outside. Ensure back loops of the last round are visible for attaching.
Part 2: Side Fins
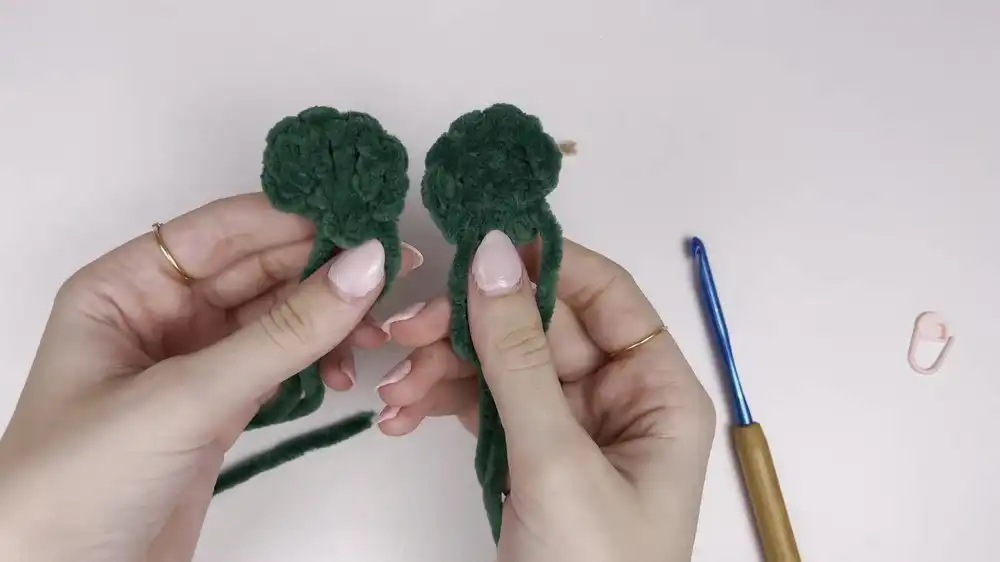
The side fins are crucial for giving your bass fish its characteristic swimming posture and charm. These are worked separately but will be seamlessly incorporated into the body later. Starting with a magic ring ensures a neat, closed base for each fin. The chain-2 and turn create the necessary height for the double crochet stitches.
The unique shaping comes from working four double crochets into a single stitch, creating a fan-like structure that mimics a natural fin. Finishing with a chain and slip stitch secures the shape, and leaving no tail simplifies the attachment process as you won’t need to weave in an extra end. Remember to make two identical fins for symmetry.
- Repeat the instructions below twice to make two fins.
- Round 1: Work 6 SC into a magic ring, then pull it tight.
- Foundation: Chain 2 and turn.
- Row 1: Start in the third stitch from your hook and work 4 DC into one stitch. Chain 2 and Sl St into the last stitch.
- Finishing: Tie off, leaving no tail.
Part 3: Fish Body
The fish body is where the bass truly starts to take shape, building upon the mouth section. Attaching the light green yarn (Key Lime) to the back loops left from the mouth creates a smooth transition and is a core element of the no-sew design. The initial rounds establish the foundational circumference of the body.
Subsequent rounds introduce strategic increases to widen the body, giving it that classic fish silhouette. The critical step of attaching the side fins requires precision: by crocheting through both fin and body stitches simultaneously, you seamlessly integrate them, eliminating any need for sewing. This is where the magic of the no-sew technique truly shines, creating a robust and unified piece.
- Body Foundation:
- With light green yarn (Key Lime), make a slip knot on the hook.
- Attach yarn to one of the back loops left from Round 8 (mouth section).
- Round 1: Work 18 SC into the back loops.
- Round 2: Work 18 SC into the back loops.
- Round 3: Start with 7 SC, then work 3 INC stitches, and finish with 8 SC.
- Round 4: Work 7 SC, then alternate 1 SC, 1 INC (x3), and finish with 8 SC.
- Round 5: Work 7 SC, then alternate 2 SC, 1 INC (x3), and finish with 8 SC.
- Rounds 6–7: Work 27 SC for 2 rounds.
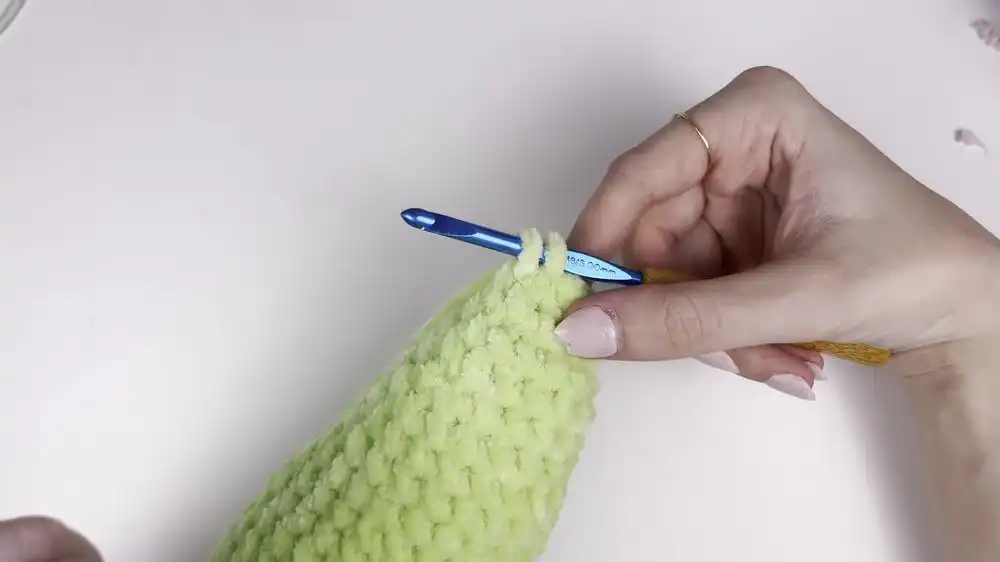
- Attach Side Fins:
- Position the two fins evenly on either side of the fish body, aligning them with the top center increases.
- Crochet through 3 stitches from the fin and 3 stitches on the body sequentially as you attach them.
Part 4: Body Decreases
Once the body’s widest point is achieved and the fins are securely attached, the focus shifts to gradually decreasing stitches to shape the tail end of the bass. This section is crucial for achieving the classic fish taper. The consistent pattern of decreases in each round steadily narrows the body, creating a natural flow towards where the tail will form.
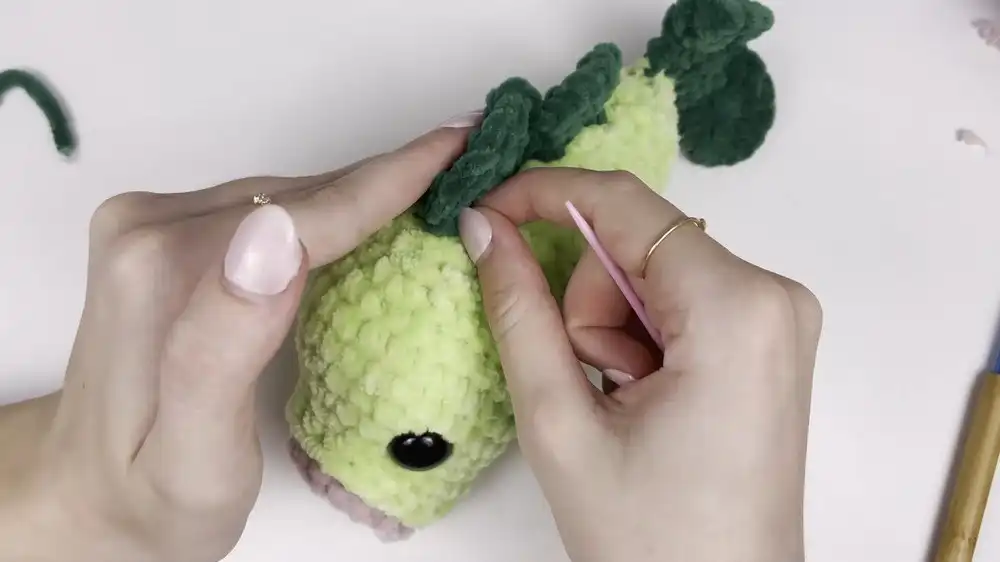
It’s important to add polyfill stuffing incrementally during these rounds. Stuffing as you go allows you to properly shape the fish, ensuring it’s firm but still squeezable, and prevents any awkward bulges or flat spots. Distribute the stuffing evenly, especially around the areas where decreases are happening, to maintain a smooth and appealing contour.
- Rounds 8–15: Gradually decrease 1 stitch each round using the following pattern:
- Round 8: 12 SC, 1 DEC, 13 SC
- Round 9: 11 SC, 1 DEC, 12 SC
- Continue decreasing until Round 15 with 4 SC, 1 DEC patterns.
- Add stuffing incrementally to shape the body.
Part 5: Fish Tail
The fish tail is the dynamic finishing touch that gives the bass its characteristic swimming motion. After the body decreases, closing the final stitches vertically by slip stitching through both sides forms a neat tail base. This unique closure creates a narrow, solid foundation from which the tail fin will emerge.
The subsequent rows build out the tail, starting with increases to create width, followed by single crochets for height. Row 3, with its alternating double crochets and decreases, cleverly forms the distinctive “bumps” or lobes of the tail fin, giving it a realistic and playful appearance. Finishing with a slip stitch, tying off, and weaving in ends ensures a clean, professional look for this eye-catching feature.
- Round 1: Once the stitch count decreases to 4 SC, Sl St through both sides to close vertically (forming the tail base).
- Tail Section:
- Row 1: Chain 1 and turn. Work 4 INC stitches (8 SC total).
- Row 2: Chain 1 and turn. Work 8 SC across.
- Row 3: Chain 2. Alternate 3 DC, DEC, 3 DC to shape bumps for the tail fin.
- Slip stitch to finish, tie off, and weave in ends.
Part 6: Top Fin
The top fin, also known as the dorsal fin, is a key anatomical feature of the bass that adds another layer of realism and charm. This fin is created using surface crochet, a technique that allows you to add details directly onto the fabric without sewing. Locating the back centerline and counting down three rows provides the perfect placement for this element.
Working surface crochet along seven single crochet stitches creates the base for the fin. The subsequent creation of bumps using half double crochet and double crochet clusters, similar to the tail process, gives the fin its distinct shape and texture. This method ensures the fin is firmly attached and seamlessly integrated with the body, maintaining the no-sew integrity of the overall design.
- Locate the back centerline. Count down 3 rows from the top increases.
- Work surface crochet along 7 SC stitches.
- Create bumps using HDC clusters and finishing with DC clusters (similar to the tail process).
Part 7: Add Details
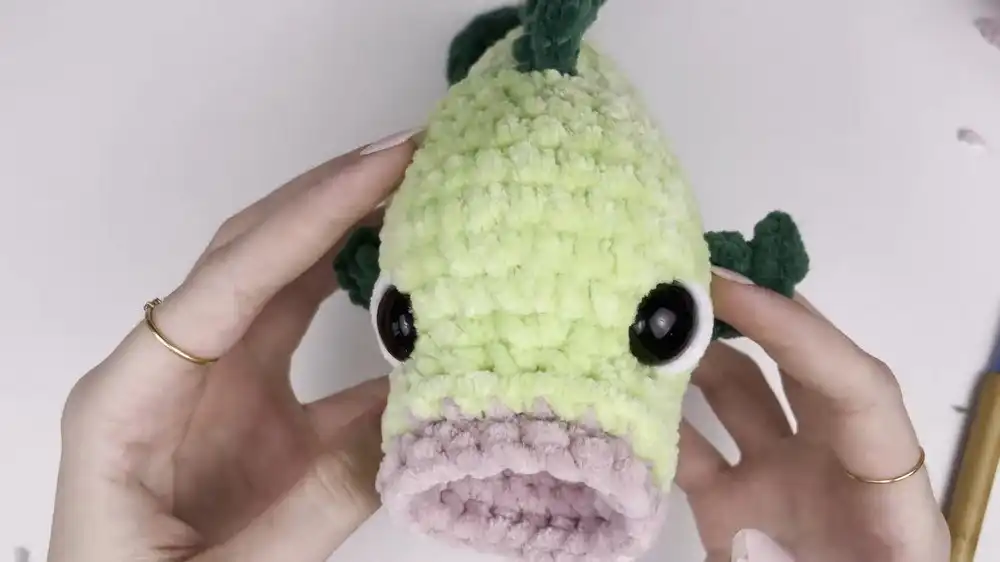
Adding the final details is where your crochet bass fish truly comes to life, gaining its unique personality and charm. Proper placement of the safety eyes is critical for achieving an expressive face; ensure they are centered and evenly spaced between Rounds 13 and 14, about 8 stitches apart. This positioning gives your fish an alert and friendly gaze.
The white eye detail, created with scrap white yarn and an embroidery needle, adds a subtle highlight that makes the eyes pop and appear more realistic. Finally, the lips, crocheted in a contrasting teal/blue yarn around the front loops of the mouth section, provide definition and character. Alternating single crochet and increases for nine rounds creates a full, expressive mouth, completing the irresistible charm of your no-sew bass.
- Safety Eyes: Attach safety eyes between Rounds 13 and 14, ensuring they’re centered with the side fins. Place eyes approx. 8 stitches apart.
- White Eye Detail: Use scrap white yarn to create a curved white outline around the eyes by weaving the embroidery needle through top/bottom sections. Tie off securely.
- Lips: Using teal/blue yarn, attach around the front loops of the green stitches from Round 9 (mouth section). Alternate 1 SC, 1 INC for 9 rounds. Slip stitch to finish and weave in ends.
Finishing Touches
The final steps are all about refining your beautiful no-sew crochet bass fish to perfection. Take your time to tidy up all edges, ensuring every stitch looks neat and intentional. Using your embroidery needle, carefully tuck in all loose yarn ends, weaving them securely into the fabric so they are invisible and won’t unravel over time. This attention to detail gives your handmade item a polished and professional appearance.
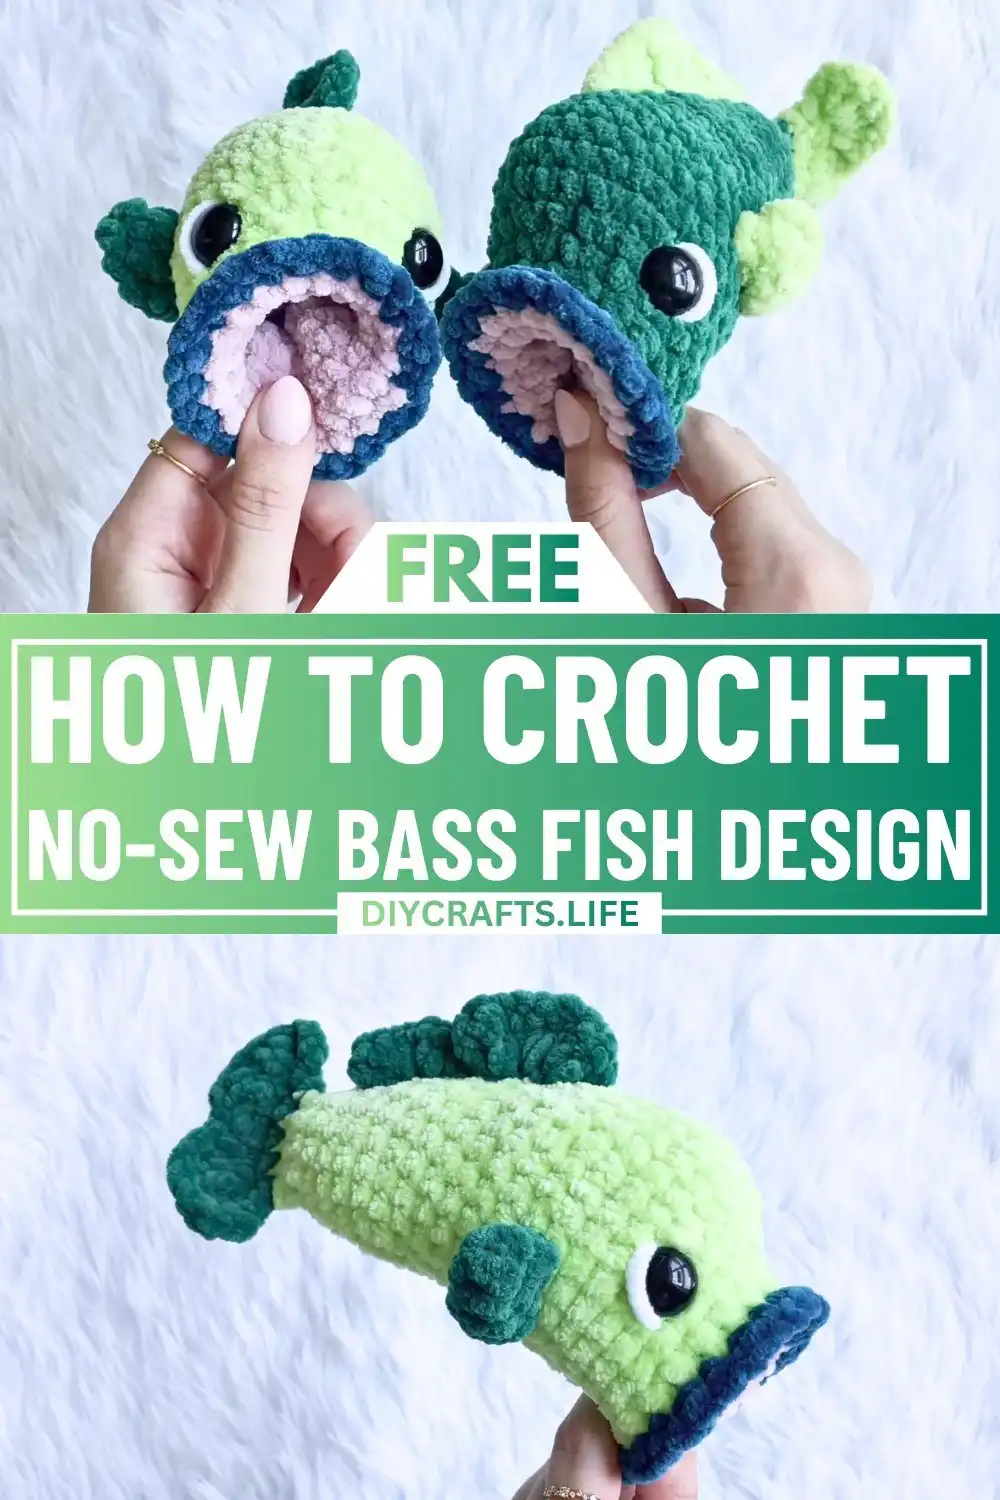
Gently adjust the polyfill stuffing one last time, molding the fish to your desired shape and firmness. Ensure its fins, tail, and body have a pleasing, natural contour. Now, stand back and admire your handiwork—a truly unique, no-sew crochet bass fish that you created with skill and love! This makes a perfect gift, maybe alongside some quick crochet gift ideas.
Additional Tips
To ensure your no-sew crochet bass fish turns out perfectly, consistency is key. Regularly check your stitch counts, especially after increase and decrease rounds, to maintain the intended shaping. Pay close attention to the alignment of fins and safety eyes to ensure symmetry and a balanced appearance. Consistent tension throughout your work will also lead to a more uniform and attractive finished product.
Beyond creating a single bass, consider expanding your aquatic collection! Pair your delightful bass fish with other crocheted aquatic animals, such as playful frogs, graceful turtles, or even charming lily pads, to create a fun and cohesive summer-themed set. Imagine a nursery mobile or a decorative centerpiece featuring a whole school of these adorable creatures. You can explore adorable crochet turtle patterns to find more inspiration for your aquatic amigurumi collection.
More Free Crochet Patterns
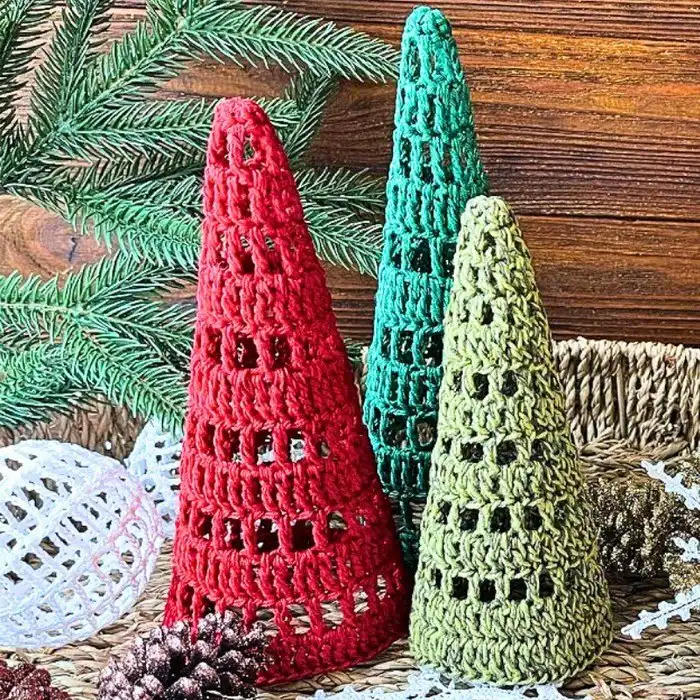
Easy Crochet Christmas Tree Pattern with Starch Stiffening
Create enchanting holiday decor with this easy crochet Christmas tree pattern. Designed for crafters of all levels, this pattern yields a charming tree that can be stiffened with starch for a rigid, stand-alone display. Perfect for mantelpieces, festive tabletops, or as unique ornaments, it adds a touch of handmade warmth to your seasonal celebrations. To embark on more creative projects, consider a complete crochet kit with yarn and tools.
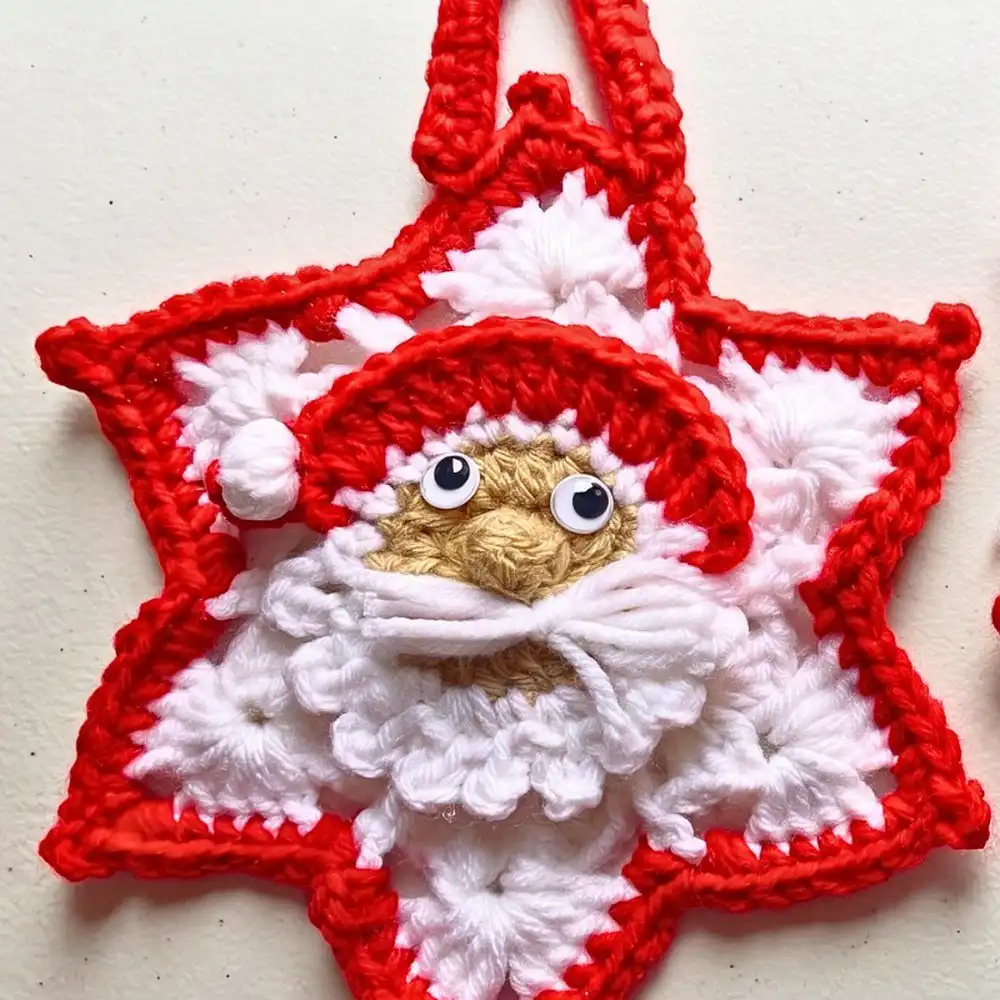
Crochet Santa Star Ornament For Festive Décor
Brighten your tree with a delightful crochet Santa Star ornament! This festive pattern combines the classic star shape with Santa’s iconic features, bringing a whimsical touch to your holiday decorations. It’s a quick and enjoyable project, perfect for gifting or adding a handmade charm to your own festive display.
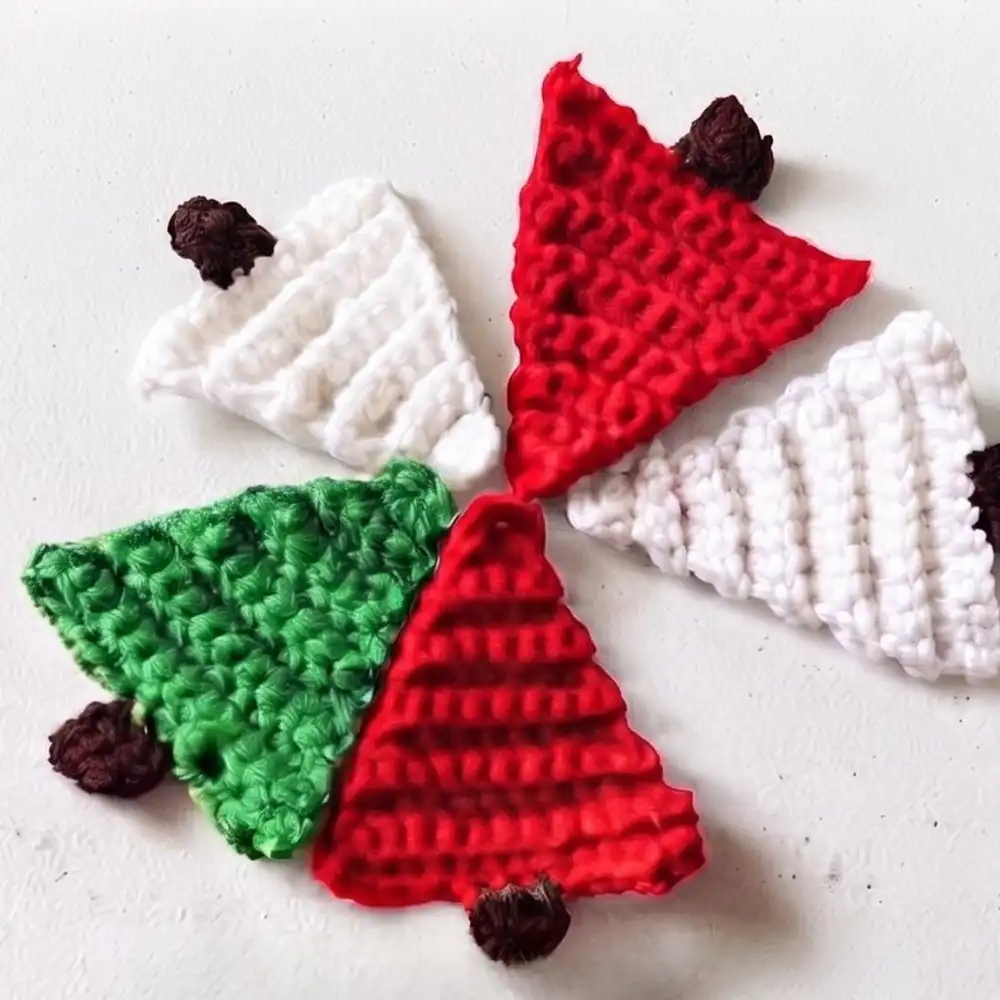
Crochet Hanging Christmas Tree Decoration Pattern Free
Craft beautiful hanging Christmas tree decorations with this free and easy pattern. These delicate ornaments are perfect for adorning your tree, garlands, or even as festive gift toppers. Simple to make, they offer a wonderful way to personalize your holiday decor with charming, handmade touches that can be treasured for years.
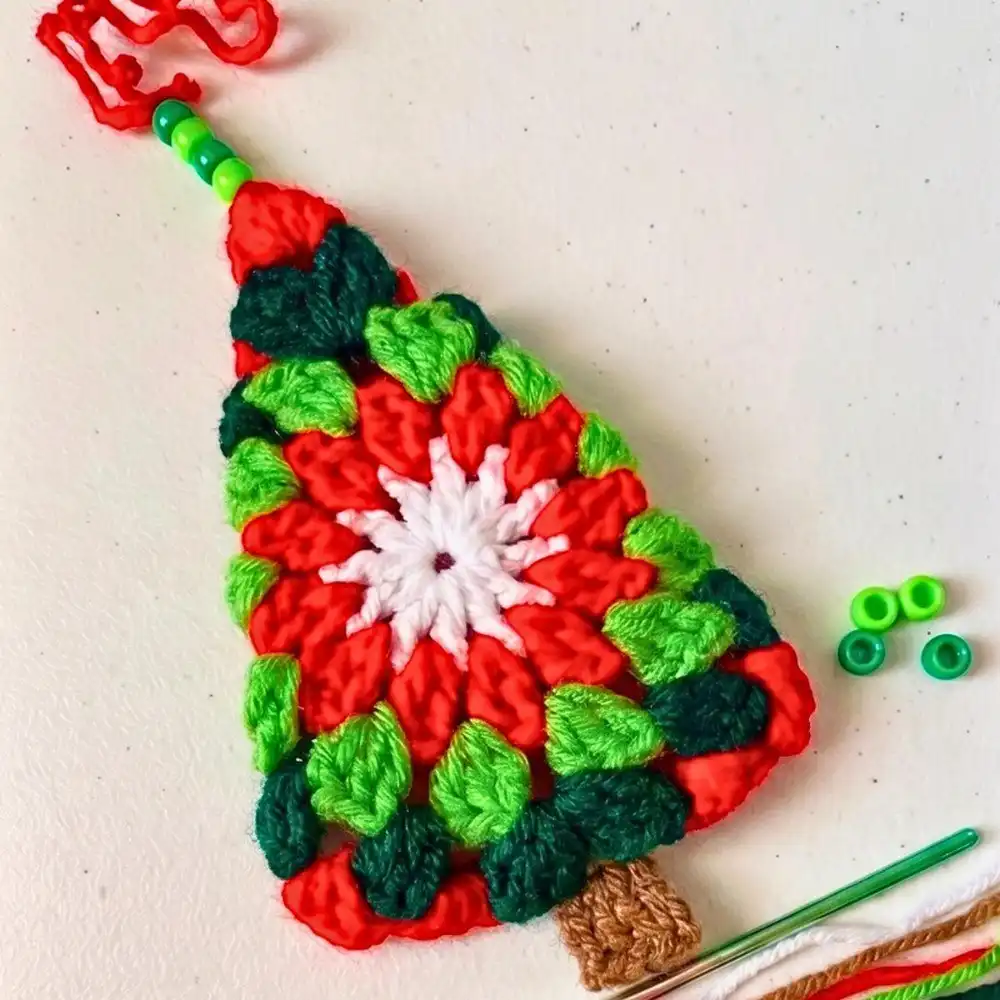
Crochet Christmas Tree Pattern For The Best Decoration
Discover a versatile crochet Christmas tree pattern that promises to be the star of your holiday decor. This design allows for customization, from yarn choice to embellishments, making each tree uniquely yours. Whether used as a centerpiece, part of a winter village, or a collection of varying sizes, it’s a must-make for festive crafting.
We hope you enjoyed crafting this adorable No-Sew Crochet Bass Fish! Don’t forget to save this pattern to your Pinterest board so you can easily find it for your next project. Share your finished fish with us in the comments below or tag us on social media—we’d love to see your creations!


