Craft a Charming Crochet Coaster with Pot Pattern: Puff Flower Design
Brighten your home and elevate your decor with a unique crochet home accessory. This delightful project combines the beauty of a puff flower with the practicality of a coaster and a matching pot, creating a cohesive and charming set. It’s perfect for adding a touch of handmade warmth to any room or as a thoughtful gift. To ensure you have all the crochet tools needed to craft such a stylish and meaningful accessory, start with a good kit.
Learn to create your very own Crochet Coaster with Pot Pattern that serves as a beautiful accent for your teapots, coffee mugs, or small planters. This pattern offers a fantastic opportunity to explore decorative crochet techniques and personalize your space with vibrant, handcrafted details. Get ready to transform yarn into a lovely, functional art piece.
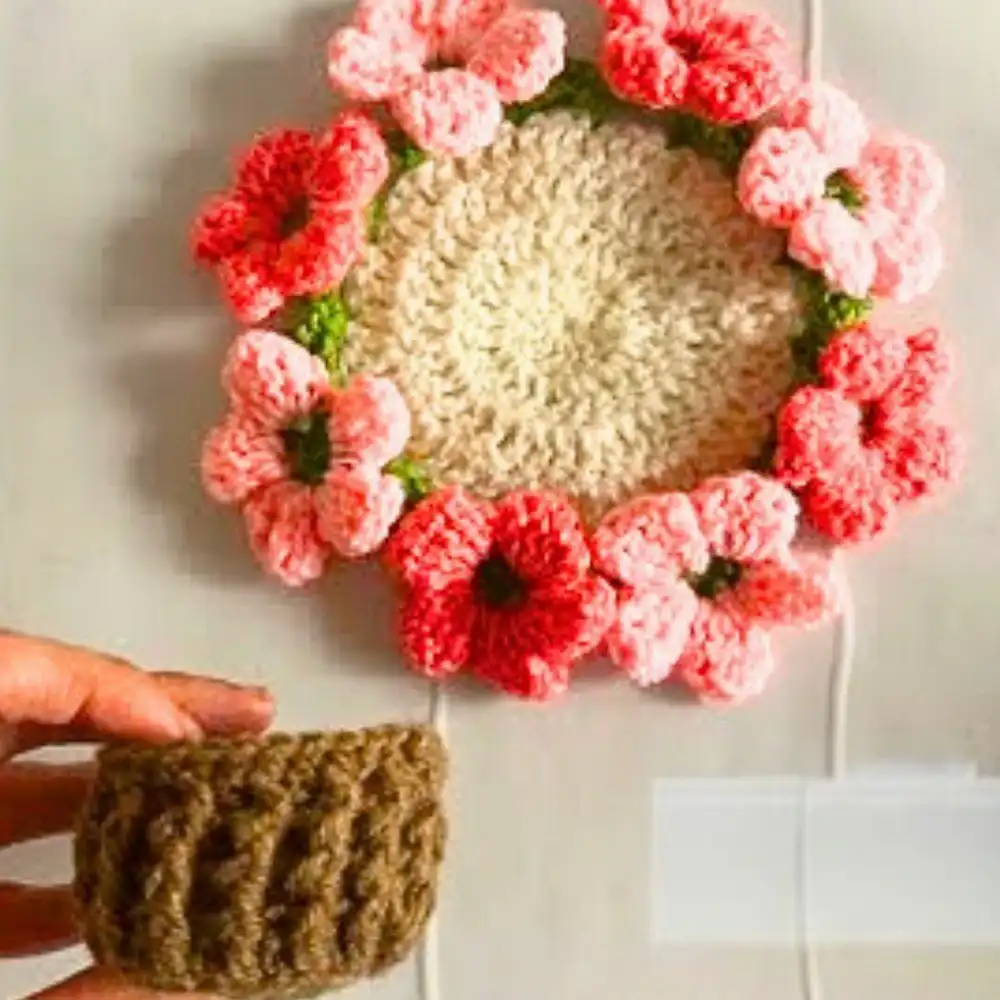
Puff Flower Crochet Coaster
The puff flower coaster is more than just a surface protector; it’s a testament to intricate crochet artistry. Its design features a delightful texture and layered floral elements that truly make it stand out. This piece perfectly blends aesthetic appeal with everyday utility, making it a versatile addition to any setting.
Whether you aim to refresh your living room decor or create a heartfelt, personalized present, this pattern empowers you to infuse your unique style into a practical item. It’s ideal for all seasons, bringing a fresh and beautiful touch to your home accents. The delicate floral details add a timeless charm that everyone will appreciate.
Credit: Plakshi Jain | Crochet
Materials & Tools Needed
Gathering the right supplies is the first step to successful crocheting. For this project, cotton yarn is highly recommended due to its durability, absorbency, and ability to hold shape, which is crucial for coasters. Consider this 100% cotton yarn for crocheting potholders, ideal for holding shape. Choosing a set of multicolored yarn for the petals and leaf details will make your puff flower truly pop.
- Yarn: Cotton yarn in various colors (for coaster base, petals, and pot). Consider using light worsted or DK weight cotton blend yarn for a sturdy finish.
- Hook: A 3.0 mm crochet hook is ideal for achieving the specified size and stitch definition. For comfort during longer sessions, consider an ergonomic crochet hook set.
- Tapestry Needle: Essential for neatly weaving in all yarn ends, ensuring a clean and professional look.
- Scissors: Sharp craft scissors for cutting yarn accurately.
- Extras (Optional): Stitch markers can be incredibly helpful for marking rounds or specific stitches, especially for beginners or when working with complex patterns.
Finished Size & Customization Ideas
Understanding the final dimensions helps in planning your project and how it will fit into your space. The approximate finished size of this set offers a good starting point for functional use on most tables. However, the beauty of crochet lies in its adaptability, allowing for numerous modifications.
- Approximate Finished Size:
- Coaster diameter: About 5–6 inches, depending on your tension and yarn choice.
- Pot height: Approximately 3–4 inches, ideal for small succulents or tea lights.
- Customization Ideas:
- Yarn Weight: Experiment with thicker yarns, such as worsted weight yarn, paired with a larger hook (e.g., 4mm or 5mm crochet hook) to create larger, more substantial coasters and pots.
- Colors: Personalize your set by customizing colors for petals, leaves, and the pot. Think seasonal themes like pastels for spring, earthy tones for autumn, or festive reds and greens for holidays. Consider how different hues can complement your existing home decor.
- Style Adjustments: Add extra rows or rounds to the coaster for a larger diameter or more intricate detailing. You could also experiment with different crochet textured stitches on the pot for unique tactile qualities. Use brighter, pastel, or muted colors to perfectly match your desired aesthetic.
Pattern Abbreviations & Terminology
To successfully follow any crochet pattern, familiarity with common abbreviations and terminology is key. A good crochet stitch dictionary can be an invaluable resource here. This pattern utilizes standard US crochet terms, making it accessible to a wide range of crocheters. Understanding these terms will ensure your stitches are consistent and your project comes out as intended.
- Magic Ring (MR): Creates an adjustable loop, perfect for starting circular projects without a visible hole in the center.
- ch: Chain – the most basic crochet stitch, forming the foundation.
- sc: Single Crochet – a compact, dense stitch.
- dc: Double Crochet – a taller stitch that works up quickly.
- tr: Treble Crochet – an even taller stitch, creating a more open fabric.
- sl st: Slip Stitch – used to join stitches or move yarn without adding height.
- inc: Increase (2 stitches in the same place) – used to expand the fabric.
Note: The pattern exclusively uses US crochet terminology.
Step-by-Step Detailed Crochet Instructions
Embark on your crochet journey with these clear, sectioned instructions designed to guide you through each stage of creating your puff flower coaster and matching pot. Following these steps precisely will help you achieve a beautiful and consistent final product.
Section 1: Coaster
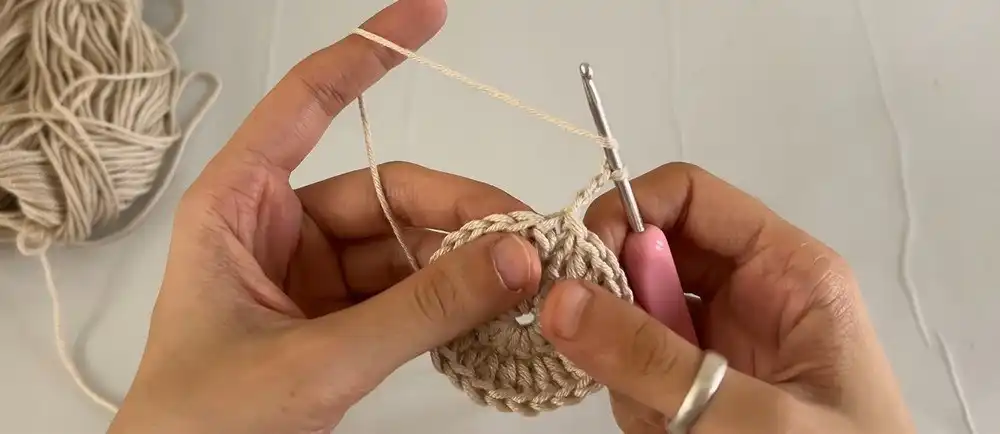
The foundation of your puff flower coaster begins with a solid base. This section details the process of creating a flat, circular disc that will form the main body of your coaster. Maintaining even tension is important here for a neat finish.
- Create the Magic Ring Base:
- Wrap yarn around two fingers to form a ring.
- Insert the hook into the ring, pull through a loop, yarn over, pull tight, and chain 1. (Magic ring complete).
- Round 1:
- Ch 3 (counts as the first dc). Work 12 dc into the magic ring.
- Pull the loose thread to close the ring tightly.
- Sl st into the top of the first dc (12 sts total).
- Round 2:
- Ch 3. Work 2 dc in each stitch around.
- At the end of the round, sl st into the first dc (24 sts total).
- Round 3:
- Ch 3. 1 dc in the first stitch, 2 dc in the next stitch.
- Repeat this pattern around (1 dc, inc), and sl st into the first dc (36 sts total).
- Round 4:
- Ch 3. 1 dc in each of the next two stitches, 2 dc in the third stitch.
- Repeat this pattern around (2 dc, inc), and sl st into the first dc (48 sts total).
Section 2: Adding Green Leaf Loops
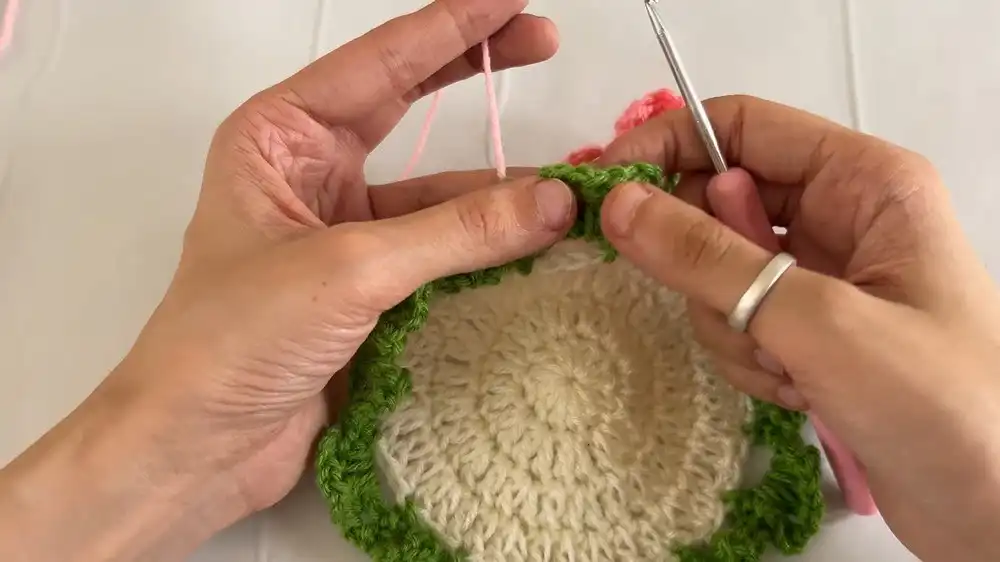
This section introduces the green elements that will frame your puff flower, providing a naturalistic base. These loops will later serve as anchors for the vibrant petals and create a lovely visual transition from the coaster base. Choose a shade of green that complements your flower colors.
- Foundation for Leaves:
- Attach green yarn to any stitch from the previous round.
- Ch 5, skip 2 stitches, sc into the next stitch. Repeat this until the end of the round.
- Sl st into the beginning stitch to close the round.
- Leaf Design:
- In the first chain-5 space: sc, ch 4, dc, ch 1, dc, ch 1 (repeat this for a total of 4 dc with ch-1 spaces), ch 4, sc into the same loop. This creates the base for a flower petal.
- In the next chain-5 space: sc, ch 7, skip 2 base stitches, sc into the same loop (this creates a leaf shape).
- Repeat this alternating pattern around the coaster (flower-petal section in one loop, leaf in the next).
- Finishing the Coaster:
- Continue the petal-leaf sequence around the base until all chain-5 loops are filled.
- Fasten off the green yarn, and meticulously weave in all ends with a tapestry needle for a neat appearance.
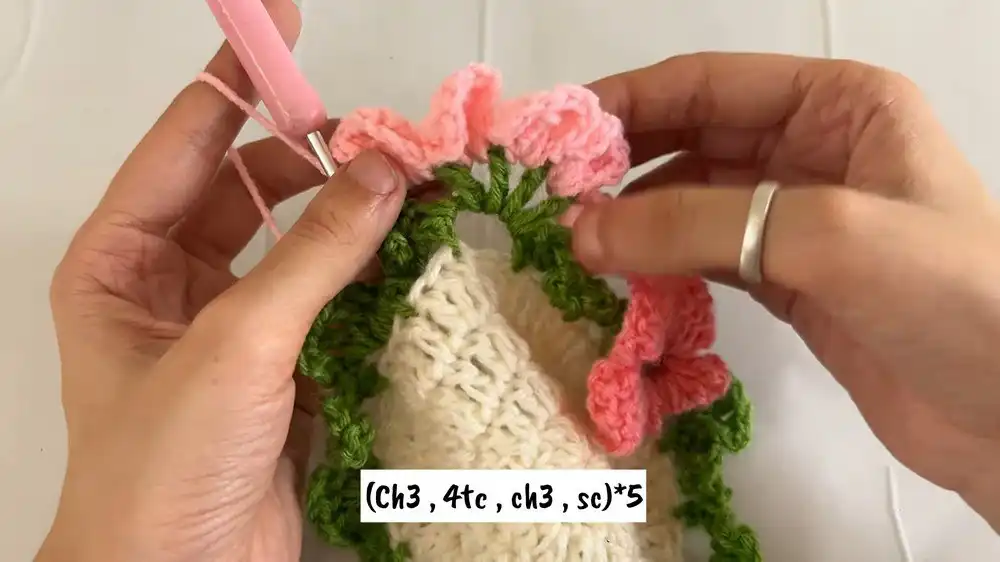
Section 3: Puff Flower Petals
Here’s where your coaster truly blossoms! This section focuses on creating the lovely puff flower petals, giving the coaster its signature charm. Selecting a contrasting color for the petals will enhance their visual impact and make them stand out beautifully.
- Petal Formation:
- Attach your chosen petal color yarn to any chain-4 loop created in the previous round.
- Ch 3 (counts as a dc). Work 4 tr (treble crochet) into the same loop, followed by ch 3, and sl st into the same loop to secure the petal. This creates one full, puffy petal.
- Repeat this process in each chain-4 loop around the coaster for a total of 5 petals.
- Finishing the Flower:
- After completing the final petal, turn the coaster to the back and join the yarn with a slip stitch to the base of the first petal.
- Fasten off the yarn securely and weave in any remaining tails for a clean and professional finish.
Section 4: Crochet Pot
Complete your set by crocheting a matching pot, designed to hold small items or complement the coaster. This section guides you through creating a sturdy base and textured walls for your pot. The use of front-post and back-post stitches adds a delightful tactile quality.
- Base of the Pot:
- Start with a magic ring.
- Round 1: Work 6 sc into the ring, then pull the thread to close the ring tightly (6 sts total).
- Round 2: Work 2 sc into each stitch around (12 sts total).
- Round 3: 1 sc in the first stitch, 2 sc in the next stitch. Repeat around (18 sts total).
- Round 4: 2 sc, inc. Repeat around (24 sts total).
- Round 5: 3 sc, inc. Repeat around (30 sts total).
- Building the Pot Walls:
- Round 6: Work 1 dc in each of the back loops only. This creates a neat ridge for the pot’s base.
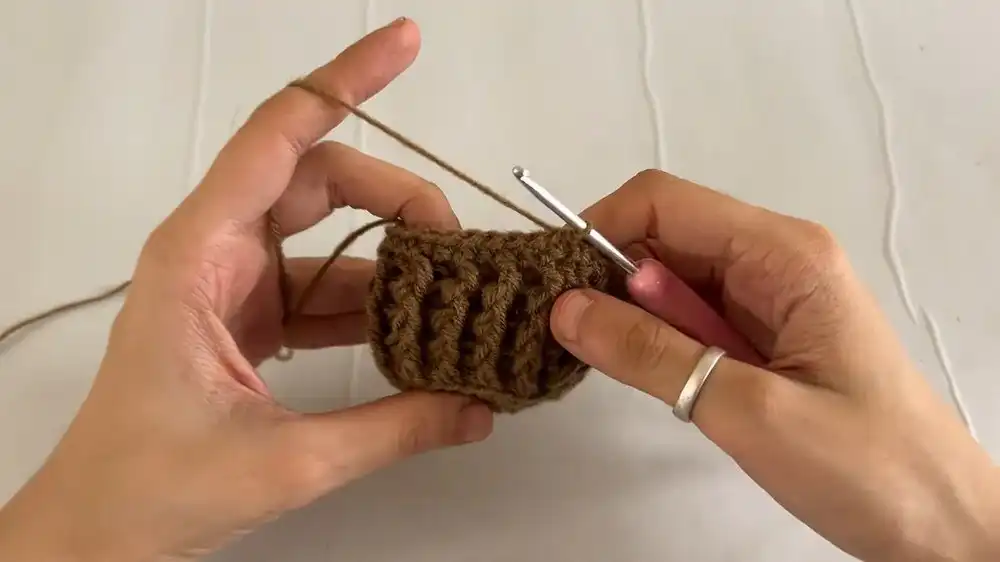
- Round 7–9: Alternate front-post and back-post dc stitches to add texture and definition to the pot walls. For a front-post dc, insert the hook from front to back around the post of the stitch below. For a back-post dc, insert the hook from back to front around the post of the stitch below. This creates a beautiful ribbed effect.
- Round 10: Ch 1, work 1 sc in each stitch around (30 sts total). This creates a neat finishing edge.
- Fasten off and weave in all ends securely.
Finishing Touches
The final steps bring your beautiful crochet set together, ready for display or gifting. Attention to these details can significantly enhance the overall appeal and functionality of your finished project. Feel free to add your own creative flair.
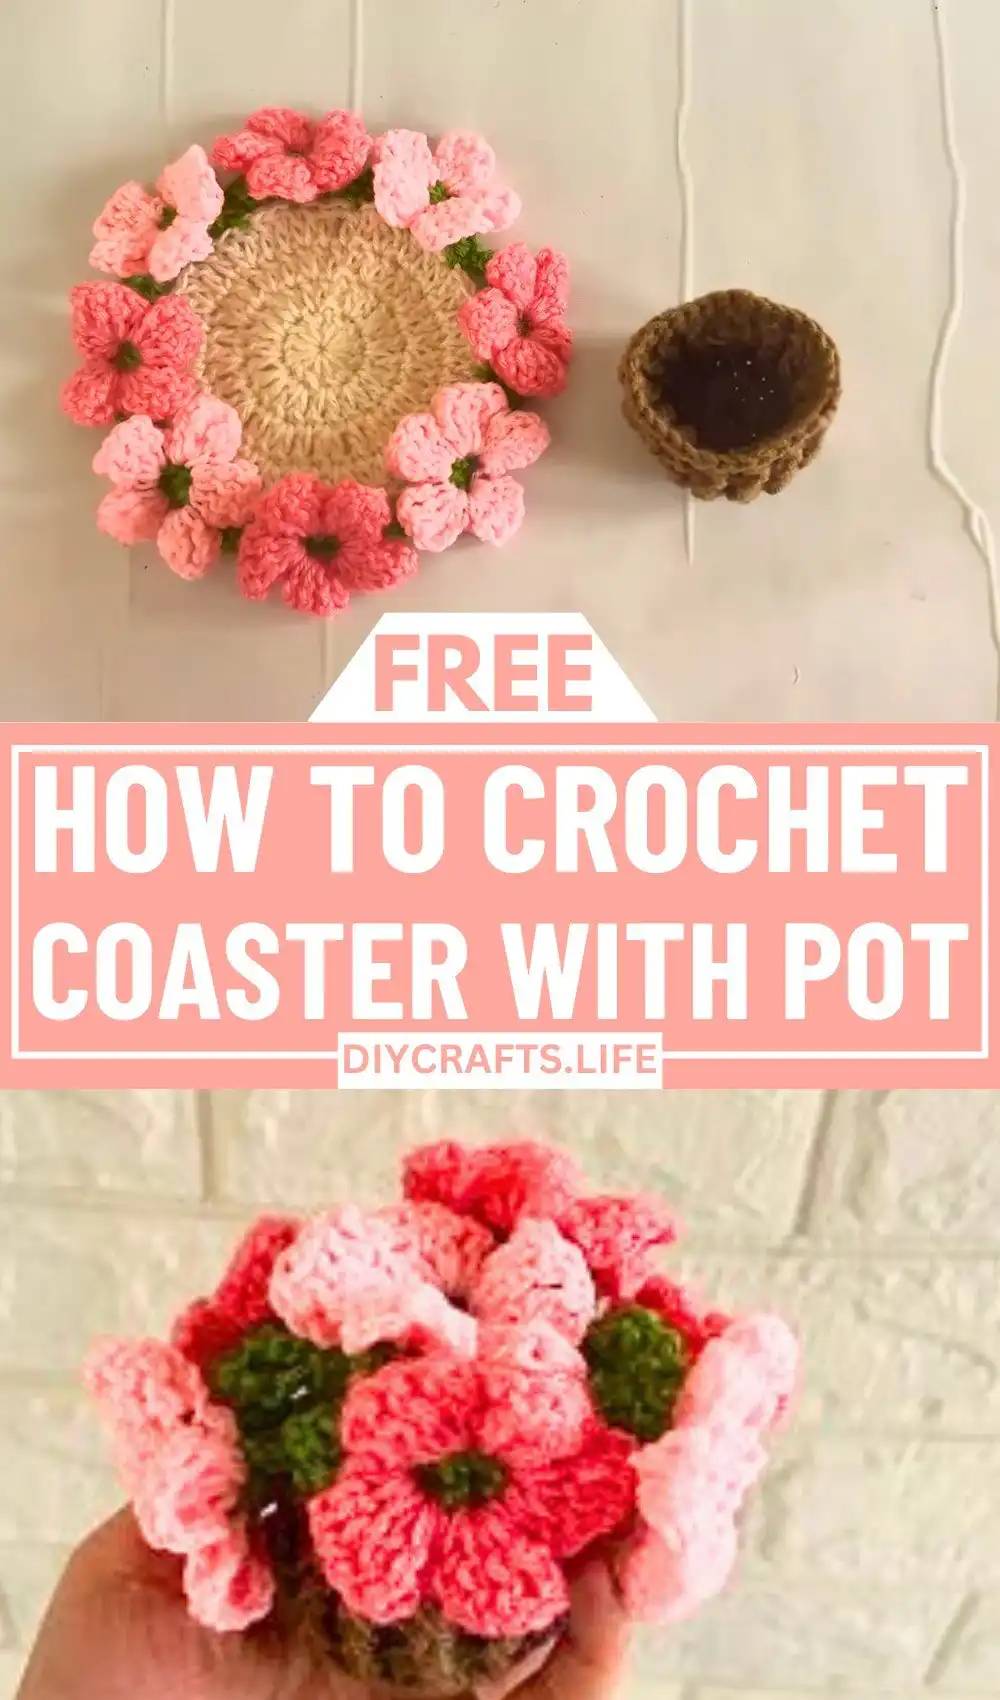
- Assembling the Set: Place your crocheted pot on top of the flower coaster for a charming and functional decoration. This arrangement instantly creates a cohesive look.
- Customization Notes:
- For extra flair and dimension, consider adding an additional row of smaller flower petals around the existing ones using a complementary color.
- To create a luxurious finish, incorporate gold or metallic thread when crocheting the edges of the coaster or the top rim of the pot. This adds a subtle shimmer.
- Adjust the pot height by adding or subtracting rounds in the wall-building section. You can also experiment with different stitches, like half double crochet (hdc), for smoother transitions and a slightly different texture. Creating miniature crochet details can also add unique charm.
Your Crochet Puff Flower Coaster with Pot is ready to decorate your home or serve as a thoughtful handmade gift!
Video Tutorial
For visual learners, a video tutorial can be an invaluable resource. Watching the stitches and techniques in action often clarifies tricky steps and helps ensure accuracy in your crafting. Always refer to visual aids if you encounter any difficulties.
More Free Crochet Patterns
If you enjoyed crafting this charming puff flower set, explore these other delightful crochet patterns to keep your hooks busy. They make wonderful decorations and gifts, especially during the festive season. You can easily find inspiration for various occasions, like creating festive gnome patterns.
- Easy Crochet Christmas Tree Pattern with Starch Stiffening: Create adorable, freestanding Christmas trees perfect for mantelpieces or tabletops. Starch stiffening gives them a rigid, lasting shape.
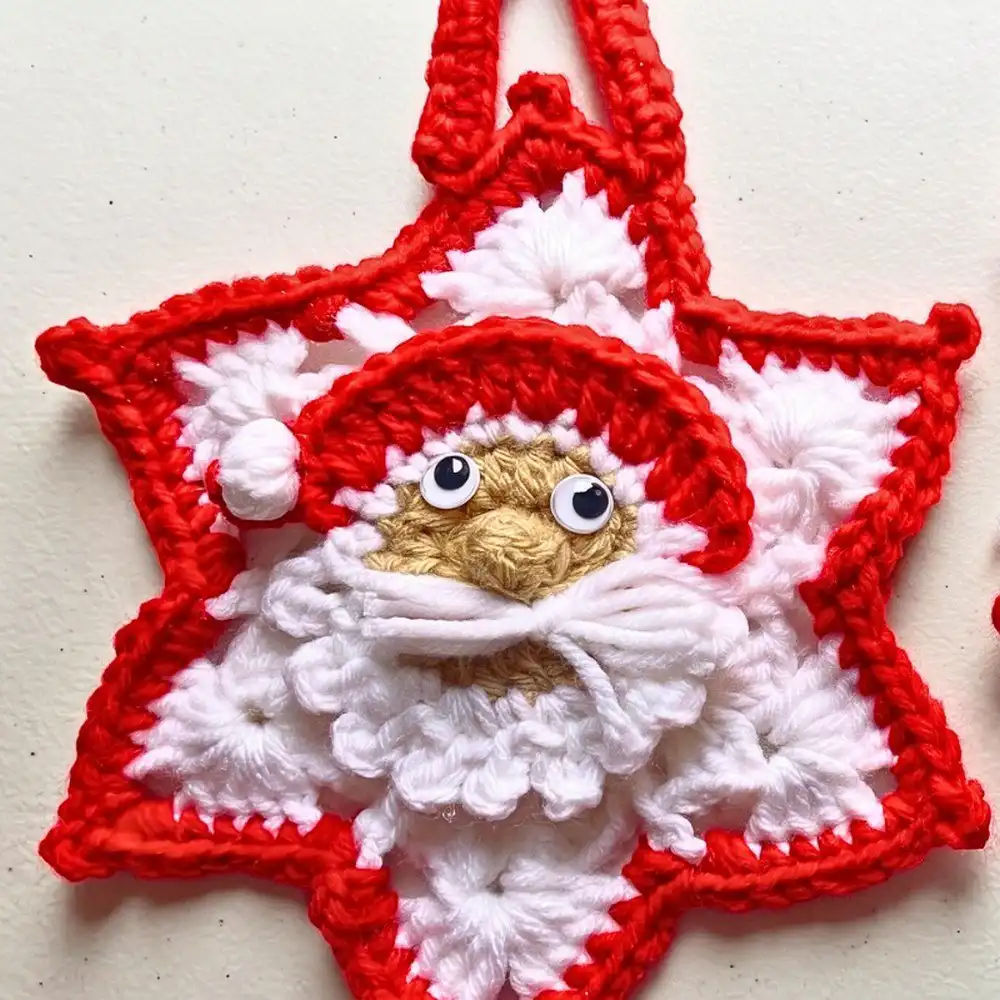
- Crochet Santa Star Ornament For Festive Décor: Adorn your tree with these whimsical Santa star ornaments, adding a touch of festive cheer and handmade charm to your holiday decorations.
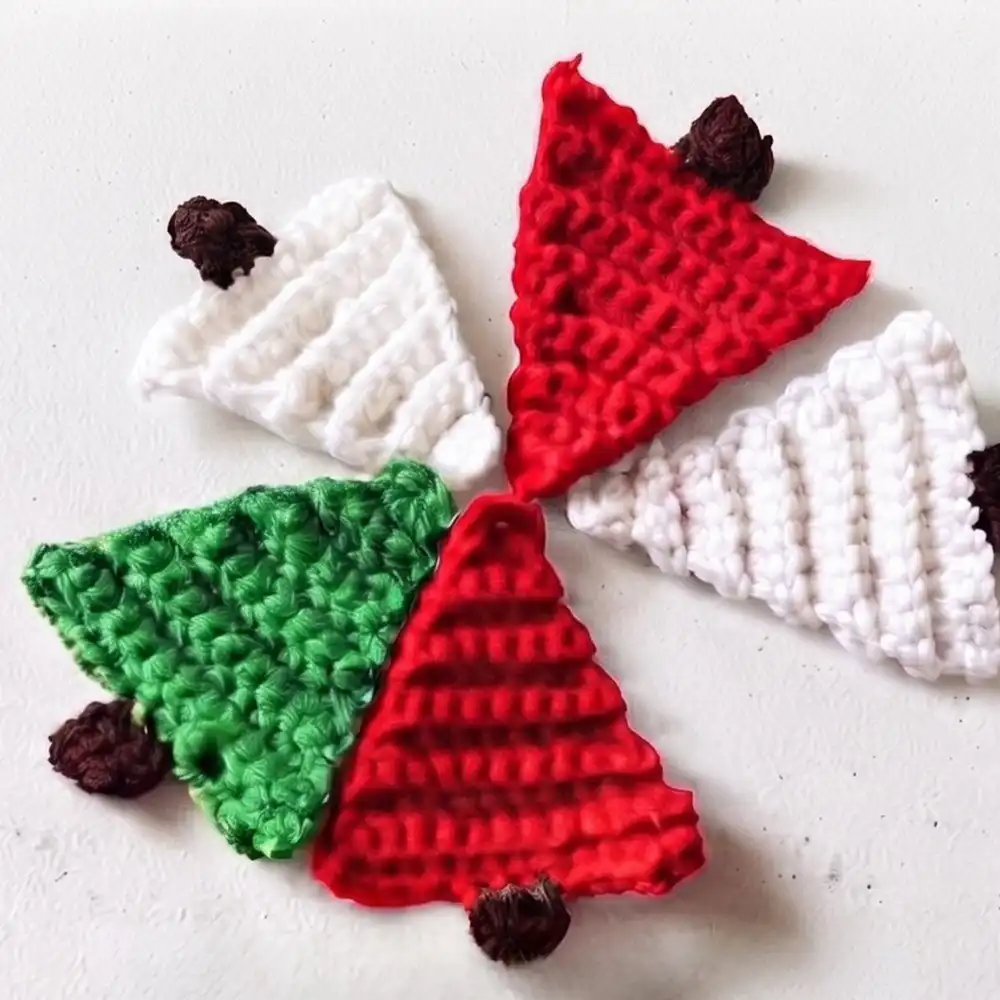
- Crochet Hanging Christmas Tree Decoration Pattern Free: Craft beautiful hanging decorations that are perfect for your Christmas tree or to adorn gifts. These make lovely, quick projects.
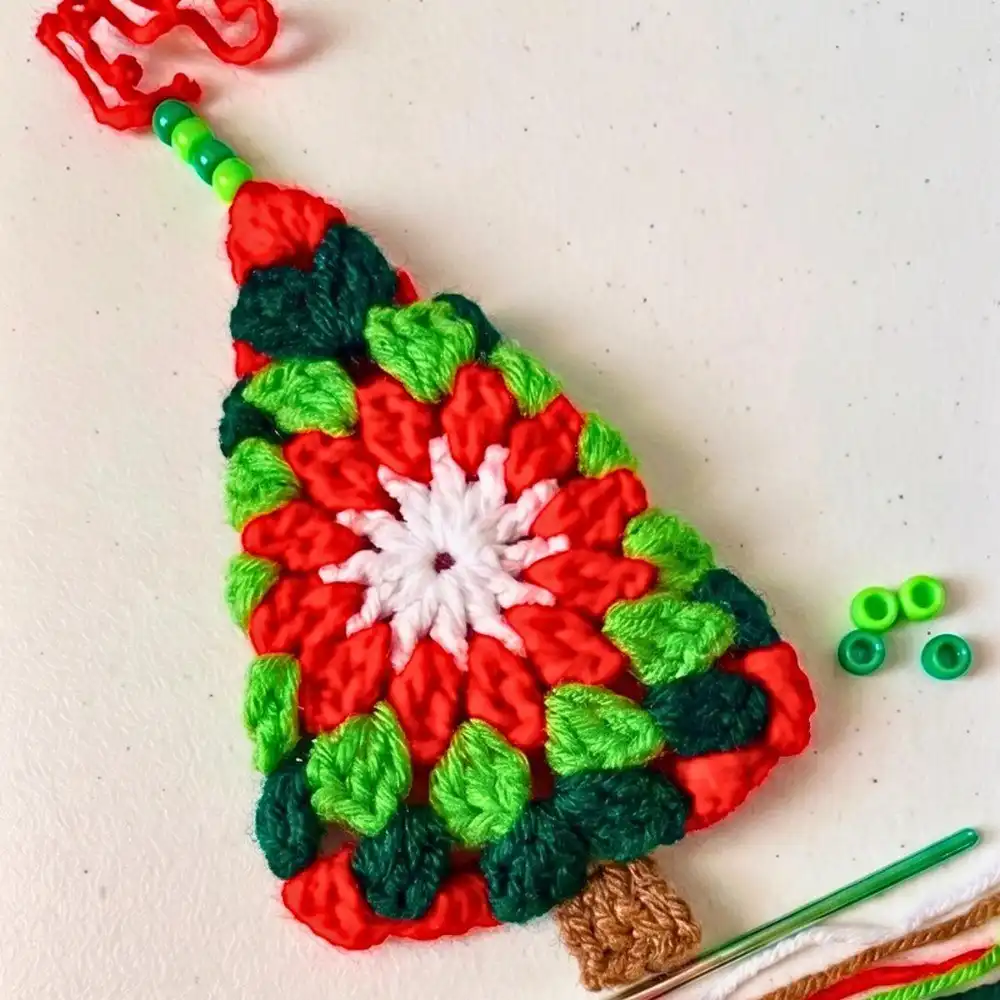
- Crochet Christmas Tree Pattern For The Best Decoration: Discover another fantastic Christmas tree pattern designed to be a standout decoration, offering a slightly different style or size.
We hope you loved creating this beautiful crochet coaster and pot set! Don’t forget to save this pin to your Pinterest board, share it with fellow craft enthusiasts, and leave a comment below with your thoughts or questions. Happy crocheting! If you’re looking for more guidance, a comprehensive guide on crochet tips and tricks can further enhance your skills.


