Cozy Crochet Pumpkin Pattern: Your Free Fall Decor Guide
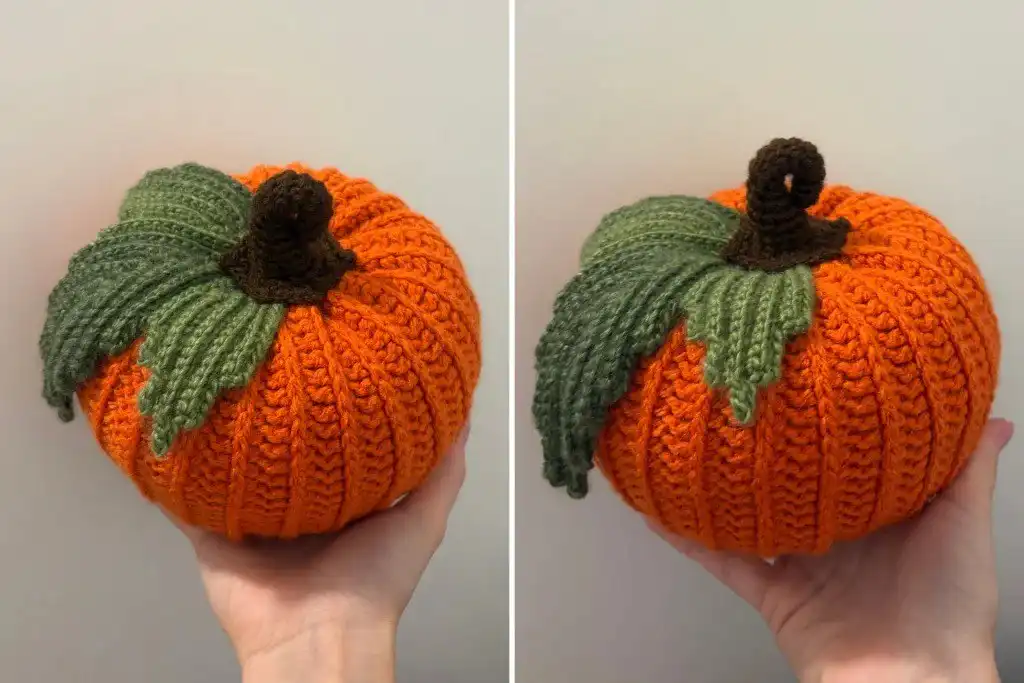
Welcome the autumn season into your home with this delightful and easy-to-follow Pumpkin Free Crochet Pattern! Whether you’re looking to enhance your fall decor, create thoughtful handmade gifts, or simply enjoy a relaxing craft project, this guide provides everything you need. This classic fall staple can be customized in various sizes and colors, making it a versatile addition to any autumnal display. If you’re looking for more great supplies and patterns, check out the Amazon Crocheting Storefront.
This beginner-friendly pattern is designed to work up quickly, delivering satisfying results even if you’re new to crochet. With clear, step-by-step instructions and plenty of helpful tips, you’ll be able to create charming pumpkins for Halloween, Thanksgiving, or just to add a cozy touch to your living space. Discover other quick and satisfying 1-hour crochet projects for instant gratification!
About the Author
This exclusive Pumpkin Free Crochet Pattern was designed by Weronika Miechowicz, a passionate crocheter who delights in bringing handmade charm to seasonal projects. Weronika enjoys crafting patterns that are both inspiring and accessible, encouraging fellow makers to pick up their ergonomic crochet hooks from 0.5mm to 10mm. Her goal is to help you create beautiful items for your home, yourself, or as heartfelt gifts for loved ones, with a helpful guide on crochet tips and tricks to inspire you at every step.
You can find more of Weronika’s creative designs and connect with her work through her Ravelry, Etsy, and YourCrochet Shop profiles. Her dedication to clear instructions and lovely aesthetics shines through in each pattern she creates, making complex projects feel achievable for all skill levels.
Pattern Notes
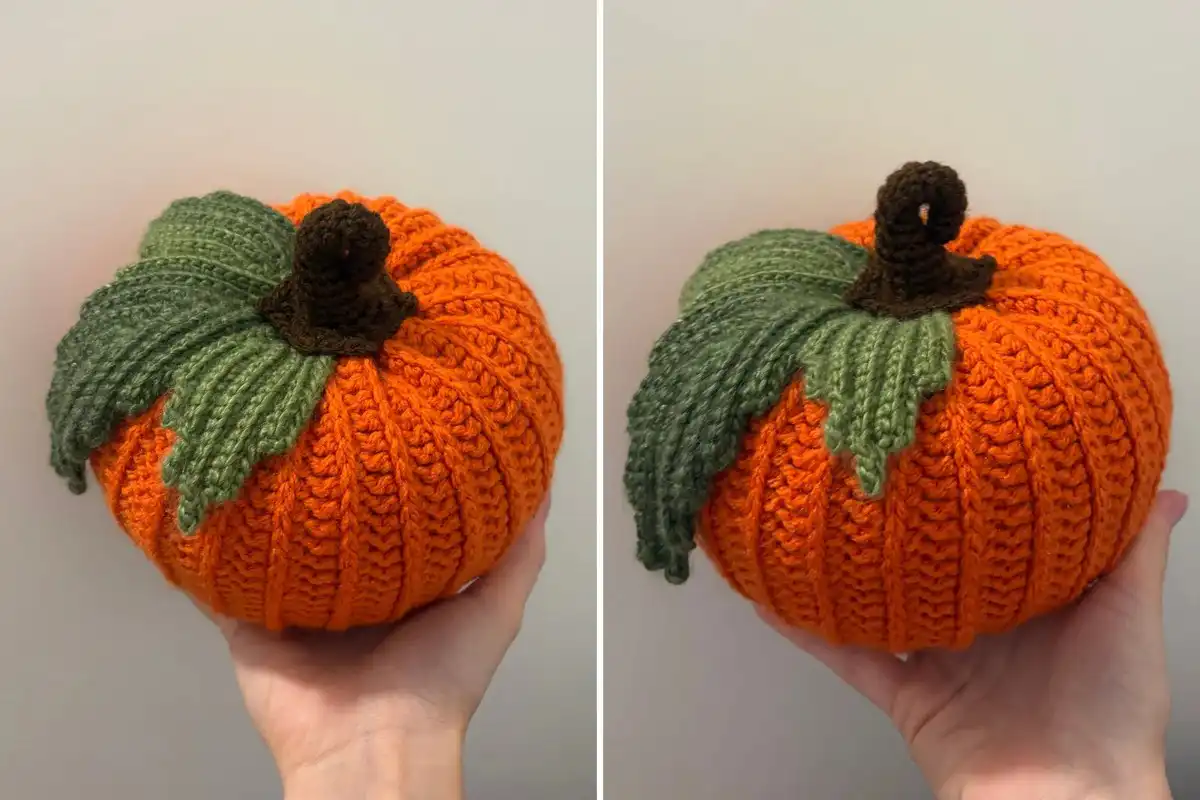
This crochet pumpkin pattern is suitable for beginners, utilizing standard US crochet terms. Take a moment to review these essential notes before you begin to ensure a smooth and enjoyable crafting experience. Understanding the materials, measurements, and stitches beforehand will set you up for success.
Materials and Tools
To create your charming crochet pumpkin, you’ll need a few essential supplies. The yarn weights suggested are perfect for achieving the pictured size, but feel free to experiment. For the main pumpkin body, a medium weight yarn in a classic orange will evoke traditional autumn vibes, while fine weight yarns in green and brown are ideal for the delicate stem and leaf.
- Fine weight yarn – Lea: green (for the leaf)
- Fine weight yarn: brown (for the stem)
- For your fine weight yarn needs, consider a Katech 20 Skeins Cotton Yarn for Crocheting.
- Medium weight yarn: orange (for the pumpkin body)
- For the pumpkin body, a good quality worsted-weight yarn in orange will work wonderfully.
- Crochet hook: 3 mm (for stem and leaf)
- Crochet hook: 5 mm (for pumpkin panel)
- Stitch markers (essential for keeping track of rounds)
- Tapestry needle (for weaving in ends and assembly)
- Scissors (for cutting yarn)
- Fairfield The Original Poly-Fil (polyester fiberfill for shaping the pumpkin and stem)
Measurements
The finished crochet pumpkin, when made with the specified yarn and hook sizes, will measure approximately: HEIGHT: 15 cm / 5.9” with stem, 12 cm / 4.72” without the stem; WIDTH: 15 cm / 5.9”. You can easily adjust these dimensions by simply changing your yarn weight and corresponding hook size. For a larger, squishier pumpkin, opt for chunky yarn and a bigger hook. For cute mini pumpkins, use lighter yarn and a smaller hook, perfect for garlands or table scatters.
Stitches and Abbreviations
Familiarize yourself with these common crochet terms and abbreviations before starting. This pattern uses standard US terminology, making it easy to follow for most crocheters. If you’re new to some of these, a quick online search or a crochet stitch guide can be very helpful.
- rnd – round: A complete circle of stitches.
- st(s) – stitch(es): The basic unit of crochet.
- sc – single crochet: A fundamental, tight stitch. If you need a refresher, learn how to single crochet.
- hdc – half double crochet: Taller than sc, shorter than dc.
- dc – double crochet: A taller, looser stitch.
- ch – chain(s): The foundation of most crochet projects.
- slst – slip stitch: Used for joining or moving across stitches.
- inc – increase: Working two or more stitches into one to add width.
- MR – magic ring: A method to start crocheting in the round without a hole.
- TLO – third loop only: Crocheting into the horizontal bar behind the top loops.
- BLO – back loop only: Crocheting only into the loop farthest from you.
Free Crochet Pumpkin Pattern
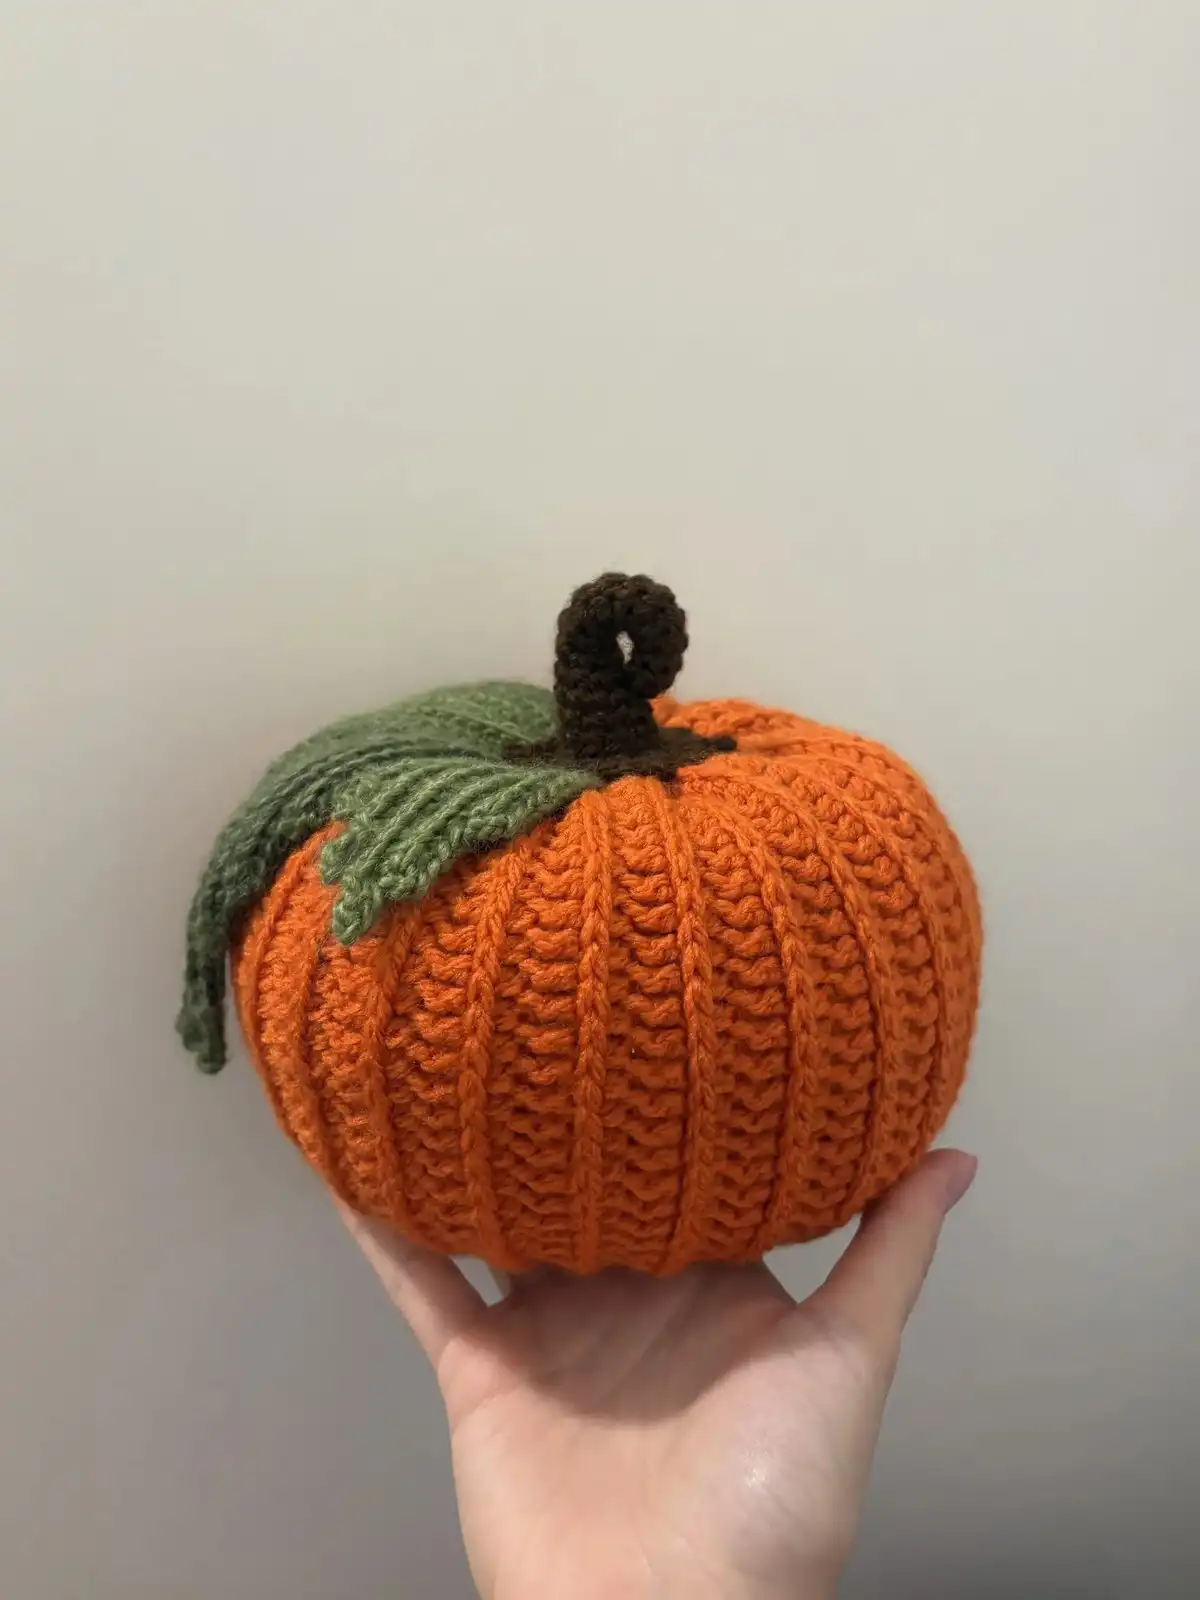
Now, let’s dive into creating your beautiful crochet pumpkin! This section is divided into three main components: the pumpkin panel, the stem, and the leaf. Each part is detailed with row-by-row or round-by-round instructions, ensuring you can follow along easily.
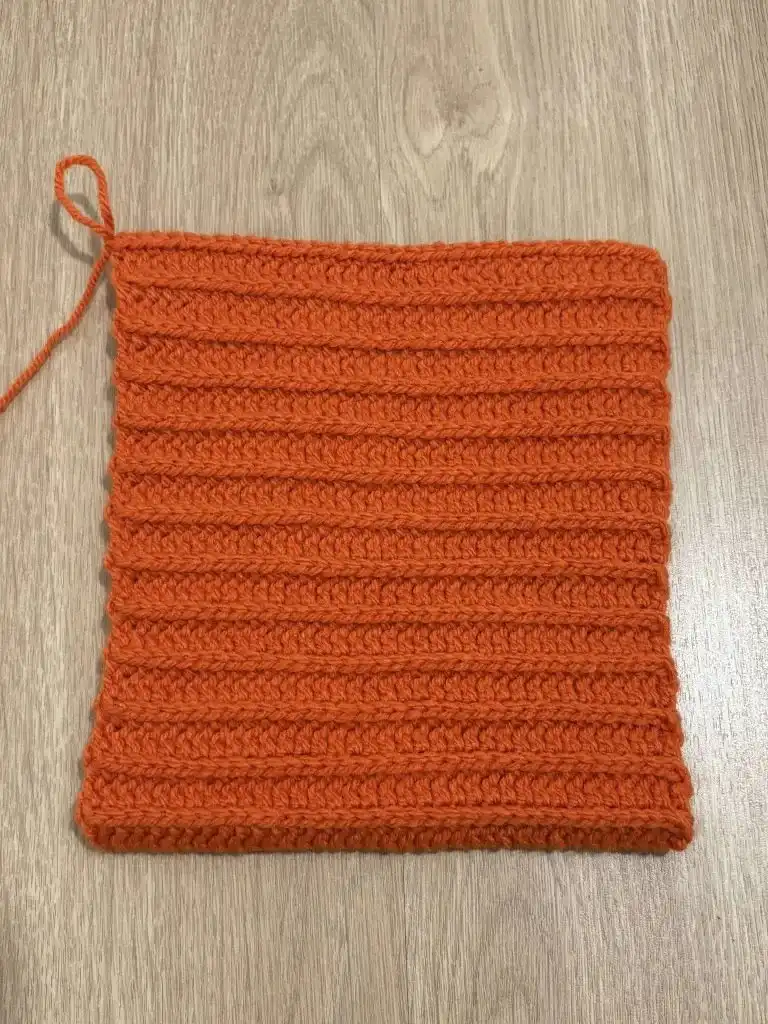
PUMPKIN PANEL
The pumpkin panel forms the main body of your pumpkin. It’s worked in rows to create a textured, ribbed fabric that will later be shaped. Use your orange medium-weight yarn and the larger 5mm hook for this section to achieve the right gauge and texture.
- Using orange yarn and 5mm hook:
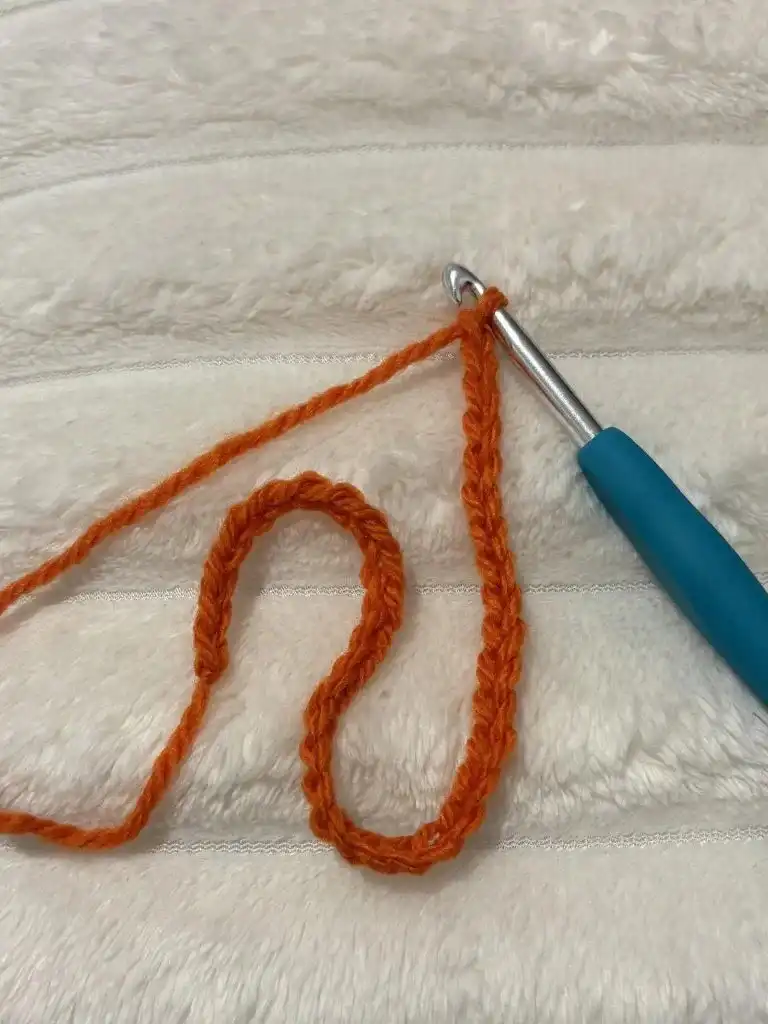
- Slip knot, ch 36 (photo 1)
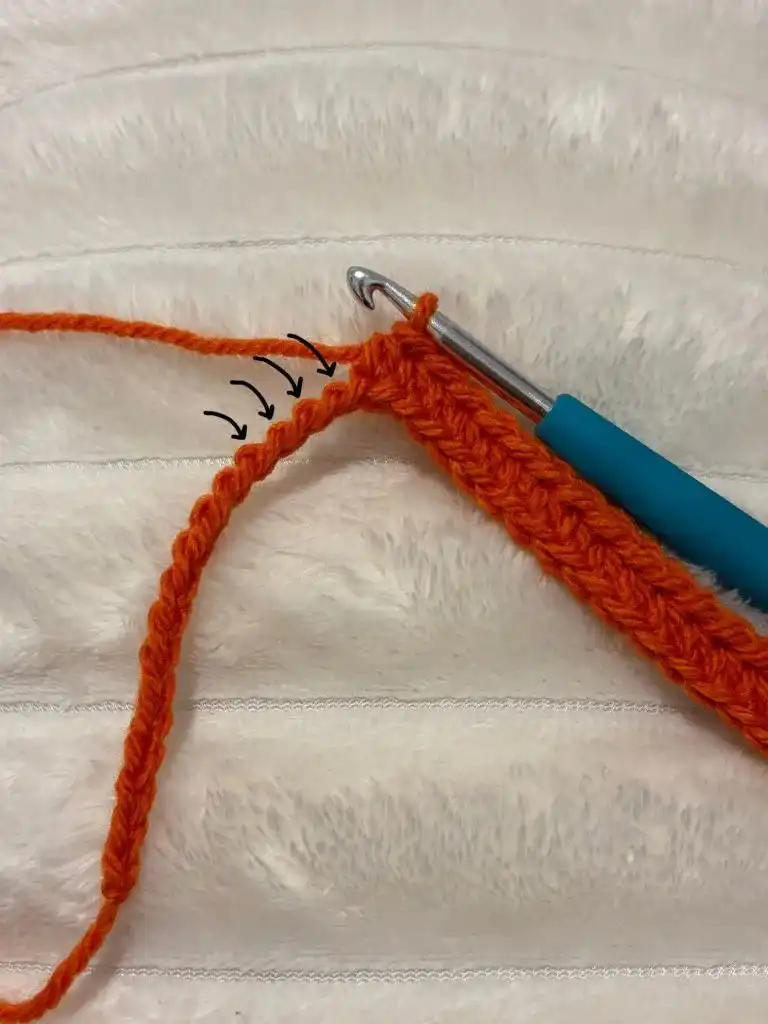
- Row 1: Starting from the 2nd ch from the hook, hdc 36 in the back bumps (photo 2), ch 2, turn (35)
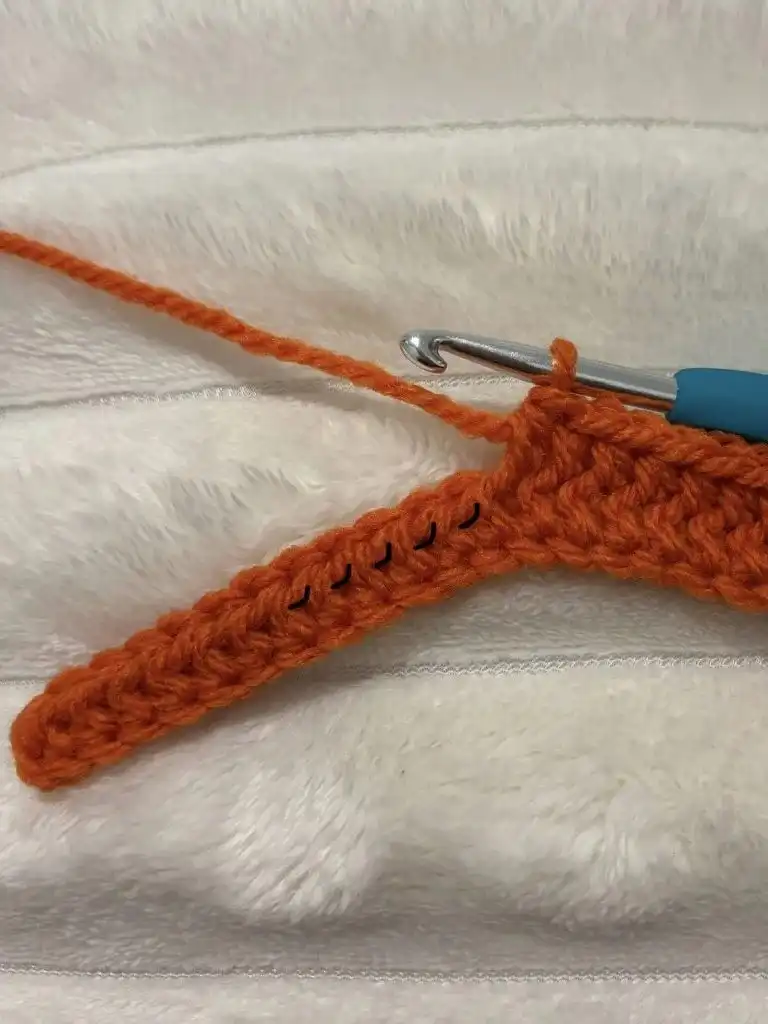
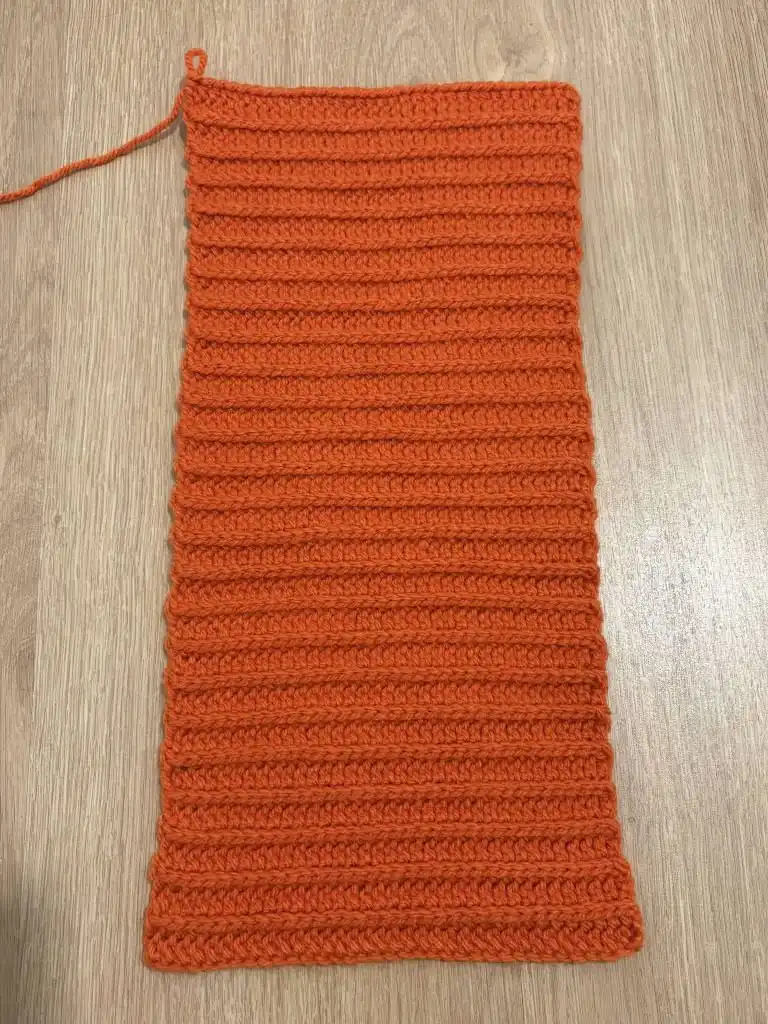
- Row 2-50: hdc in TLO 35, ch 2, turn (35) (photo 3)
Pro Tip: When working into the third loop only (TLO), you’ll notice a beautiful horizontal ridge forming on your fabric. This creates the classic ribbed texture essential for a realistic crochet pumpkin. Always count your stitches at the end of each row to maintain a consistent width.
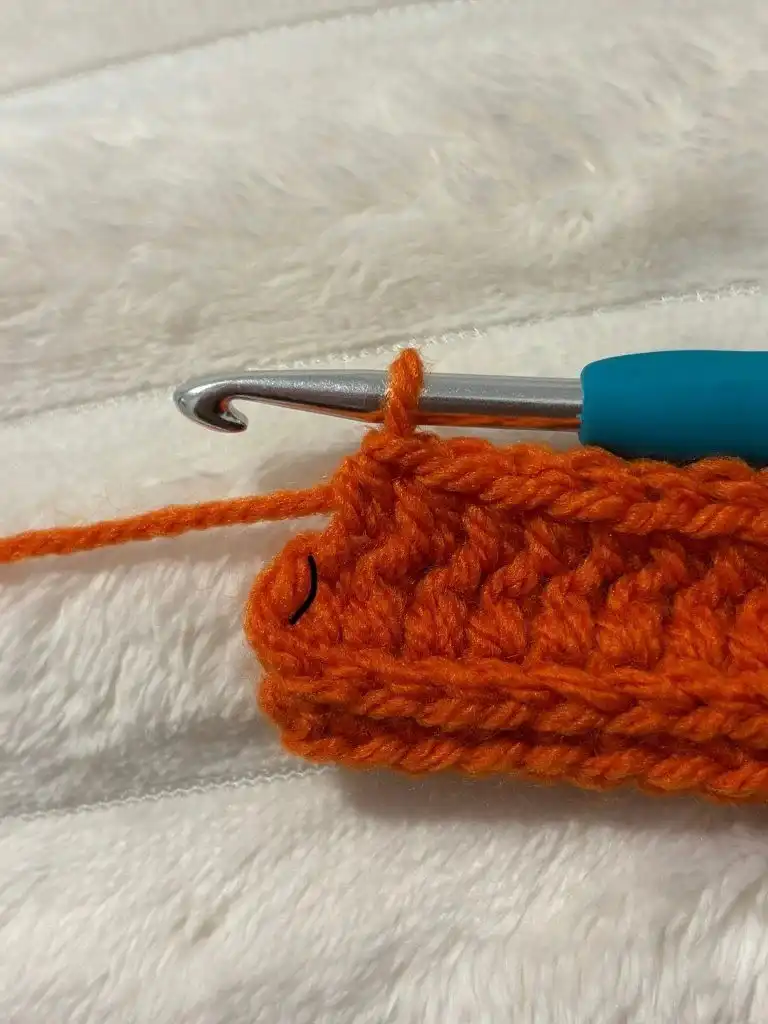
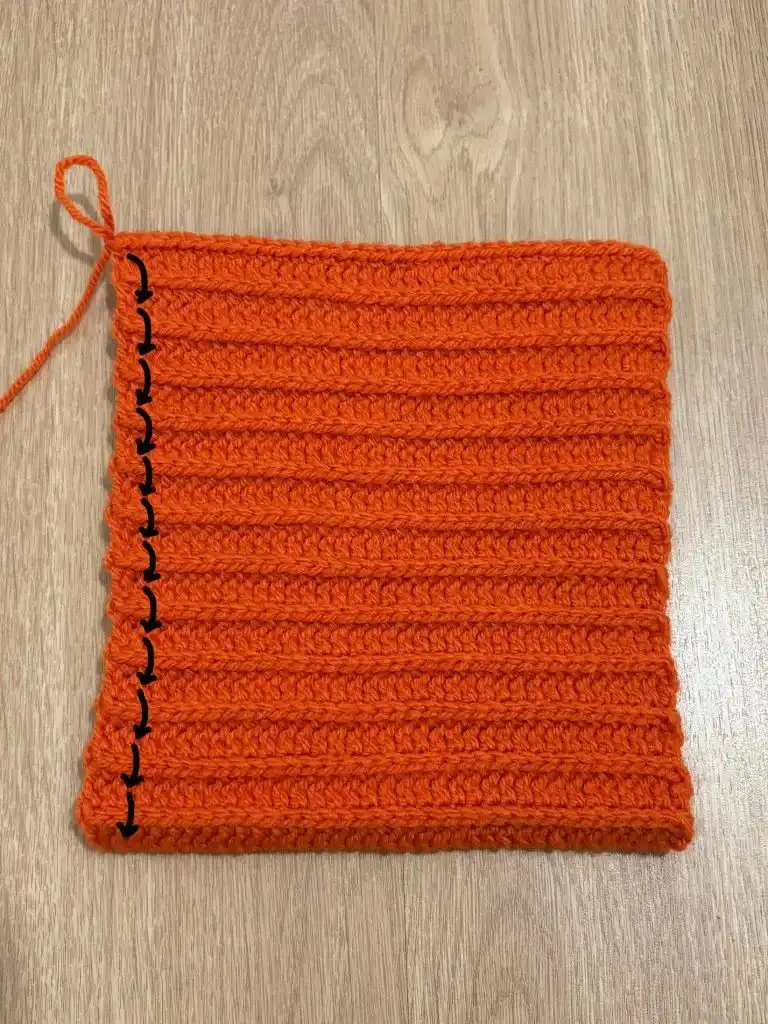
- While finishing a row, DO NOT forget to crochet in the last st of each row (photo 4).
- Fasten off, DO NOT cut off the yarn. (photo 5)
Keeping the yarn attached after fastening off is crucial, as you’ll use this tail later for the initial assembly. This step ensures a seamless transition into shaping your pumpkin.
STEM
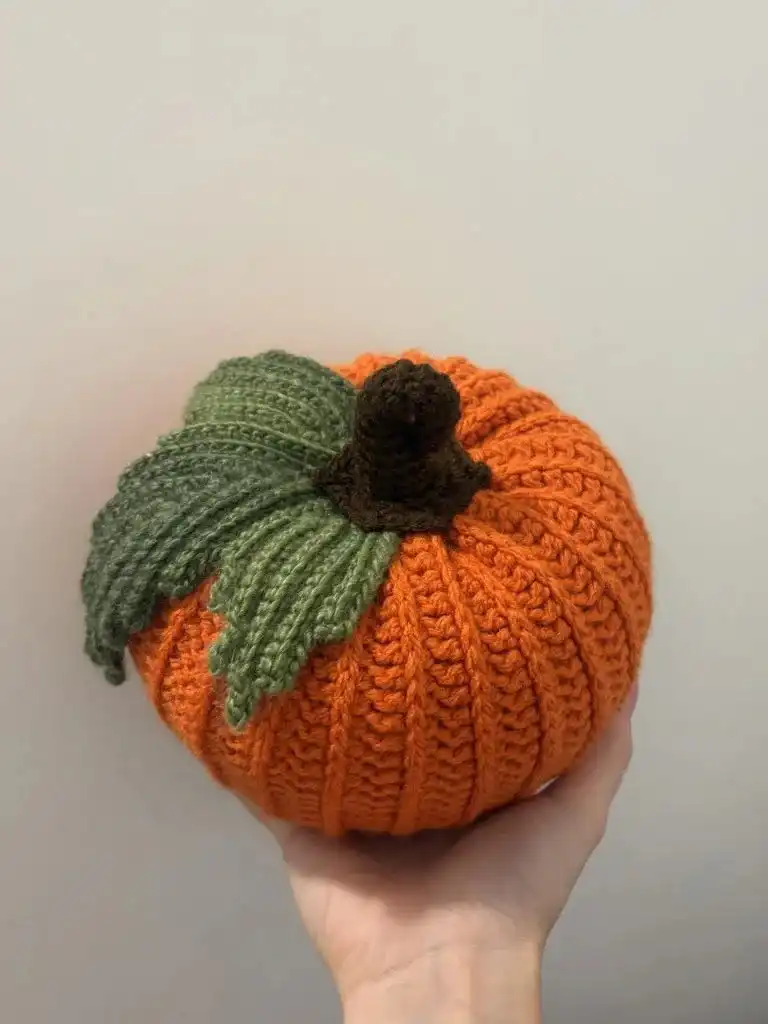
The stem adds a charming, rustic touch to your pumpkin. It’s worked in rounds using brown fine-weight yarn and a smaller 3mm hook, creating a sturdy, slightly tapered cylinder. The shaping in later rounds gives it a natural, organic look.
- Using brown yarn and 3mm hook:
- Rnd 1: 6 sc in MR (6) Leave the string you pulled MR with outside. We will need to use it later.
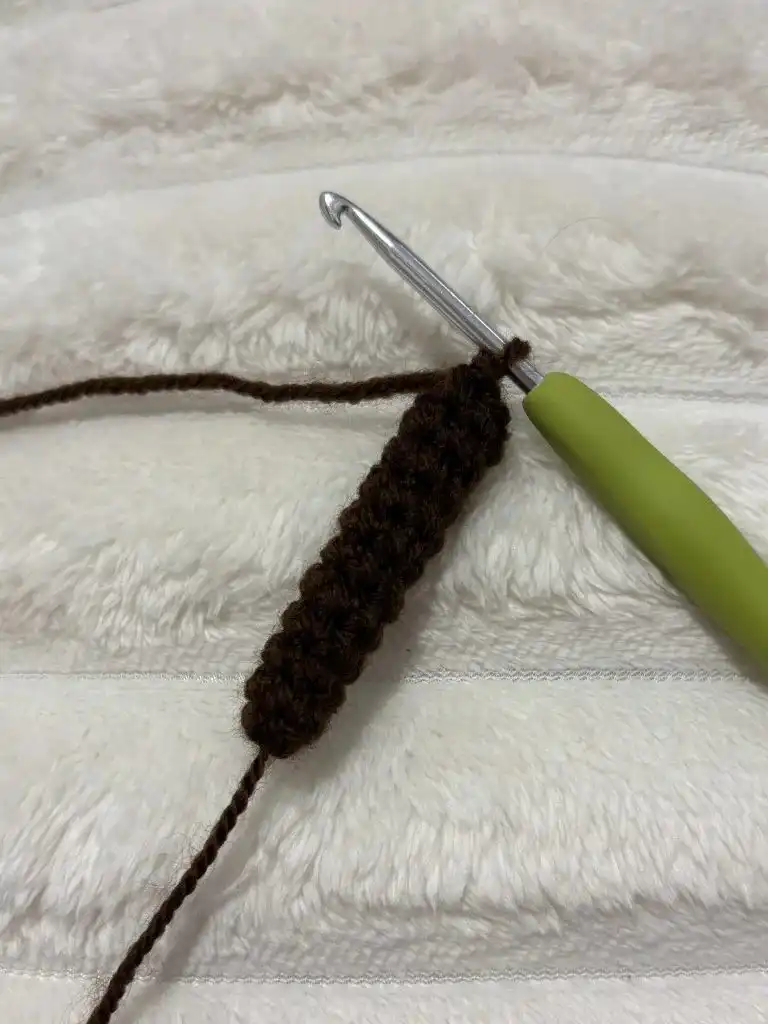
- Rnd 2-11: sc 6 (6) (photo 6)
- Rnd 12: (sc, inc) 3x (9)
- Rnd 13-14: sc 9 (9)
- Rnd 15: (sc 2, inc) 3x (12)
- Rnd 16: sc 12 (12)
- Rnd 17: scBLO 12 (12)
- Rnd 18: inc 12 (24)
- Rnd 19: sc, hdc 2, sc, hdc 2, sc 2, hdc, dc, hdc, sc 2, hdc 2, sc, hdc 2, sc 2, hdc, dc, hdc, slst
Pro Tip: When making the magic ring, leave a longer tail than usual; this will be the thread you use to bend and shape the stem later. Stuff the stem firmly but not overly densely, allowing it to retain some flexibility for shaping. The final round creates a slightly ruffled edge for a realistic base. You can use Polyester Fiberfill Stuffing here.
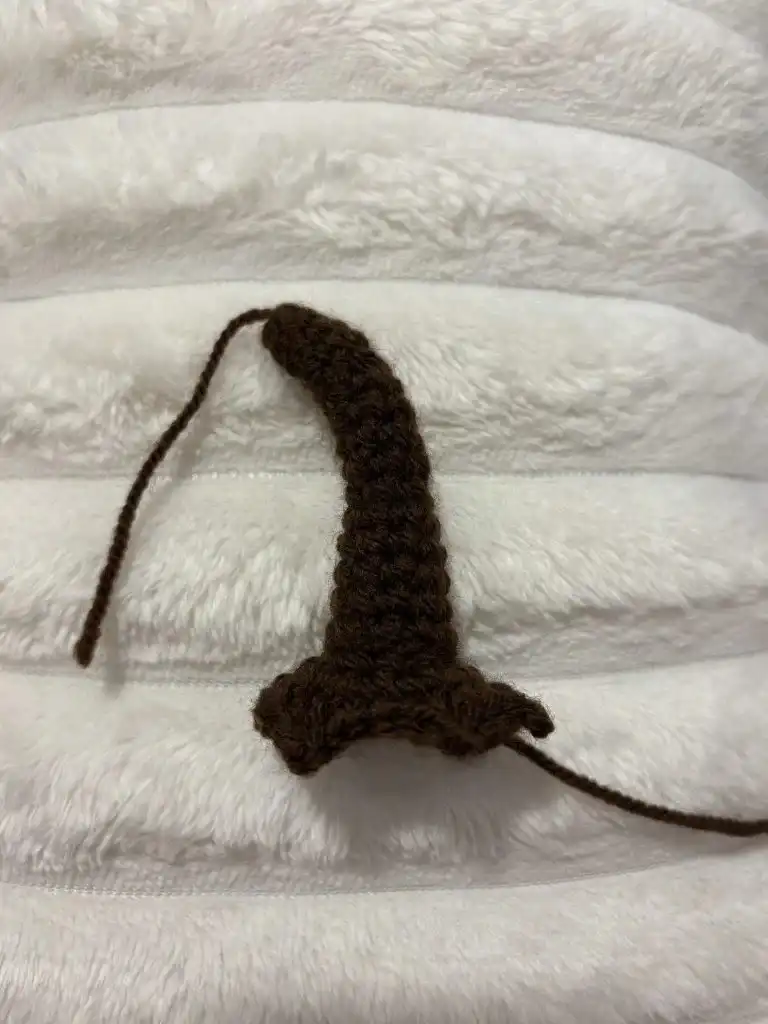
- Fasten off, cut off the yarn leaving a longer piece for sewing later. (photo 7)
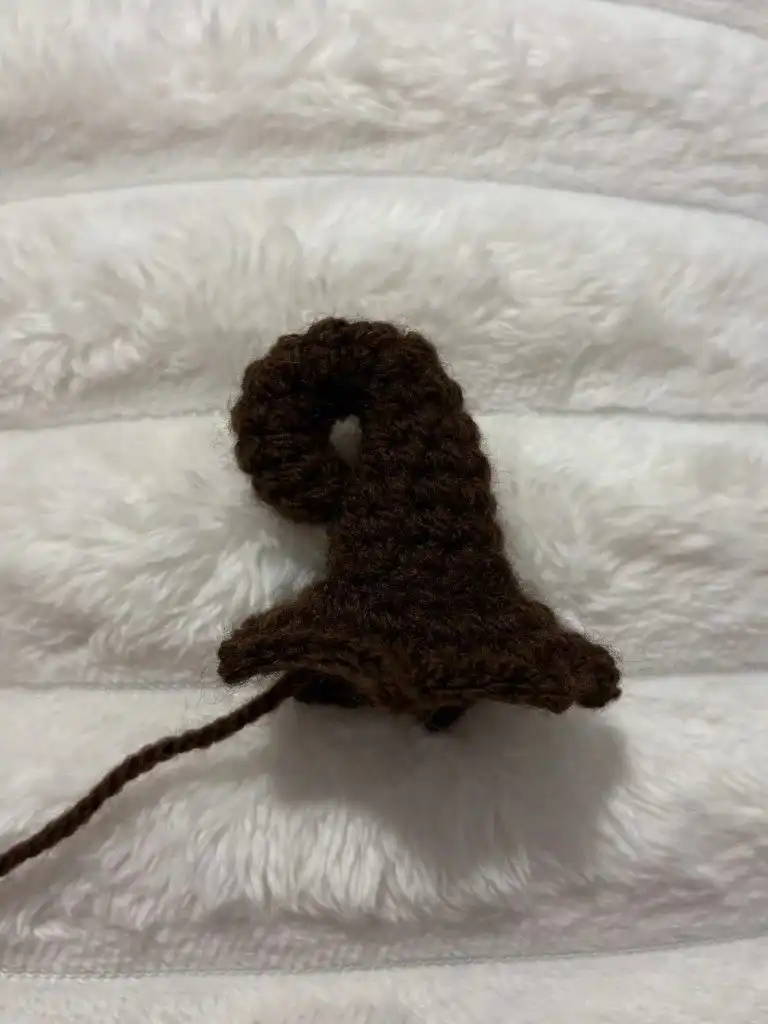
- Put some stuffing inside the stem, pull the thread we left before through a hole in the middle of the stem’s height to bend it. Tie is to secure it. Put more stuffing. (photo 8)
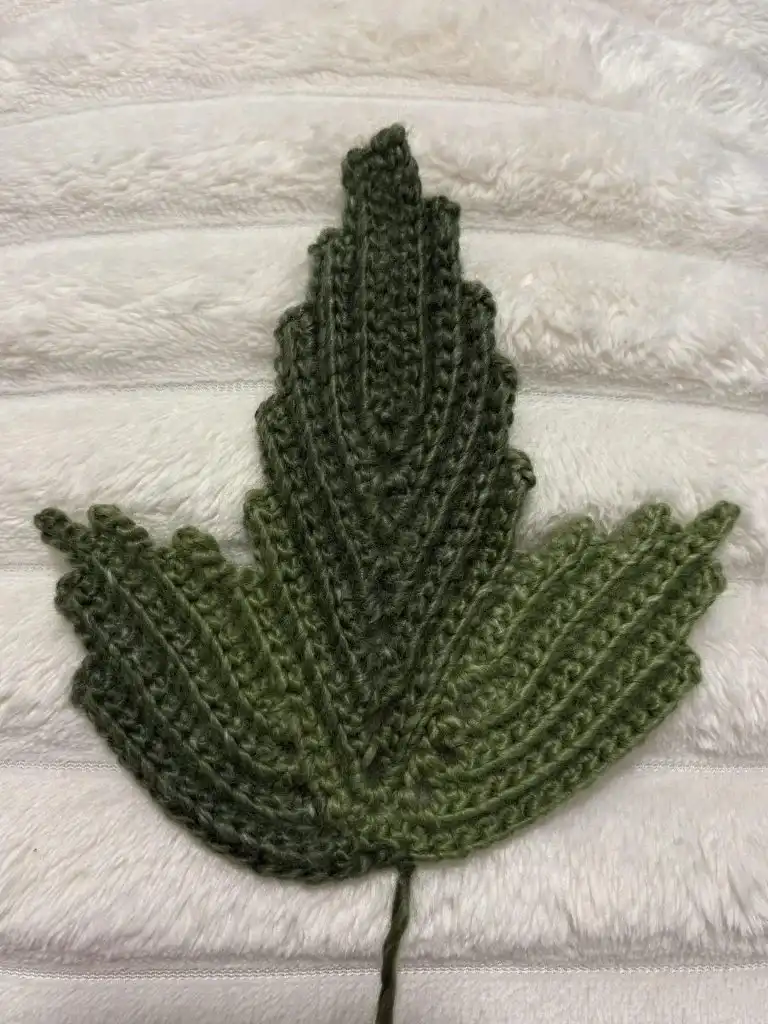
LEAF
The leaf adds a final, delicate accent to your crochet pumpkin, making it truly come to life. This section is worked in rows using green fine-weight yarn and a 3mm hook, creating a wonderfully detailed and textured leaf shape with realistic veins.
- Using green yarn and 3mm hook:
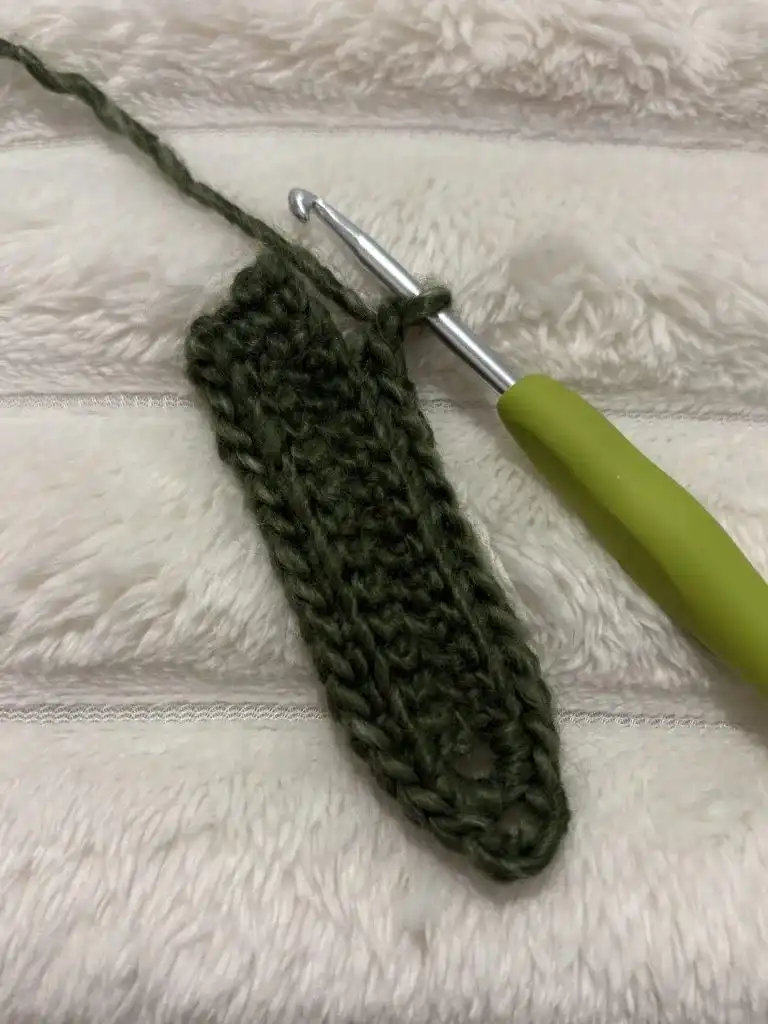
- Slip knot, ch 16
- Row 1: Starting in the 3rd ch from the hook sc 14, ch 4, sc 14 (on the other side), ch 1, turn
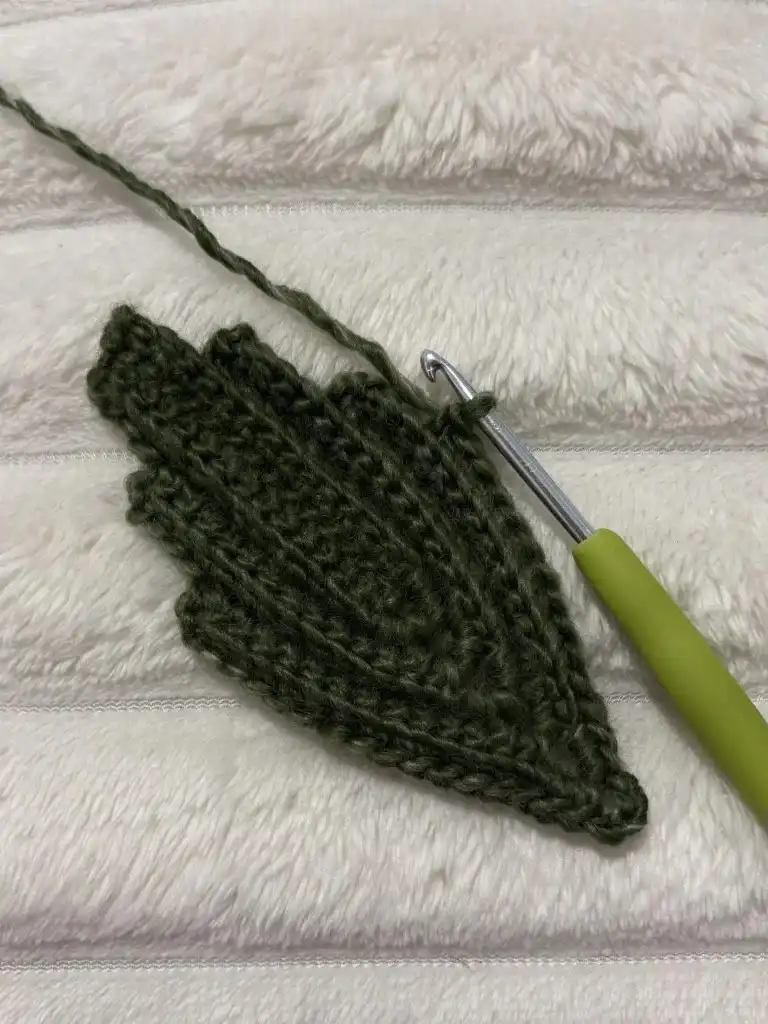
- Row 2: skip 1, scBLO 13, (sc 2, ch 4, sc 2) in the ch space, scBLO 11, ch 1, turn
- Row 3: skip 1, scBLO 12, (sc 2, ch 4, sc 2) in the ch space, scBLO 12, ch 1, turn (photo 9)
- Row 4: skip 1, scBLO 13, (sc 2, ch 4, sc 2) in the ch space, scBLO 11, ch 1, turn
- Row 5: skip 1, scBLO 12, (sc 2, ch4, sc 2) in the ch space, scBLO 12, ch 1, turn
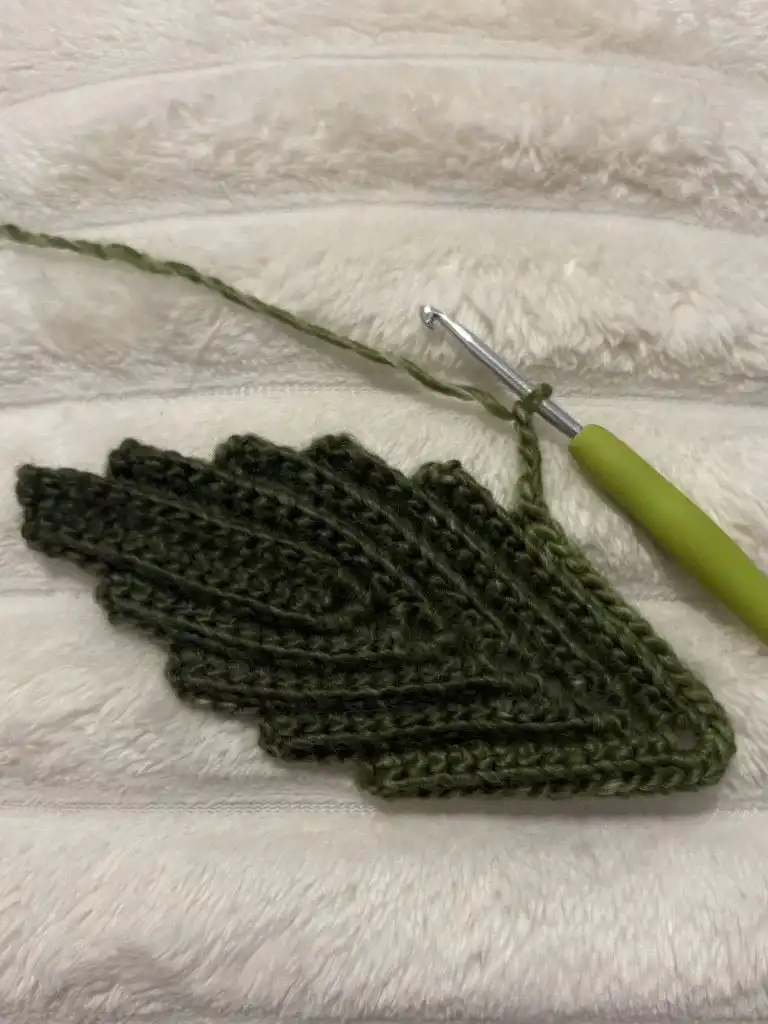
- Row 6-8: skip 1, scBLO 13, (sc 2, ch 4, sc 2) in the ch space, scBLO 12, ch 1, turn (photo 10)
- Row 9: skip 1, scBLO 13, (sc 5) in the ch space, scBLO 12, ch 5, turn (photo 11)
Pro Tip: The chain spaces and back loop only stitches are key to giving the leaf its distinctive texture and shaping. Pay close attention to the stitch counts and turns, as this intricate design builds up the leaf’s organic look. Don’t be afraid to gently block your leaf after finishing to help it lay flat and defined.
- Row 10: skip 2, sc 3, scBLO 5, ch 1, skip 1, sc, ch 1, turn
- Row 11: sc in the ch space, scBLO 9, ch 5, turn
- Row 12: skip 2, sc 3, scBLO 11, ch 1, skip 1, sc, ch 1, turn
- Row 13: sc in the ch space, scBLO 15, ch 4, turn
- Row 14: skip 2, sc 2, scBLO 17, ch 1, skip 1, sc, ch 1, turn
- Row 15: sc in the ch space, scBLO 17, ch 1, turn
- Row 16: skip 1, scBLO 18, ch 1, skip 1, sc, ch 1, turn
- Row 17: sc in the ch space, scBLO 15, ch 1, turn
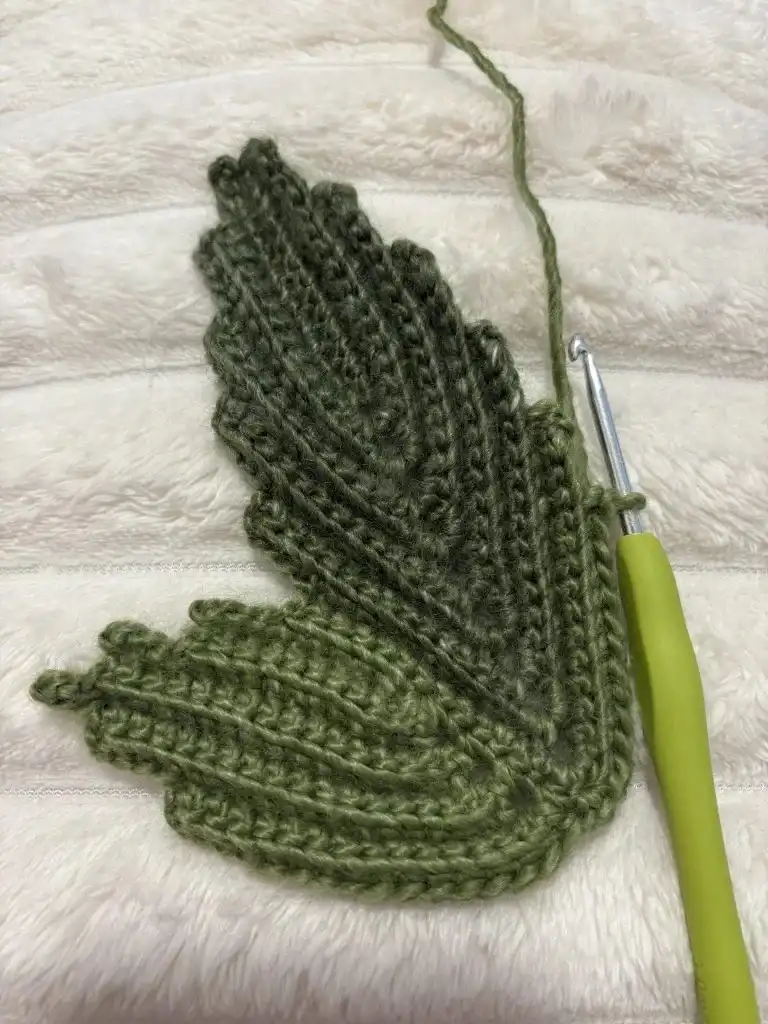
- Row 18: skip 1, scBLO 16, skip 1, sc 3, scBLO 12, ch 5, turn (photo 12)
- Row 19: skip 2, sc 3, scBLO 5, ch 1, skip 1, sc, ch 1, turn
- Row 20: sc in the ch space, scBLO 9, ch 5, turn
- Row 21: skip 2, sc 3, scBLO 11, ch 1, skip 1, sc, ch 1, turn
- Row 22: sc in the ch space, scBLO 15, ch 4, turn
- Row 23: skip 2, sc 2, scBLO 16, ch 1, skip 1, sc, ch 1, turn
- Row 24: sc in the ch space, scBLO 17, ch 1, turn
- Row 25: skip 1, scBLO 18, ch 1, skip 1, sc, ch 1, turn
- Row 26: sc in the ch space, scBLO 15, ch 1, turn
- Row 27: skip 1, scBLO 15, ch 1, skip 1, sc, slst
- Fasten off, cut off the yarn leaving a long piece for sewing later. (photo 13)
ASSEMBLING
This is where all your beautifully crocheted pieces come together to form your finished pumpkin! The assembly steps are crucial for giving your pumpkin its characteristic shape and attaching the stem and leaf securely. Take your time with each step for a polished result.
- Fold the pumpkin’s panel in half and sc two sides together. Now you can cut the yarn off but leave a long piece for joining the sides. (photo 14)
This initial seam forms the cylinder of your pumpkin. Ensure your single crochet stitches are neat and tight to prevent gaps.
- Using the needle pull the yarn through all the stripes around. (photo 15)
This step creates the bottom cinched part of the pumpkin. Weaving through each stripe ensures a consistent gathering.
- Pull it tightly and secure by tying. You can repeat pulling the yarn around to close hole completely. (photo 16)
Pulling tight creates the indented bottom of the pumpkin. Reinforce the knot for durability.
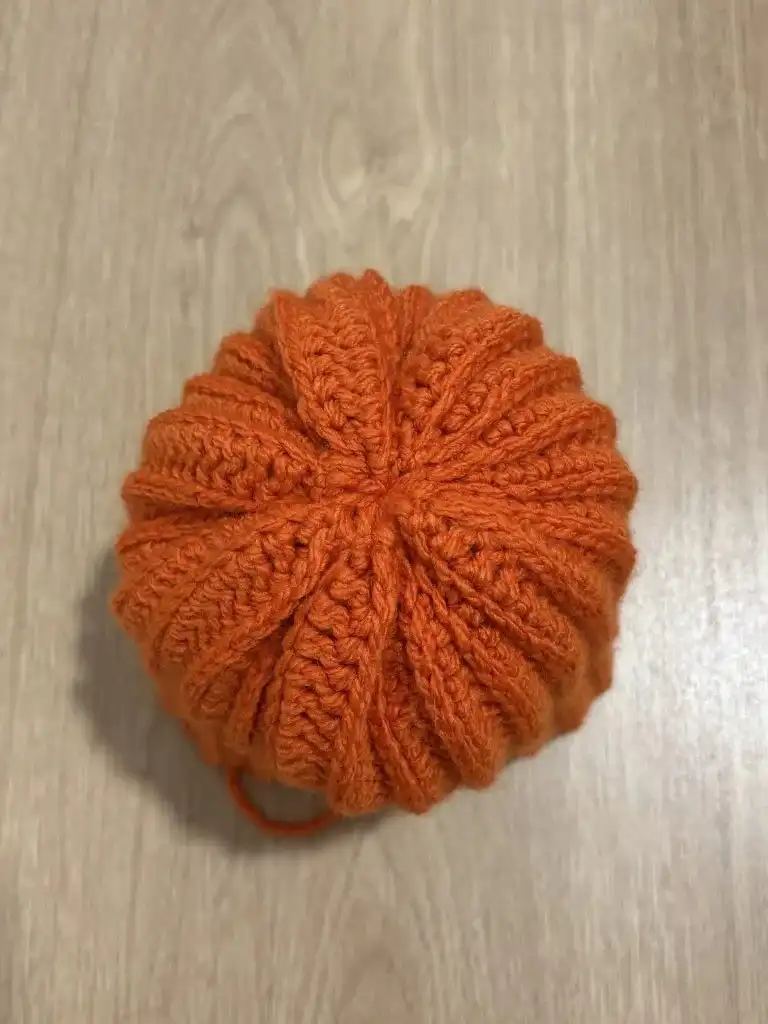
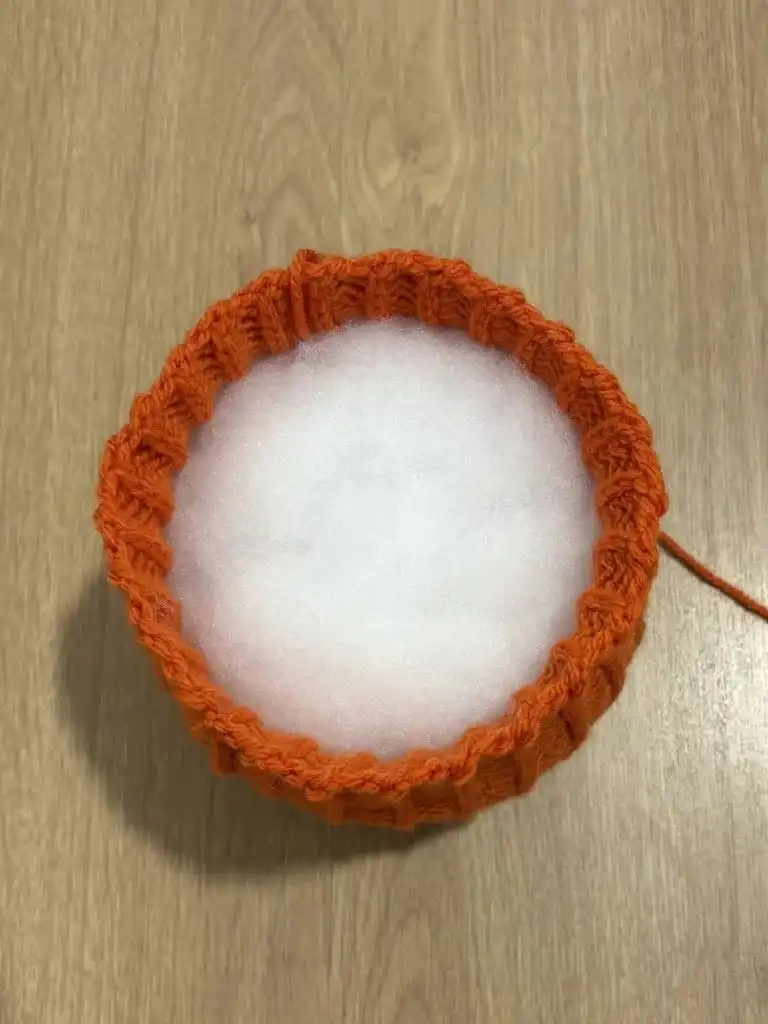
- Now it should look like a beanie hat. Put the stuffing inside it. Make sure it is stuffed enough to keep the shape of it. (photo 17)
Stuff evenly to avoid lumps and ensure a firm, round shape. This stage is similar to shaping other projects like crochet beanie hat patterns. For more inspiration, explore other delightful crochet hat patterns.
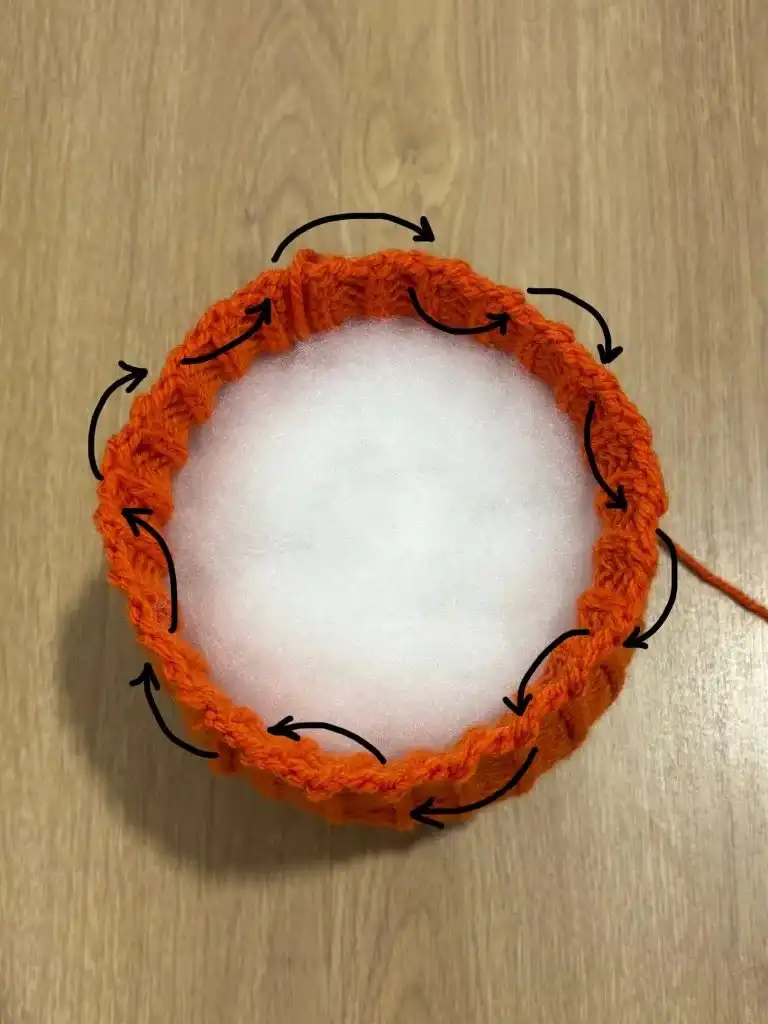
- Pull the yarn through the stripes around to close the pumpkin. (photo 18)
This step closes the top, mirroring the bottom closure and starting to create the pumpkin’s iconic shape.
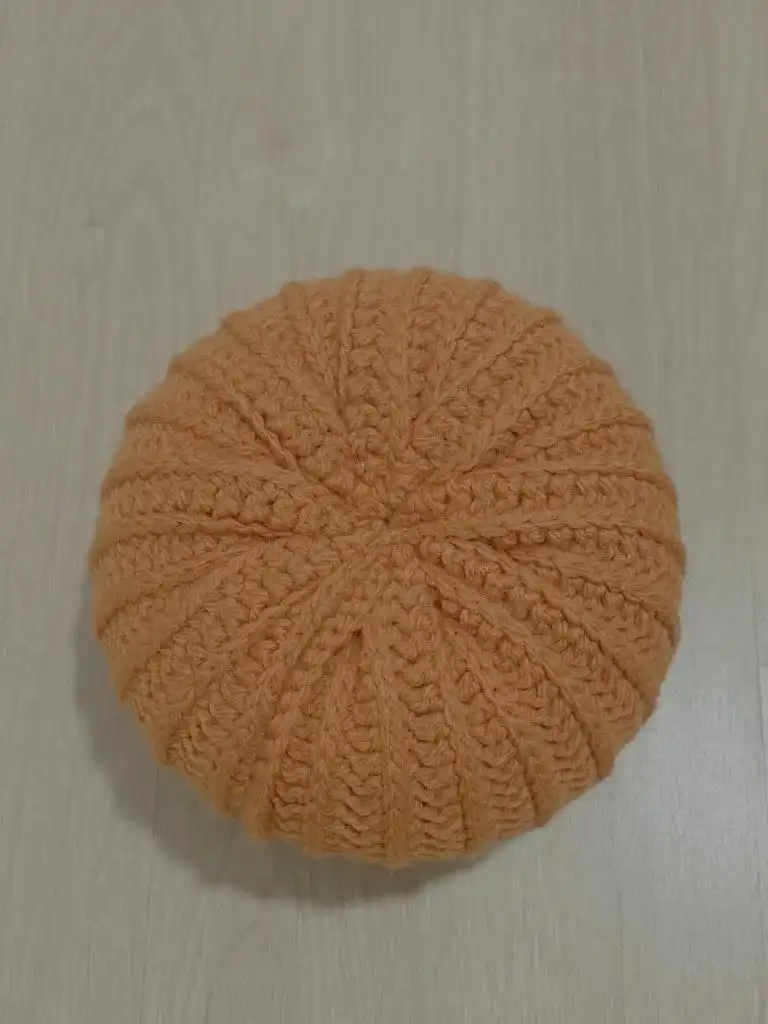
- Tie it a few times to secure it. (photo 19)
A secure knot here is important to prevent the stuffing from coming out and to maintain the pumpkin’s form.
- Now we will be attaching the leaf. If you want, you can just simply glue it, but i chose to sew it.
Sewing offers a more durable and professional finish for attaching the leaf. It integrates the leaf more seamlessly with the pumpkin.
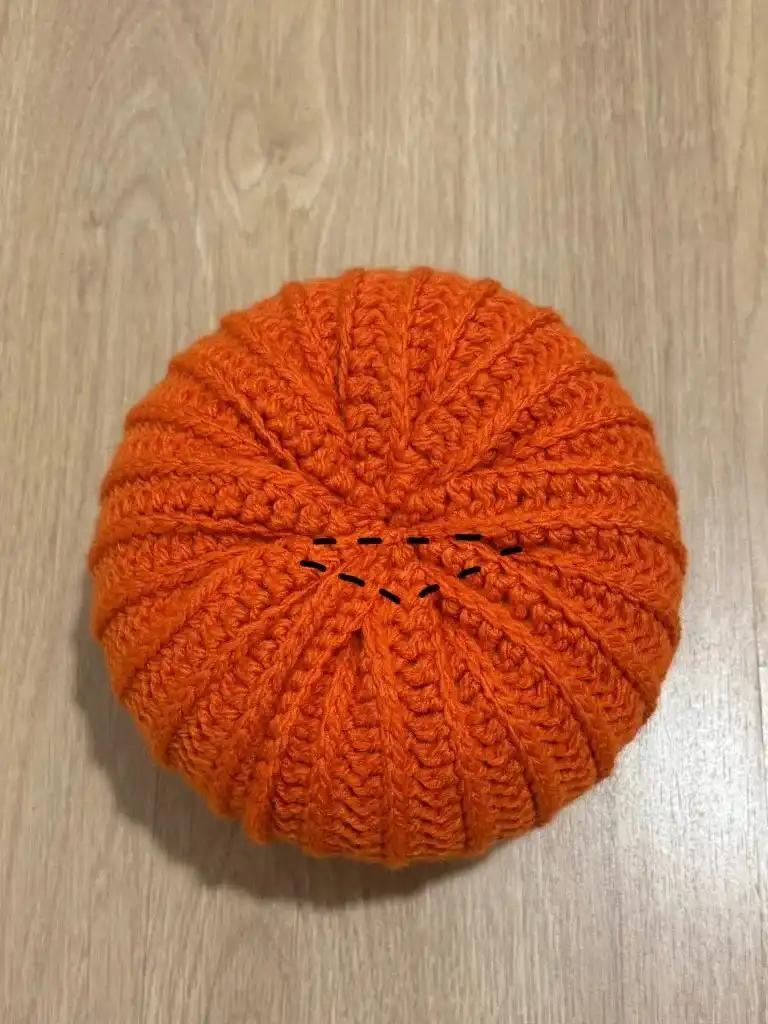
- Place the leaf on one half of your pumpkin. Starting from the middle sew the edge of the leaf. (photo 20,21…)
Position the leaf carefully before sewing to ensure it looks natural. Use small, neat stitches that blend in.
- Make a tie under the leaf to secure it. Hide it and cut off. (photo 28,29)
Secure the leaf firmly and weave in any loose ends to keep your work tidy.
- Place the stem in the center of the pumpkin. We are going to sew the edge of stem around (photo 30,31)
Center the stem carefully and stitch around its base, ensuring it stands upright.
- Make a tie, hide and cut off the yarn. (photo 32, 33)
Finalize the stem attachment with a strong knot and neatly hide all remaining yarn tails.
Your pumpkin is ready!
Congratulations, your beautiful crochet pumpkin is now complete! Take a moment to admire your handmade creation, a perfect accent for any fall setting. This versatile pattern can be adapted for various sizes and colors, allowing you to create a whole patch of unique pumpkins. For your next project, an all-in-one crochet kit might be just what you need to get started. Don’t forget to save this pin on Pinterest to easily find it later, share it with fellow crafters, and let us know in the comments how your pumpkin turned out!


