Craft a Charming Crochet Lily of the Valley Coaster – DIY Crafts
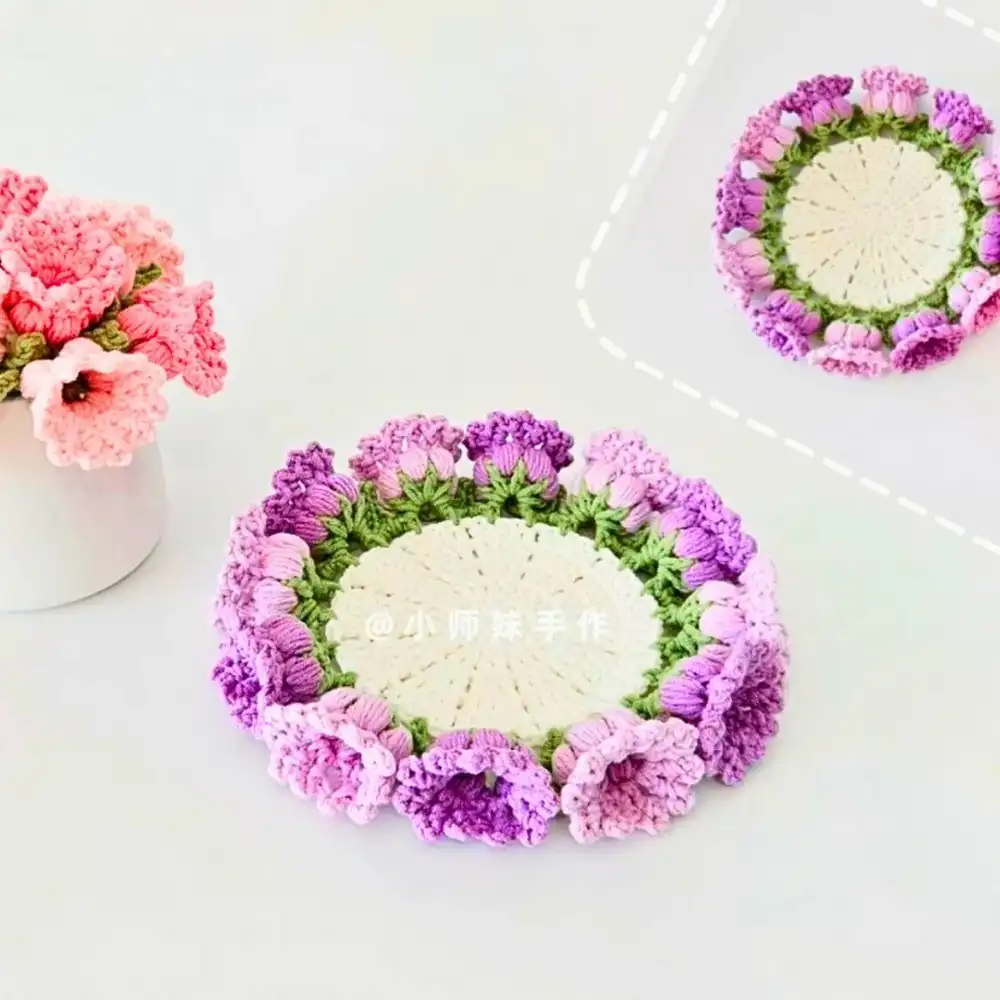
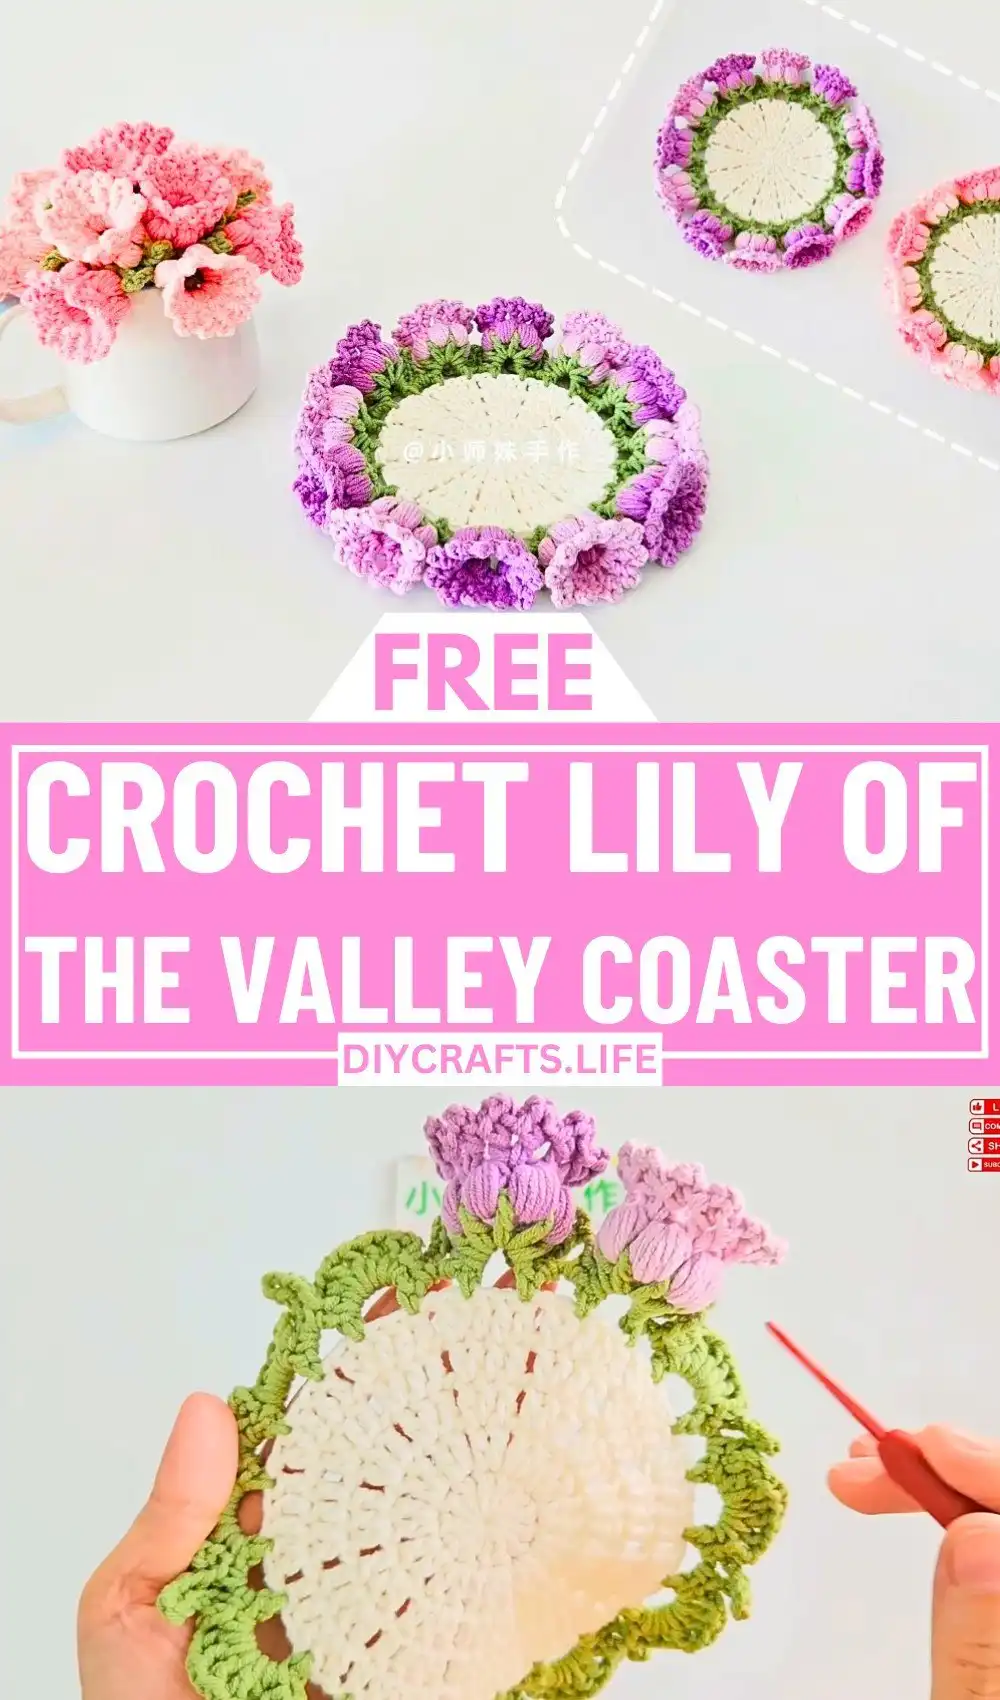
Bring the quiet elegance of a spring garden to your home with this exquisite Crochet Lily of the Valley Coaster. This delightful DIY craft project allows you to create a functional yet decorative piece that perfectly captures the delicate beauty of these beloved blossoms. Imagine your favorite mug resting on a coaster that feels both luxurious and handcrafted, adding a touch of natural charm to any table setting.
Embark on this rewarding crochet journey to transform simple yarn into a textured floral piece with depth and character. Whether you’re making a thoughtful handmade gift for a loved one or a cheerful addition to your own space, this pattern for a Crochet Lily of the Valley Coaster is a joy to create. It’s a wonderful way to explore new techniques and achieve stunning results, perfect for those who appreciate unique granny square flower patterns and other intricate designs.
Materials & Tools Needed
To begin your Crochet Lily of the Valley Coaster, gathering the right materials is key. For the delicate blossoms and base, milk cotton yarn in white is highly recommended due to its soft texture and excellent stitch definition, allowing the intricate details of the flower to stand out beautifully. If you prefer, a very light pastel color could also provide a charming variation, just ensure it offers good visibility as you work. For the leaves, a complementary shade of green yarn will bring the coaster to life, mimicking nature’s own palette. Beginners might find lighter yarn colors easier to see their stitches. You’ll also need a 3.0 mm crochet hook, which is ideal for achieving a snug fabric that holds its shape well and gives the coaster its intended firmness. A pair of sharp scissors is essential for neatly cutting your yarn ends, and a tapestry needle will be indispensable for weaving in those loose ends, giving your finished coaster a professional and tidy appearance.
Finished Size & Customization Ideas
Once completed, your Crochet Lily of the Valley Coaster will typically measure approximately 4–5 inches in diameter, a perfect size for most mugs and glasses. The exact dimensions can vary slightly based on your personal crochet tension and the specific yarn weight you choose, adding a unique, handmade touch to each piece. This measurement ensures it’s practical for everyday use while still being a delightful decorative accent.
- Use a combination of pastel colors for the flowers and leaves to create a unique look: Instead of traditional white, consider soft pinks, blues, or yellows for the lily bells, paired with subtle sage or mint green for the leaves. This approach allows for endless creative expression, letting you match the coaster to your existing home decor or seasonal themes.
- Add additional rounds to make a larger coaster or use thinner yarn for a smaller one: If you desire a mug rug or a placemat, simply continue the increasing rounds (similar to Step 2) until you reach your desired diameter before adding the floral details. Conversely, using a finer yarn weight and a smaller hook will result in a more delicate, miniature coaster, perfect for teacups or as decorative appliqués.
- Block the finished piece to improve its shape and flatten the edges: Blocking is a crucial finishing step for crochet projects. After weaving in all ends, gently wet your coaster, shape it to its desired form (often pinning it down on a blocking mat), and let it dry completely. This process evens out stitches, flattens any curling edges, and gives your coaster a crisp, polished, and professional look that truly elevates your DIY craft.
Pattern Abbreviations & Terminology
This crochet pattern utilizes standard US Crochet Terminology, making it accessible for a wide range of crocheters. Familiarizing yourself with these abbreviations will ensure a smooth and enjoyable crafting experience:
- sl st: Slip stitch – Used to join rounds or move yarn across stitches without adding height. It creates a neat, almost invisible seam.
- ch: Chain – The foundational stitch in most crochet projects, forming a series of loops.
- sc: Single crochet – A fundamental stitch that creates a dense fabric.
- dc: Double crochet – Taller than a single crochet, providing more height and drape.
- hdc: Half double crochet – A stitch that falls between sc and dc in height, offering a good balance of texture and speed.
- tr: Treble crochet – The tallest of the basic stitches, creating an open and airy fabric.
- st(s): Stitch(es) – Refers to a single stitch or multiple stitches.
- yo: Yarn over – The action of wrapping the yarn over your hook, a common step in almost all crochet stitches.
- rep: Repeat – Indicates that a sequence of stitches should be performed multiple times.
- lp: Loop – Refers to any loop on your hook or in the fabric.
Save
Step-by-Step Detailed Crochet Instructions
Step 1: Create the Base (Foundation Circle)
The foundation of your Crochet Lily of the Valley Coaster begins with a solid central circle. You can start with either a Magic Ring, which creates a tightly closed center, or by chaining 4 and joining with a slip stitch to form a ring. For Round 1, chain 3 (this chain counts as your first double crochet stitch) and then work 11 more double crochet stitches into the ring. This will give you a total of 12 double crochet stitches, including your initial chain-3. Close the round neatly by making a slip stitch into the top of that beginning chain-3. If you used a magic ring, gently pull the starting tail tight to completely close the center hole, creating a neat, compact base for your coaster. This initial step is crucial for the overall shape and stability of your coaster.
Save
Step 2: Increasing Rounds for the Body
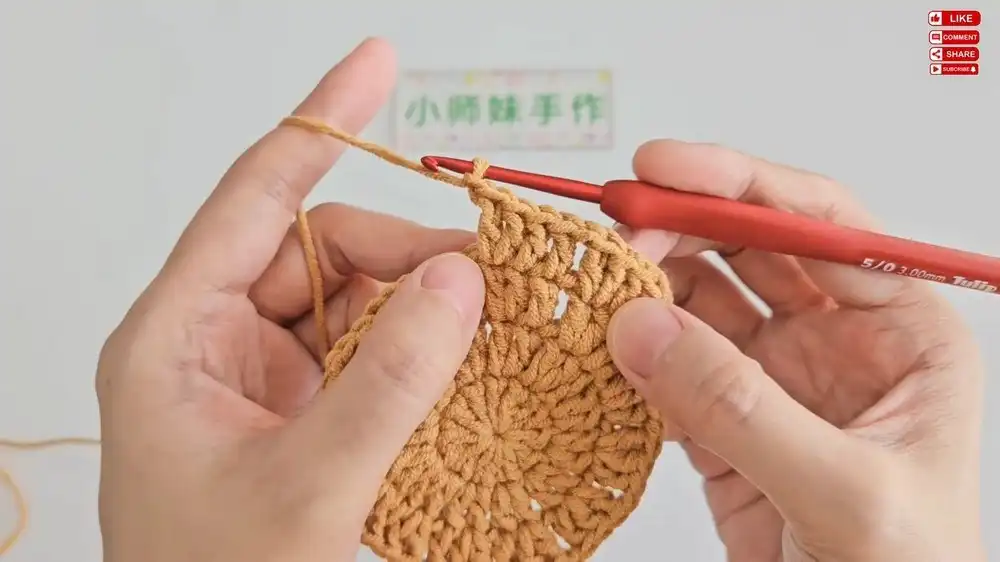
Building upon your foundation, these increasing rounds will expand the coaster to its desired diameter, forming a flat circle. Each round systematically adds stitches to ensure the circle lays flat without ruffling or cupping. For Round 2, begin with a chain 3 (counting as your first double crochet). Work 2 double crochet stitches into the next stitch, then 1 double crochet in the following stitch, and again 2 double crochet in the next. Repeat this sequence around, alternating between 1 dc and 2 dc per stitch, finishing with a slip stitch into the top of the ch-3 for a total of 18 dc. Round 3 starts with a chain 3, followed by 2 dc in the next stitch, then 1 dc in the next 2 stitches. Continue by placing 2 dc in the next stitch, then 1 dc in the next 2 sts, repeating this pattern around and joining with a sl st for 24 dc. Round 4 begins with ch 3, then 2 dc into the first st, 1 dc into the next 3 sts. Repeat the sequence of 2 dc in the next st, then 1 dc in the following 3 sts around, finishing with a slip stitch for 30 dc. Finally, for Round 5, ch 3, work 2 dc in the first st, then 1 dc in the next 4 stitches. Repeat the pattern of 2 dc in the next st, then 1 dc in the following 4 sts around, joining with a sl st to complete the base with 36 dc. These systematic increases ensure your coaster remains perfectly circular and flat, ready for its decorative elements.
Save
Step 3: Crocheting the Leaf Details
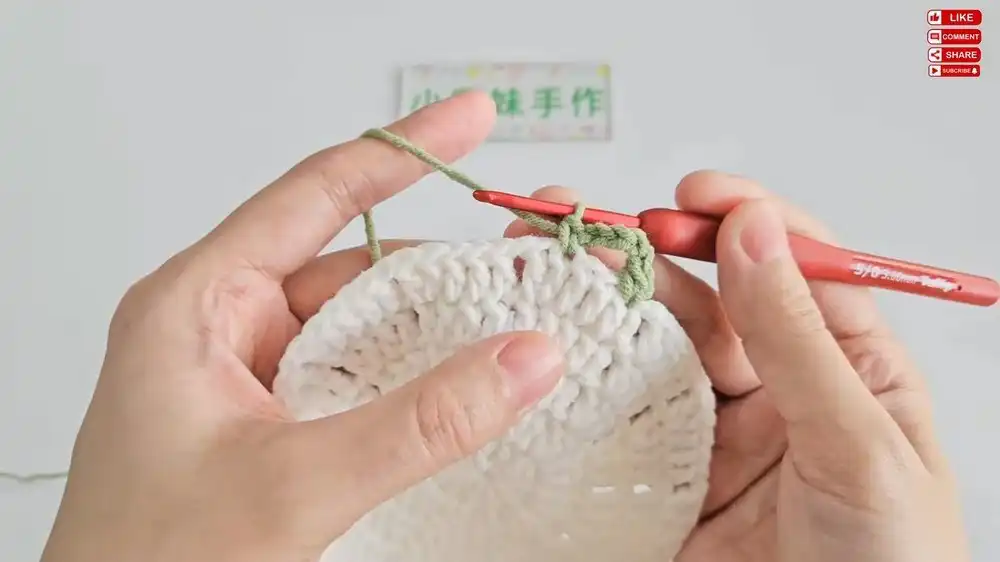
Now it’s time to introduce the vibrant green leaves that will frame your lily of the valley flowers. Carefully change your yarn to green. You can start this round at any double crochet stitch from the previous round by joining the green yarn with a slip stitch. Once joined, chain 1 and then single crochet into the same stitch where you joined. This anchors your new yarn securely. Next, create a chain of 5, which will form the base of your leaf arches. Skip the next 2 stitches from the previous round and then single crochet into the following stitch. This forms your first chain-5 loop. Continue to repeat this sequence—chain 5, skip 2 stitches, single crochet into the next stitch—all the way around the coaster. You should end up with a total of 12 chain-5 loops evenly spaced around the edge of your work. Join the round neatly with a slip stitch into the first single crochet you made. These loops are the foundation upon which your beautiful leaves will be built.
Step 4: Building the Leaf Design
With the chain-5 loops in place, you will now sculpt the delicate leaf shapes. For each and every chain-5 loop you created in the previous step, you will work a specific sequence of stitches to form a distinct leaf. Begin by working 1 single crochet into the loop, then chain 3 (this chain will form the tip of your leaf). Next, work 4 double crochet stitches into the same loop, creating the body of the leaf. Follow this with another chain 3, which helps shape the other side of the leaf. Finally, work 1 single crochet back into the same chain-5 loop and fasten it back into the same loop with another single crochet. This completes one small, elegant leaf shape. Repeat this precise sequence for all 12 chain-5 loops around the coaster. Ensure your tension is consistent for uniform leaves. Once all leaves are formed, finish the round by making a slip stitch into the very first single crochet stitch you made at the beginning of this round. Securely fasten off the green yarn, leaving a tail long enough to weave in, and admire your lovely green foliage.
Save
Step 5: Crocheting the Flower Design
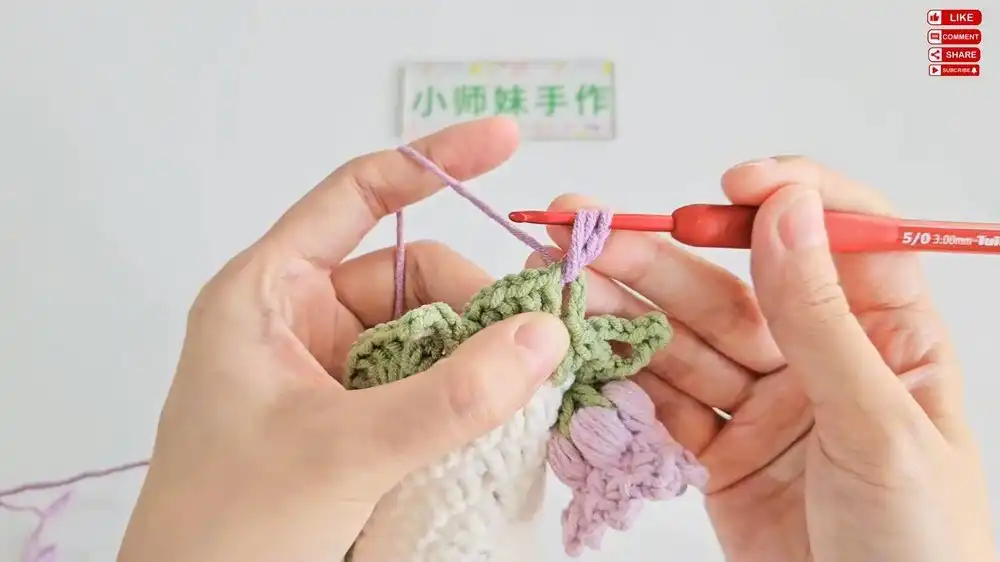
With the green leaves beautifully established, it’s time for the star of the show: the delicate white lily of the valley flowers. Rejoin your white yarn into any chain-space formed along the edges of your newly crocheted leaves. This will position your flowers perfectly above the foliage. Start by chaining 2 (this does not count as a stitch, but gives you height). Then, work 6 unfinished double crochet stitches into the same space. To do an unfinished double crochet, yarn over, insert hook into space, yarn over, pull up a loop, yarn over, pull through 2 loops on hook (2 loops remain on hook). Repeat this 5 more times. Once you have all 7 loops on your hook (1 initial loop + 6 from the unfinished DCs), yarn over and pull through all loops on the hook. This creates a beautifully gathered cluster stitch, forming the bell-like shape of the lily. Chain 1 securely to close the cluster. Repeat this entire process – chain 2, 6 unfinished double crochet into the space, yarn over and pull through all loops, chain 1 – in every chain space around the coaster. You will create a total of 12 distinct flower clusters, each blooming elegantly. Finish this round by making a slip stitch to the very top of the first cluster you created, ensuring a seamless finish.
Step 6: Edging the Flower Petals
To give your lily of the valley flowers that characteristic delicate, ruffled edge, you’ll add a final edging round. Begin by chaining 3 from any space located between two flower clusters. This chain provides the initial height for your petal. In the very same space, work 1 double crochet stitch. This forms the main body of your petal. To create the subtle peak of the lily bell, chain 3, and then make a slip stitch into the top of the double crochet you just made. This creates a picot-like point, giving the flower a realistic, finished appearance. Repeat this sequence for all spaces between the flower clusters around the coaster. You will effectively create 12 distinct petal peaks, each beautifully accentuating the flower clusters. Once you’ve completed all the petals, finish by making a slip stitch at the starting chain of this edging round. This completes the delicate floral design, bringing your Crochet Lily of the Valley Coaster to life. Your coaster is almost complete, ready for its final touches!
Save
Finishing Touches
To ensure your Crochet Lily of the Valley Coaster is perfect and durable, these finishing steps are essential. First, carefully cut the yarn, leaving a tail of about 4-6 inches, and fasten off securely by pulling the tail through the last loop on your hook. Next, take your tapestry needle and meticulously weave in all loose ends. Pass the needle through the stitches on the back of the coaster in several directions to secure them, ensuring they are invisible from the front and won’t unravel with use. Finally, for a truly professional finish, lightly block the coaster. Gently wet it, reshape it by hand or pin it to a blocking mat, and allow it to air dry completely. This process helps to flatten the coaster, even out any stitch inconsistencies, and define the delicate shape of the lily of the valley petals and leaves, giving it a polished and refined look that truly showcases your DIY craft skills.
More Free Crochet Patterns
If you’ve enjoyed creating the Lily of the Valley Coaster, you’ll love exploring more festive and decorative crochet projects. These patterns are perfect for adding handmade charm to your home or creating thoughtful gifts for any occasion. Expand your crochet skills and bring more delightful pieces to life!
Easy Crochet Christmas Tree Pattern with Starch Stiffening
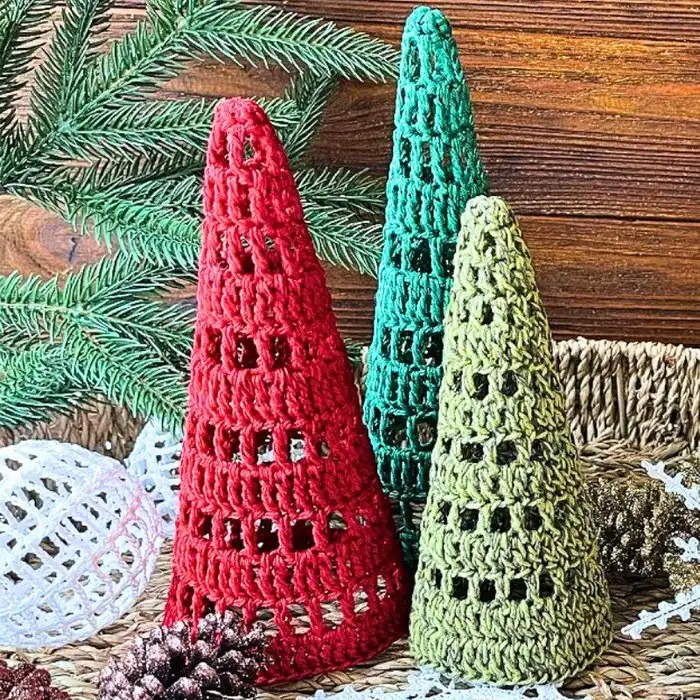
This charming crochet project is perfect for adding a touch of festive cheer to your holiday decor. Designed to be easy to follow, it quickly works up into a delightful miniature tree that can stand on its own. The real magic happens with the starch stiffening technique: once crocheted, the piece is treated with a starch solution and shaped, resulting in a firm, freestanding ornament that maintains its conical form beautifully. You can adorn these little trees with tiny beads, sequins, or a simple star topper to personalize them. They make wonderful mantelpiece decorations, desk accessories, or unique ornaments for your main Christmas tree. The pattern often suggests a range of green yarns, from deep forest to bright lime, allowing for creative variations. This project is ideal for those looking to create durable, heirloom-quality holiday decorations that will last for years to come. Consider making a set in varying sizes for a charming display.
Crochet Santa Star Ornament For Festive Décor
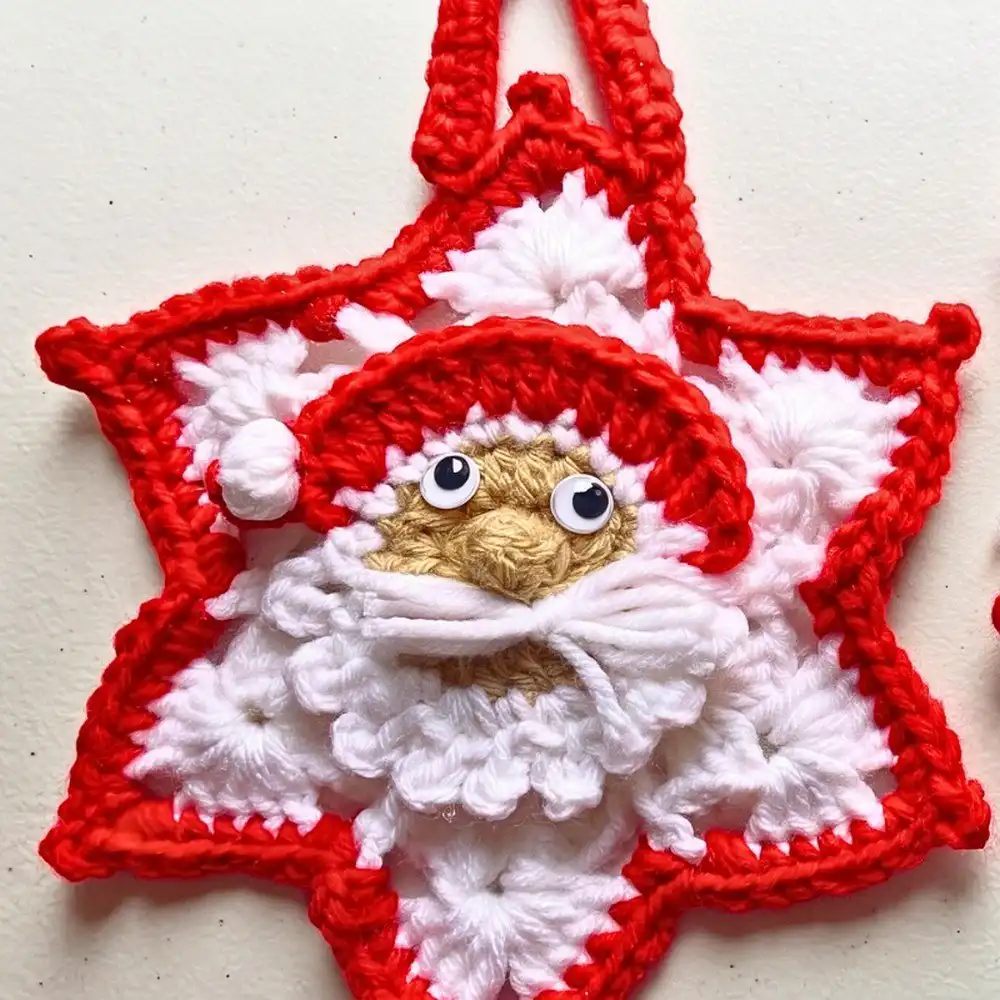
Capture the spirit of the holidays with this adorable Crochet Santa Star Ornament. This pattern combines the classic five-point star shape with beloved Santa Claus elements, creating a truly unique piece for your festive decor. Typically worked in classic red and white yarn, with a touch of black for Santa’s belt and gold for the buckle, this ornament is both recognizable and whimsical. The design often features textured stitches to create Santa’s fluffy beard and hat trim, bringing him to life. This project is a fantastic way to use up smaller yarn scraps and create meaningful, handmade gifts for friends and family. It’s suitable for crocheters with some basic experience, offering a fun challenge to integrate different color changes and shaping techniques. Hang it on your Christmas tree, use it as a gift topper, or string several together for a festive garland. It’s a delightful addition to any holiday collection, radiating warmth and cheer.
Crochet Hanging Christmas Tree Decoration Pattern Free
This free crochet pattern for a hanging Christmas tree decoration is designed for simplicity and elegance, making it an excellent project for beginners and experienced crocheters alike. Often featuring a flat, two-dimensional design, these trees can be quickly crocheted using various shades of green yarn, with optional embellishments like small colorful beads, embroidery, or glitter yarn to mimic lights and ornaments. The pattern usually includes instructions for creating a small loop at the top, making it easy to hang on your tree, a doorknob, or as part of a festive mobile. Its compact size means it uses very little yarn, making it an economical choice for decorating. You can experiment with different stitch patterns to add texture, such as bobbles for baubles or front post stitches for depth. These hanging decorations are perfect for crafting in batches, ideal for gifting or adorning multiple spots in your home with handmade holiday charm. Consider using cotton yarn for a crisp finish that holds its shape.
Crochet Christmas Tree Pattern For The Best Decoration
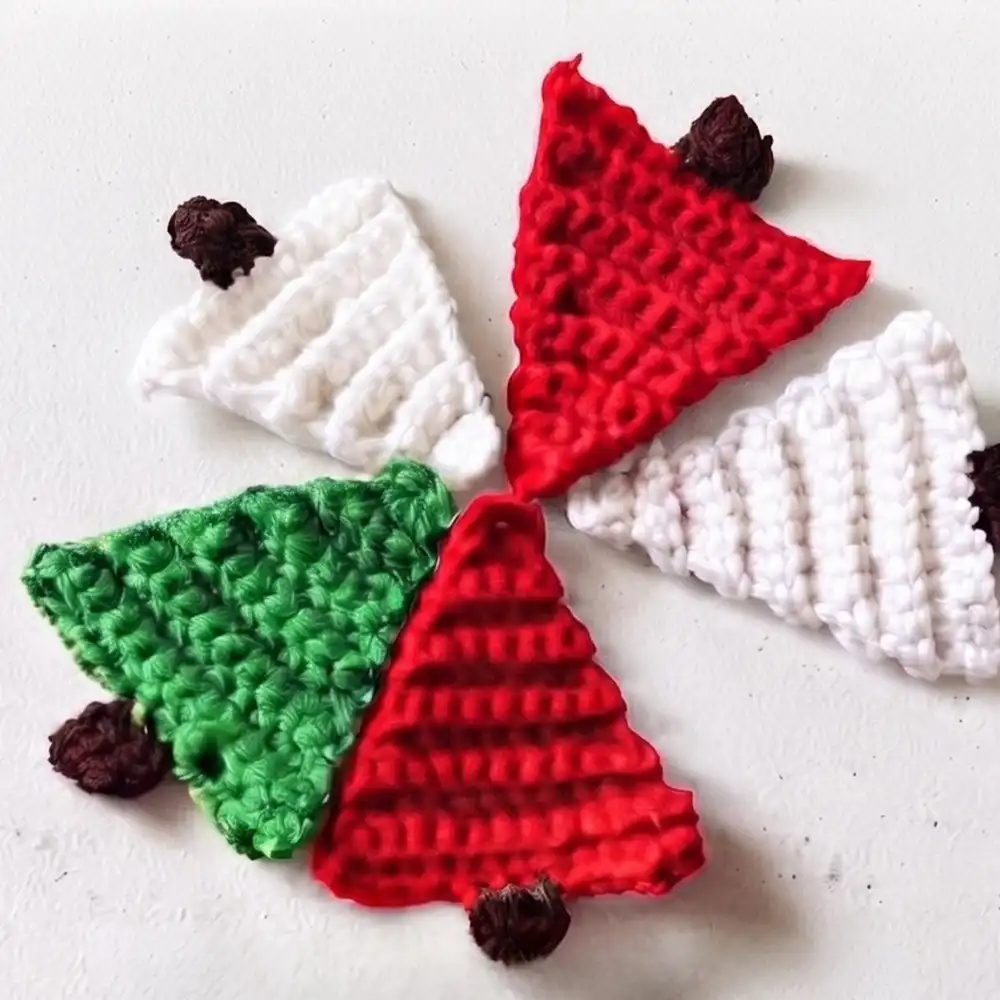
Elevate your holiday decorating with this versatile crochet Christmas tree pattern, designed to be a standout piece. This pattern often offers options for creating both flat appliques and three-dimensional, stuffed trees, giving you flexibility in your festive creations. For the flat version, it can be used on cards, gift tags, or as part of a larger garland. The 3D version, often worked in rounds and then lightly stuffed, becomes a charming freestanding ornament or a soft toy for children. Using different yarn weights can produce trees of varying sizes, allowing you to create a whole forest. Details like textured stitches, simple bobbles, or subtle color changes can mimic branches and snow. This project is excellent for honing your shaping skills and understanding how to build dimension in crochet. Whether you’re looking for unique tree ornaments, festive table decor, or a cozy handmade gift, this pattern provides the blueprint for truly special holiday decorations. You might also enjoy exploring other crochet patterns for home decor to complement these seasonal pieces.
We hope you enjoyed crafting your beautiful Crochet Lily of the Valley Coaster! Don’t forget to save this pattern to your Pinterest board for future reference, share it with a friend who loves DIY crafts, and let us know in the comments how your project turned out. Happy crocheting!


