Crochet Rose Pattern – DIY Crafts: Your Guide to a Beautiful Handmade Flower
Transforming simple yarn into a masterpiece is easier than you think with this exquisite Crochet Rose Pattern. This DIY craft project allows you to capture the timeless beauty of a rose, bringing a gorgeous floral element to life right in your hands. Whether you’re an experienced crocheter or a keen beginner, this pattern provides clear instructions to create a stunning, versatile flower.
Embrace the joy of handmade artistry as you craft these charming roses. Perfect for any season, a crocheted rose can add a soft, elegant touch to countless projects, from embellishing a crochet bag to enhancing a crochet cardigan. Dive into this delightful project and discover how simple stitches can blossom into something truly special for your home décor or wearable art collection.
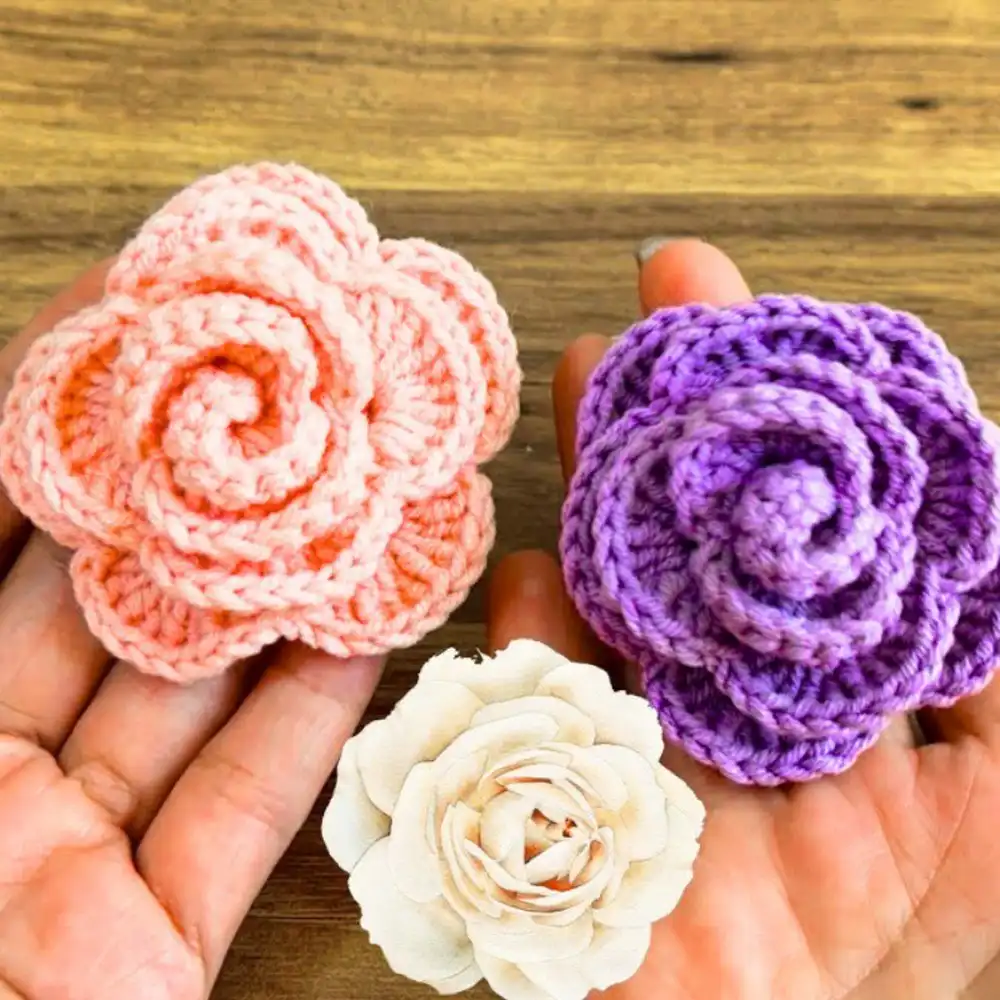
Crochet Rose Pattern
This unique and elegant crochet rose pattern stands out for its realistic flow and intricate petal details. Beginning with a foundation of 54 chains, the design meticulously uses double crochets and chain stitches to form delicate petal shapes that naturally fold into a lifelike blossom. This method ensures your finished rose possesses depth and dimension, mimicking the organic beauty of a real flower.
The resulting versatile floral accent beautifully blends creative expression with timeless artistry. You can customize colors and sizes to match any style, making these roses ideal for personalizing crochet bucket hats, scarves, or as standalone decorative pieces. Each rose you create will be a testament to your crafting skill and a charming addition to any project.
Required Materials:
- Crochet Hook: A 2.5 mm hook is recommended for achieving the ideal stitch definition and size for this rose.
- Yarn: Select a yarn suitable for crocheting flowers, such as DK (light worsted) or sport weight cotton or acrylic, in your preferred rose color.
- Scissors: Essential for neatly cutting your yarn ends.
- Tapestry Needle: An optional but highly recommended tool for seamlessly weaving in loose ends and securing the rose’s shape.
Important Notes:
- Starting with Chain 54: The foundation of this rose begins with chaining 54 stitches. Maintaining consistent tension throughout this initial chain is crucial for an even base and a well-formed flower.
- Pattern Repeats: Pay close attention to the instructions regarding repeating steps. Accurate repetition is key to correctly establishing the distinct petal shapes and overall structure of the rose.
- Turning Rows: After completing the first set of rows, you will turn your work. This action initiates the next phase of petal formation, allowing you to add more intricate details like additional double crochets to build volume.
- Tail for Assembly: Remember to leave a long yarn tail at the very end of your crocheted piece. This tail is vital for neatly rolling and securing the rose into its final three-dimensional shape.
Step-by-Step Instructions:
Step 1: Start with the Base Chain
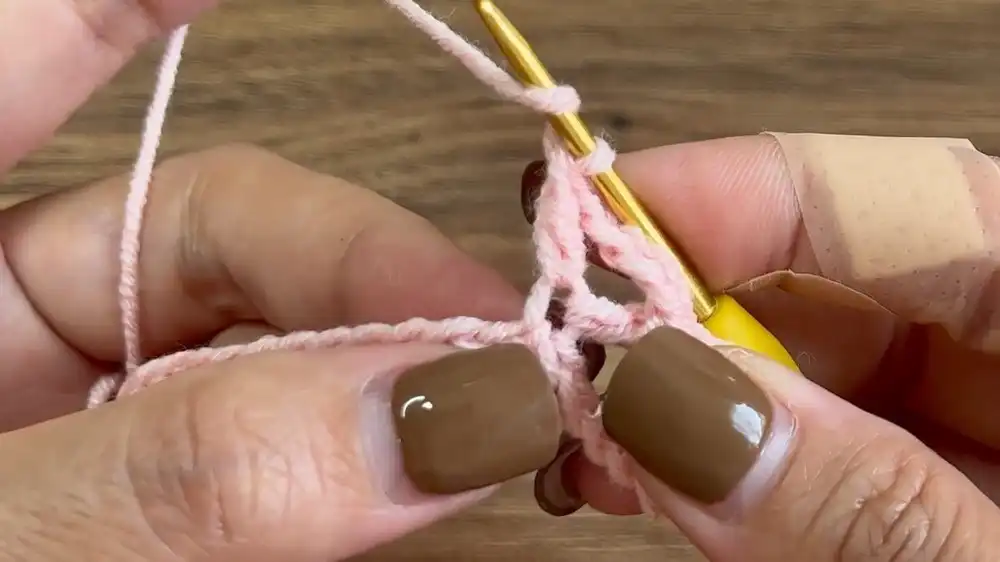
Every beautiful crocheted rose begins with a solid foundation. To start, make a slip knot on your 2.5 mm crochet hook, ensuring it’s snug but not too tight. Then, carefully chain 54 stitches. This chain will form the backbone of your rose, providing the length needed for all the subsequent petals to build upon. Consistency in your chain stitches will lead to a more even and professional-looking finished flower.
Step 2: Work the First Row
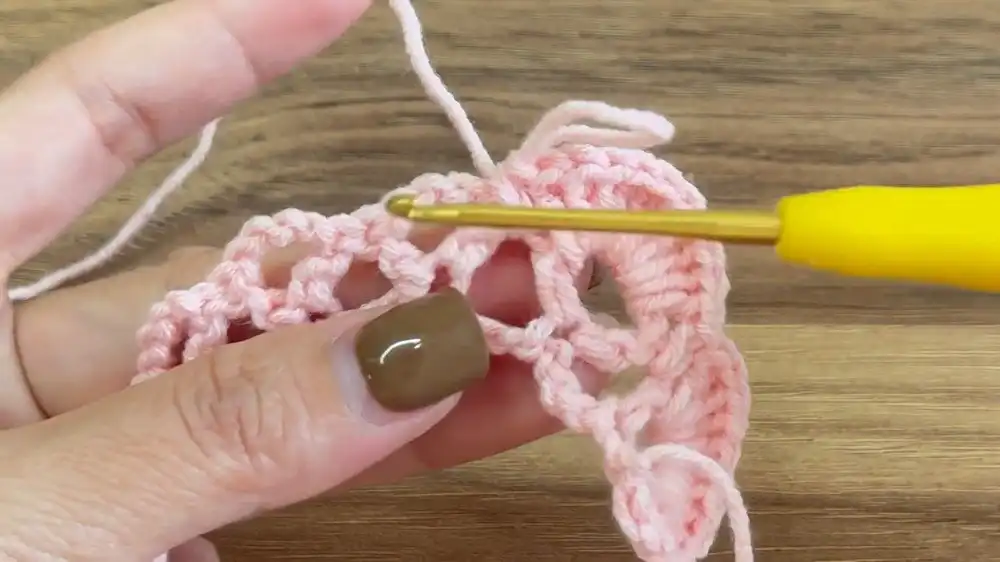
This row establishes the initial framework for your petals. Begin by skipping the first three chains from your hook; these skipped chains will count as your first double crochet. In the fourth chain from the hook, work one double crochet (DC). Then, chain 4 stitches, and work another double crochet (DC) into the very same fourth chain. This creates your first V-stitch, which will be the base for a petal.
Continue this pattern across the row: skip three chains, then in the fourth chain, work a double crochet, chain 4, and another double crochet in the same stitch. Repeat this sequence until you reach the end of your foundation chain. This method creates a series of evenly spaced “V” shapes along your work, laying the groundwork for the rose’s distinctive petal structure.
- Chain 4.
- Double Crochet (DC) in the same stitch.
- Double Crochet (DC).
- Chain 4.
- Double Crochet (DC) in the same stitch.
Step 3: Begin the Second Row
Once you’ve completed the first row, you’ll be ready to start building the volume of your petals. To finish the first row, make a single double crochet in the very last stitch of your foundation chain. This secures the end of your row. Next, chain 2 stitches, and then turn your work. Turning your work correctly is essential as it positions you to crochet back along the previous row, working into the chain spaces you just created.
Step 4: Add Detail with Double Crochets
This is where your rose truly begins to take shape, adding the lushness and texture of petals. From your turned position, you will now work into the large chain-4 spaces created in the previous row. In the very first large chain space, make a generous cluster of 10 double crochets. These stitches will fan out to form the first part of a petal.
After completing these 10 double crochets, you will place a single crochet stitch between the two double crochets from the previous row (specifically, in the middle space connecting the V-stitches). This single crochet acts as a hinge, neatly drawing the petal segments together. Then, move to the next large chain space and add another 10 double crochets. Continue this pattern—10 double crochets in a chain space, followed by a single crochet between the previous row’s stitches—until you complete the second row. In the final space, finish with a single crochet followed by 10 double crochets to ensure symmetry and complete the last petal section.
- In the first large chain space from the previous row, make 10 double crochets.
- Place a single crochet between the double crochets from the previous row (in the middle space).
- Add 10 double crochets in the next large chain space.
- Add a single crochet followed by 10 double crochets.
Step 5: Finish and Form the Flower
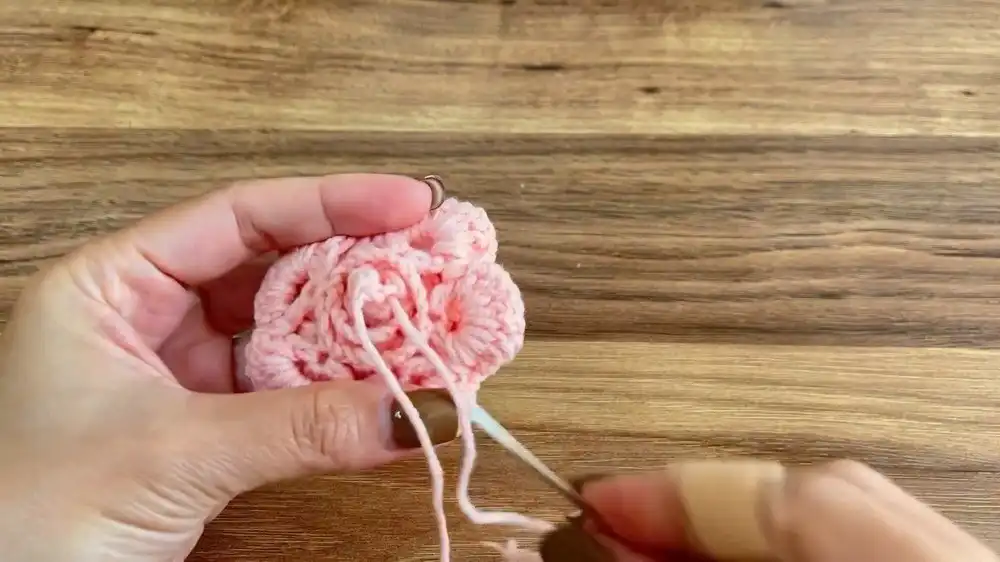
You’re almost there! After successfully completing the second row, secure your last double crochet with a slip stitch. This firmly locks your stitches in place. Critically, before cutting your yarn, remember to leave a long yarn tail—at least 12-15 inches. This tail is indispensable for the assembly process.
Now comes the magical part: forming the rose. Starting from one end, carefully and tightly roll the crocheted piece. As you roll, the double crochet clusters will naturally curl and layer, forming the beautiful concentric petals of a rose. Once rolled to your desired fullness, use the long yarn tail and a tapestry needle to securely stitch through the base of the rolled flower, binding all the layers together. This creates a stable and beautiful rose shape.
- Secure the last double crochet with a slip stitch.
- Leave a long yarn tail to facilitate rolling the crocheted piece into a rose shape.
Step 6: Final Adjustments
With your rose formed, a few final touches will bring it to life. Gently adjust the petals, spreading them out with your fingers to achieve a more realistic, open, and voluminous look. You can slightly manipulate the edges to give them a natural curl or fluffiness. Ensure the base is tightly secured using the yarn tail you left earlier; if necessary, use your tapestry needle to make additional stitches through the base to reinforce its structure. This step allows you to personalize the bloom and ensure it holds its beautiful shape for years to come.
Closing Notes:
This comprehensive tutorial offers a simple yet elegant method to create a stunning crocheted rose. The beauty of this pattern lies in its adaptability. By experimenting with different crochet hook sizes and various yarn weights, you can easily adjust the final dimensions of your roses. Smaller hooks and finer yarns will yield delicate miniature roses, perfect for jewelry or subtle accents, while larger hooks and bulkier yarns will produce grander blooms suitable for crocheted home décor or statement pieces. Embrace the versatility and let your creativity bloom!
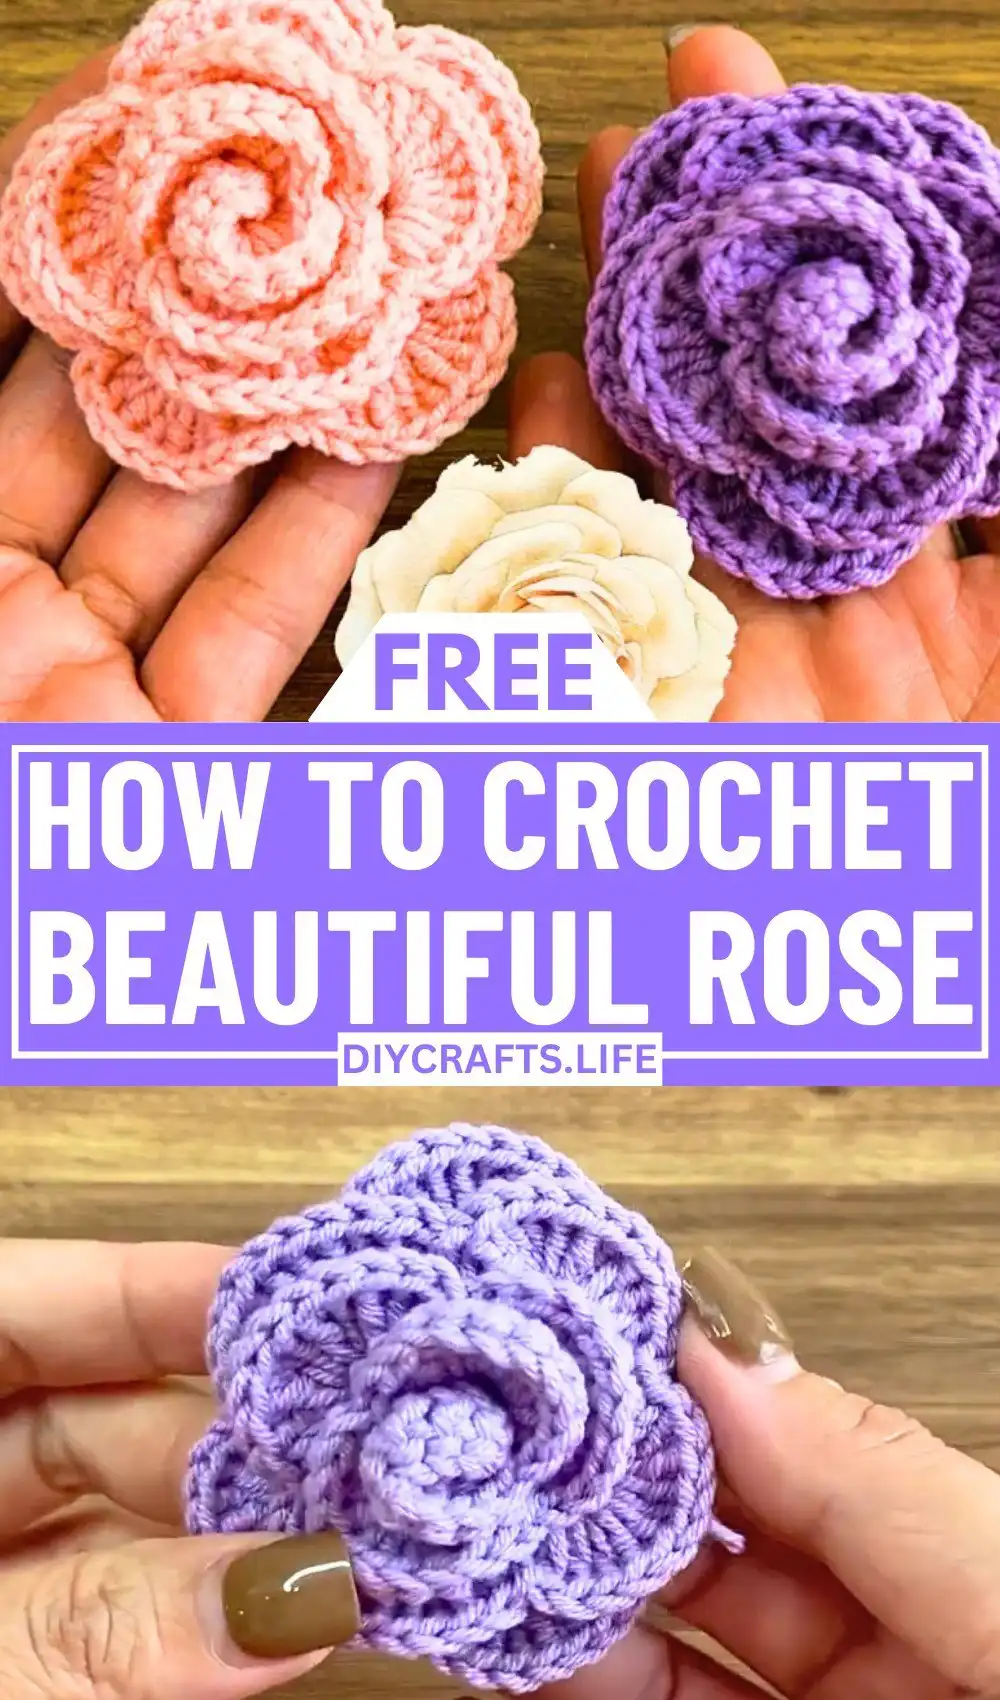
Video Tutorial
For those who prefer visual guidance, a video tutorial complementing these written instructions can be incredibly helpful. Watch the stitches come to life and follow along in real-time to master each step of creating your perfect crochet rose. (Please check the original source for the embedded video tutorial.)
More Free Crochet Patterns
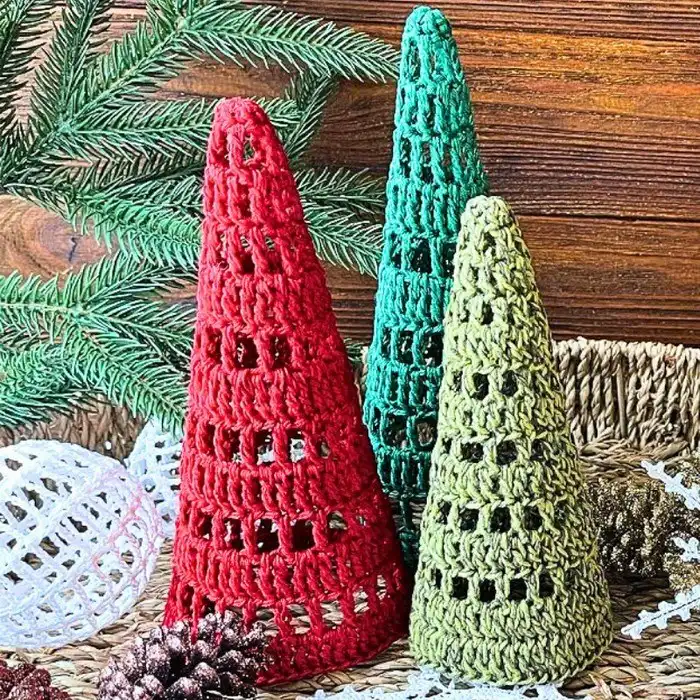
Easy Crochet Christmas Tree Pattern with Starch Stiffening
Prepare for the festive season with this charming crochet Christmas tree pattern. Designed for ease and elegance, this project guides you through creating a sturdy, stand-alone tree that maintains its shape beautifully with starch stiffening. It’s perfect for mantelpiece decorations or as a unique handmade gift, adding a touch of cozy holiday cheer to any setting.
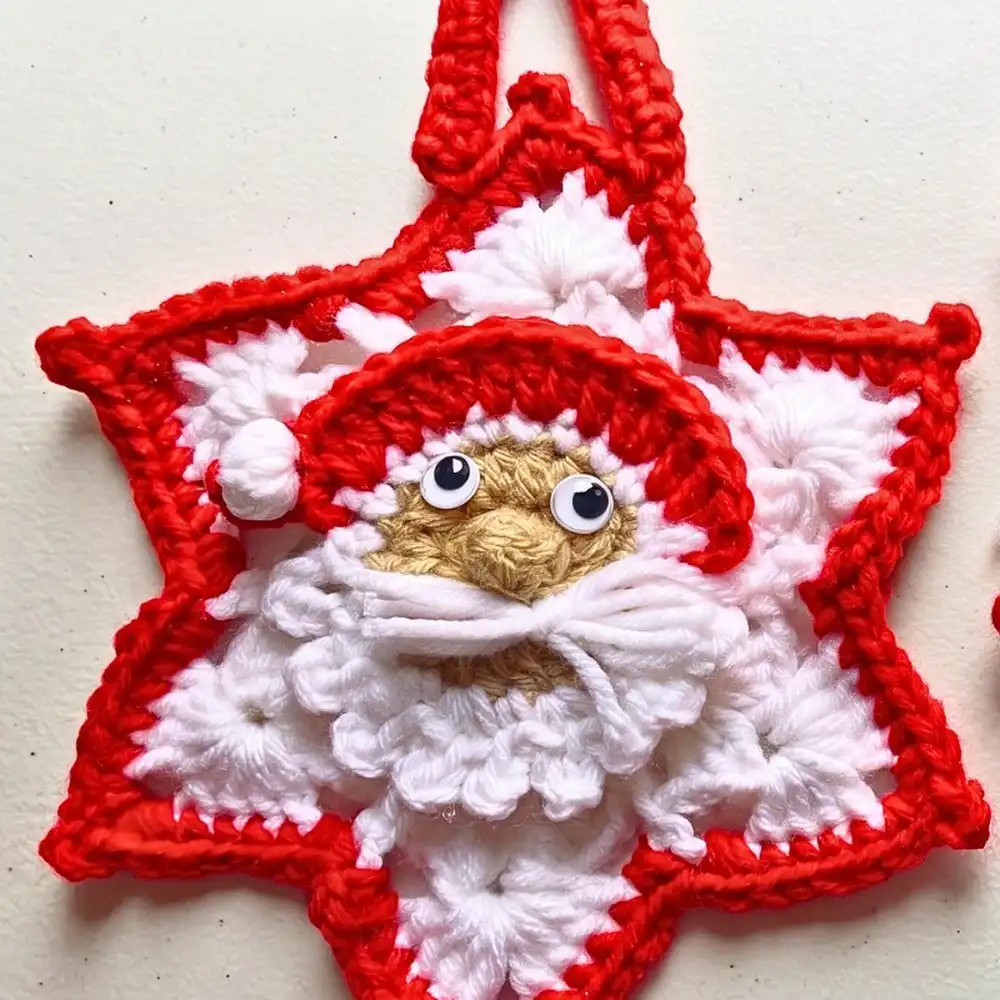
Crochet Santa Star Ornament For Festive Décor
Bring holiday magic to your home with this adorable crochet Santa Star ornament. This pattern combines the classic star shape with festive Santa details, making it an ideal addition to your Christmas tree or as part of a holiday garland. Craft these delightful ornaments to spread cheer and celebrate the season with handmade charm.
Crochet Hanging Christmas Tree Decoration Pattern Free
Decorate your home with these lovely hanging Christmas tree decorations. This free crochet pattern offers a simple yet elegant design, perfect for beginners looking to add a personal touch to their holiday décor. Easily customizable with different yarn colors, these ornaments will make your tree sparkle with handmade love.
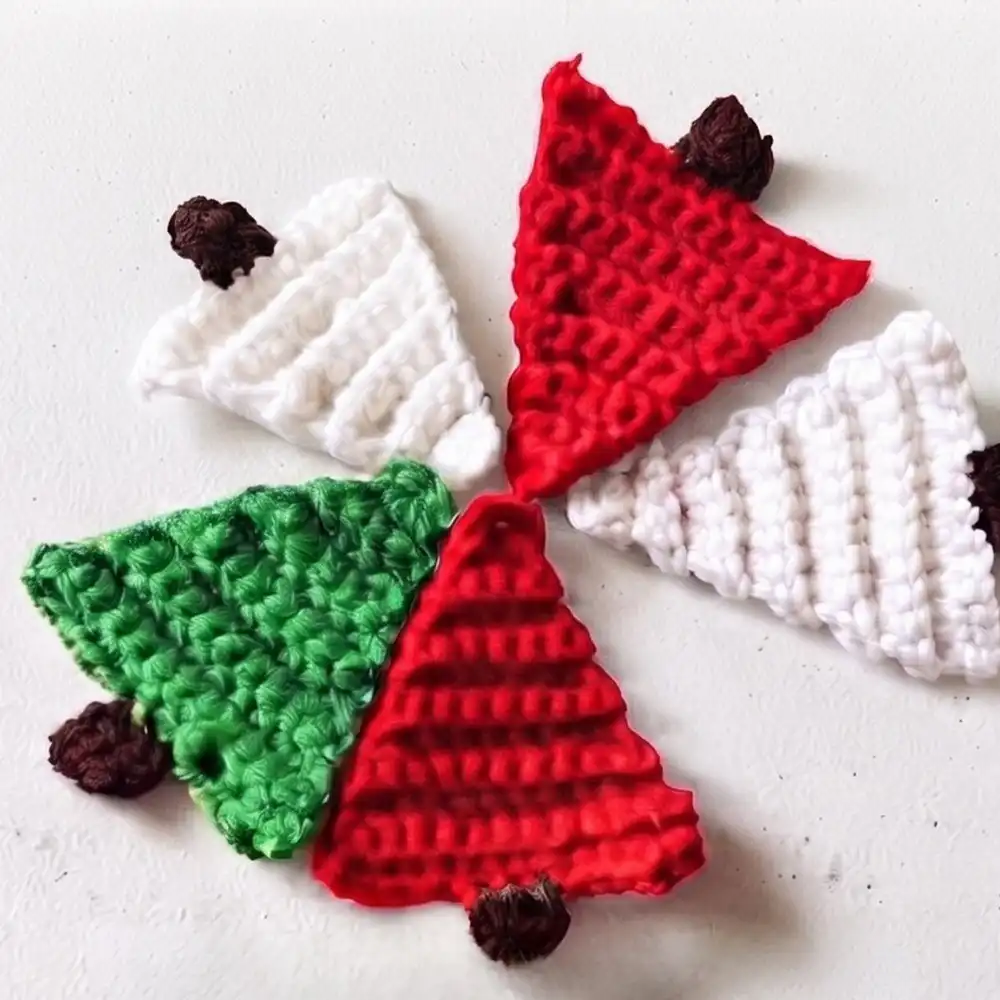
Crochet Christmas Tree Pattern For The Best Decoration
Discover the ultimate crochet Christmas tree pattern to create the best festive decorations. This versatile design allows for various embellishments, from tiny beads to colorful buttons, making each tree unique. Whether for tabletops or as part of a larger holiday display, these crocheted trees embody the spirit of the season.
We hope you enjoyed crafting this beautiful crochet rose! Don’t forget to save this pin to your Pinterest board for future reference, share it with fellow craft enthusiasts, and leave a comment below with your lovely creations. Happy crocheting!


