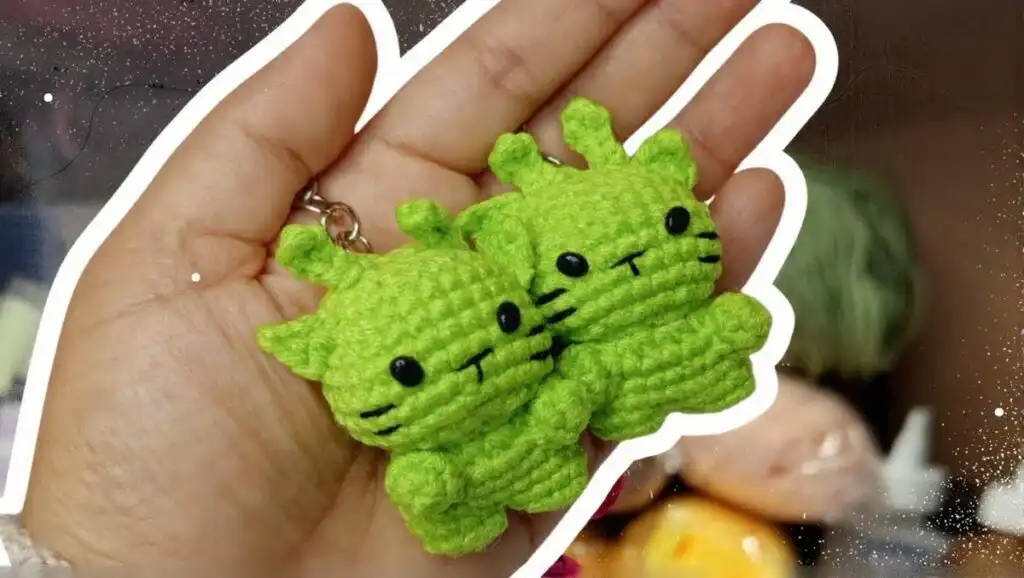
Crochet Green Alien Cat Amigurumi Keychain Pattern: Beginner Tutorial
This post contains affiliate links. As an Amazon Associate, we earn from qualifying purchases. Check out our Amazon Crocheting Storefront for recommended products.
This adorable Crochet Green Alien Cat Amigurumi Keychain Pattern offers a fantastic entry point into the whimsical world of amigurumi. Perfect for beginners, this quick project results in a charming, pocket-sized feline with an alien twist. Craft unique keychains for gifts or to adorn your own belongings.
Amigurumi is the Japanese art of crocheting small stuffed toys, a craft that allows you to create expressive, collectible characters using basic crochet stitches. Learn fundamental techniques here that can be applied to other fun projects, such as an Amigurumi Bee or even Crochet Baby Jellyfish Amigurumi. Small crochet keychains are currently a trending item, making affordable handmade gifts, popular craft-fair pieces, and personalized accessories for bags and keys.
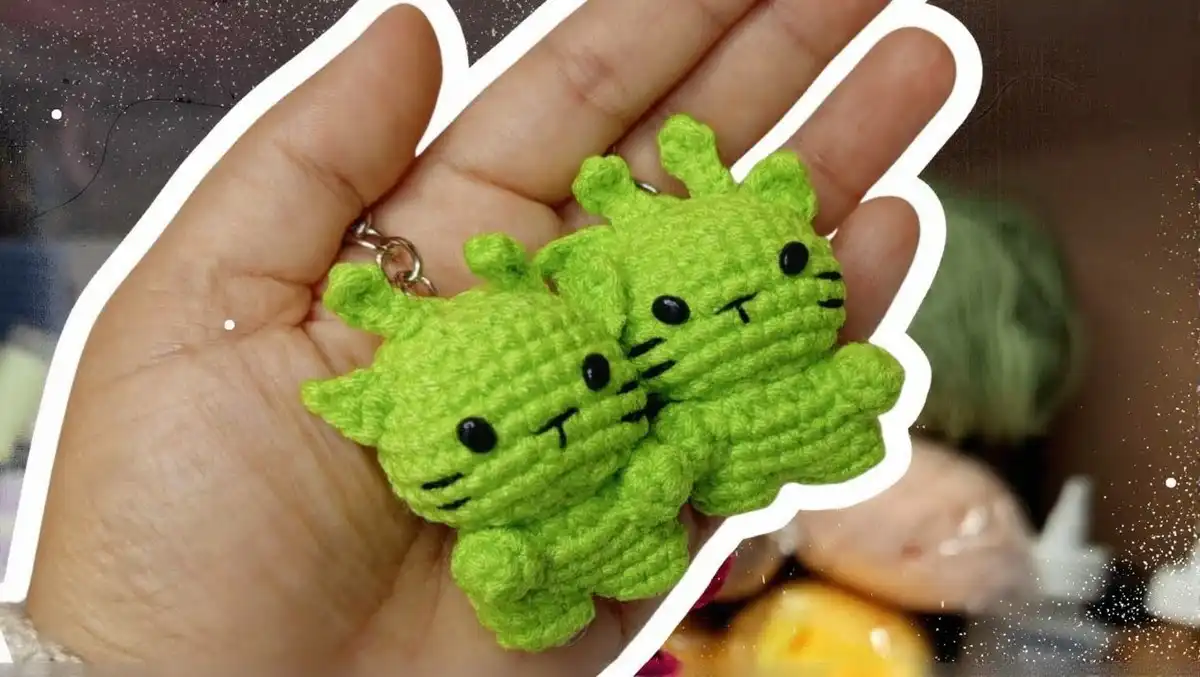
PHOTOS by Abbie Muunx / Crochet & Craft
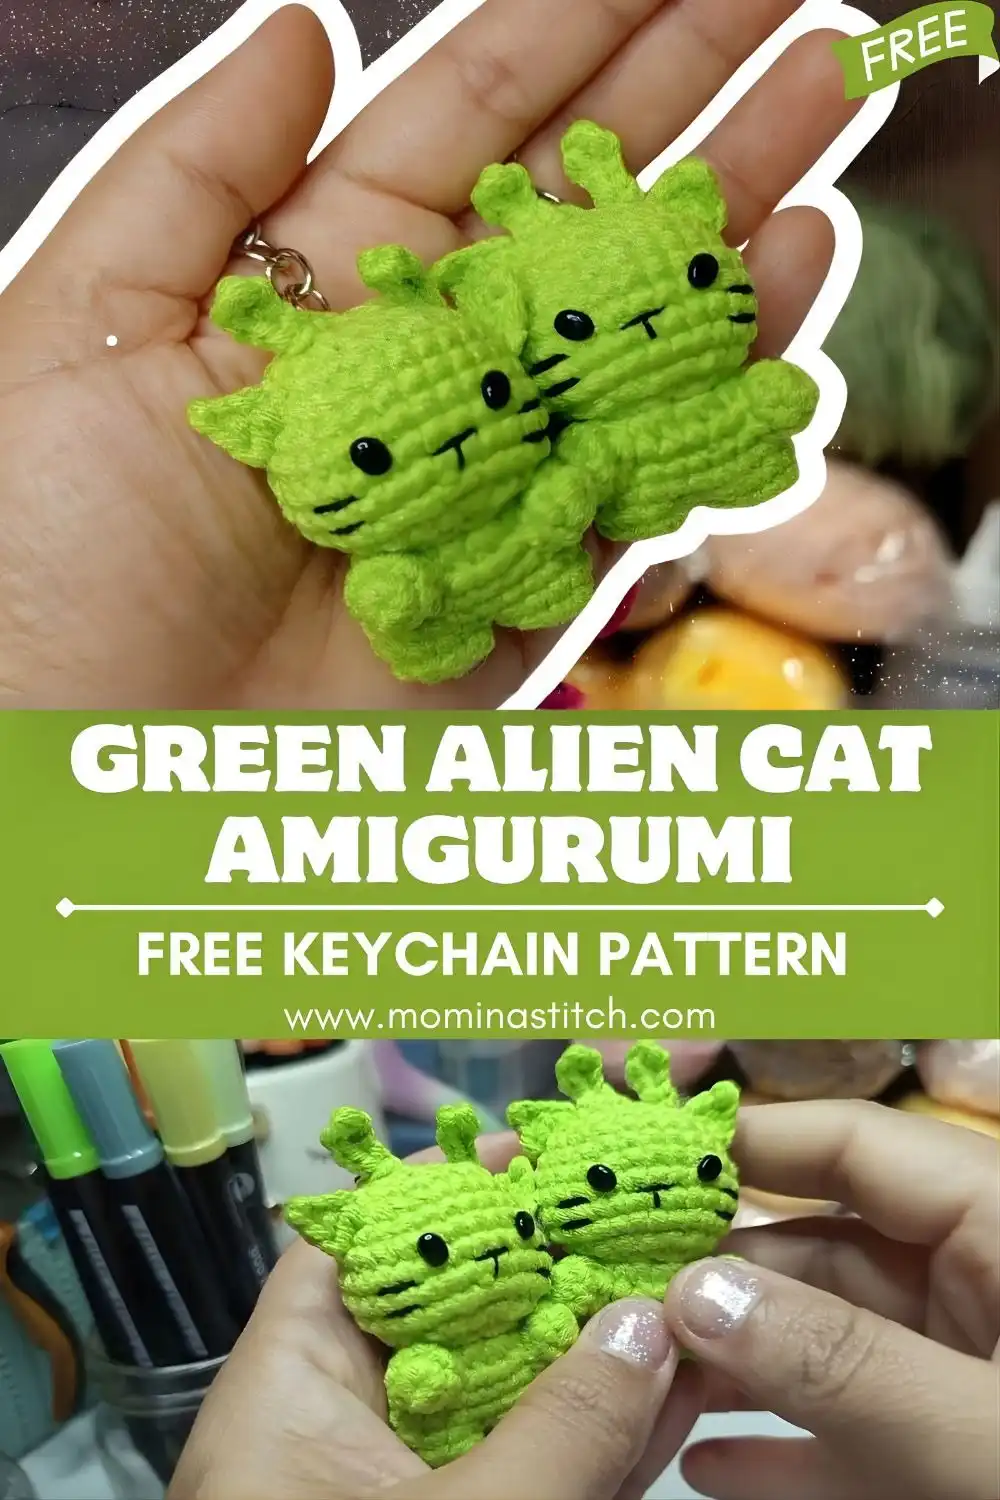
This green crochet cat keychain boasts a playful “space kitty” vibe with its rounded head, tiny ears, and simple whisker details, all while remaining accessible for novice crocheters. You’ll master working in the round, proper stuffing techniques, and assembling small parts without the need for complex color changes. Whether your goal is a unique crochet cat keychain or a cute amigurumi gift, this pattern is designed for ease, speed, and endless customization options.
Materials Needed
To embark on this charming crochet project, gather your essential supplies. A key choice is your worsted/Aran #4 weight yarn, which is highly recommended. You can opt for either cotton or acrylic, depending on your preference for texture and drape. The right crochet hook size, typically 2.75 mm to 3.5 mm, is crucial; always select a smaller hook than your yarn suggests to ensure tight stitches that prevent stuffing from showing through.
For the alien cat’s expressive features, you’ll need safety eyes, 6 mm or 8 mm for an even cuter, “big-eyed” aesthetic. Polyester fiberfill will give your amigurumi its plump, huggable form. A tapestry needle (also known as a yarn needle) is indispensable for weaving in ends and assembling parts. Complete your keychain with a sturdy split ring and short chain, or a convenient lobster clasp. Black yarn or embroidery floss will be used to add charming whiskers and a small mouth. Don’t forget stitch markers to keep track of your rounds and a pair of sharp scissors for clean cuts.
Abbreviations (Crochet Terms)
Understanding these standard crochet abbreviations will make following the pattern straightforward. Familiarize yourself with these terms before you begin. If you need a more comprehensive resource, consider a Crochet Stitch Dictionary:
- MR = Magic Ring: The foundation for working in the round without a hole.
- sc = single crochet: The fundamental stitch for amigurumi.
- inc = increase (2 sc in the same stitch): Used to expand the size of your piece.
- dec = decrease (invisible decrease recommended): Used to reduce the size and shape your amigurumi.
- sl st = slip stitch: Used to join rounds or finish off.
- ch = chain: The basic building block for many crochet projects.
Step-by-Step Crochet Pattern
Notes (before you start)
Before diving into the stitches, review these important notes to ensure a smooth crocheting experience. Always work in continuous rounds unless the pattern specifically states otherwise, which helps create seamless amigurumi pieces. Utilize a stitch marker to clearly indicate the first stitch of each round; this simple habit prevents mistakes and keeps your stitch count accurate.
Stuff your amigurumi firmly enough to hold its shape, but avoid overstuffing, especially for a keychain, as this can distort the stitches and make the piece bulky. The finished size of your alien cat will be approximately 2–3 inches (5–7.5 cm) tall, though this can vary slightly based on your chosen yarn weight and hook size. Adhering to these guidelines will result in a beautifully crafted and durable keychain.
Head Pattern (Green)
Begin creating the distinctive head of your alien cat using green yarn. The magic ring forms the perfect, tight center for your amigurumi. Following the increase and single crochet sequence will shape the head into a rounded form, gradually expanding it. Pay close attention to your stitch counts in each round to maintain symmetry and ensure the correct shaping.
R1: MR, 6 sc (6)
R2: inc x6 (12)
R3: (sc, inc) x6 (18)
R4: (2 sc, inc) x6 (24)
R5: (3 sc, inc) x6 (30)
R6–R9: sc around (30) for 4 rounds
R10: (3 sc, dec) x6 (24)
R11: (2 sc, dec) x6 (18)
Insert safety eyes between R7–R8, spacing them approximately 5–6 stitches apart. Adjust their placement slightly to achieve your preferred expression – closer for a cuter, more innocent look, or wider for a more alien-like gaze. Once the eyes are secured, firmly stuff the head to give it a solid, appealing form. Continue with the decreasing rounds to close the top of the head.
R12: (sc, dec) x6 (12)
Stuff the head firmly.
R13: dec x6 (6)
Fasten off, close the hole, then weave in the end securely.
Body Pattern (Green)
Next, crochet the body of your alien cat, also in green. Start with a magic ring and follow the increase rounds to create a broad base for the body. The single crochet rounds build up the height, and subsequent decrease rounds will gently shape it into a rounded “bean” form. Lightly stuff the body as you go, ensuring an even and pleasing contour.
R1: MR, 6 sc (6)
R2: inc x6 (12)
R3: (sc, inc) x6 (18)
R4: (2 sc, inc) x6 (24)
R5–R7: sc around (24) for 3 rounds
R8: (2 sc, dec) x6 (18)
Stuff lightly and shape into a rounded “bean.”
R9: (sc, dec) x6 (12)
Stuff a bit more.
R10: dec x6 (6)
Fasten off, close the hole, and leave a long tail for attaching the head securely.
Ears (Make 2, Green)
Craft two small, triangular ears that perfectly complement the alien cat’s cute and simple aesthetic. Begin with a magic ring and work your stitches to form a slight point. These minimalist ears contribute significantly to the character’s unique charm without adding complexity.
R1: MR, 3 sc (3)
R2: (sc, inc) x1, sc (4)
R3: sc around (4)
Fasten off, leave a tail for sewing. For an extra touch, you can lightly pinch the ear into a more defined triangle shape as you sew it onto the head.
Arms (Make 2, Green)
Crochet two small arms for your alien cat, starting with a magic ring and working in continuous rounds. These tiny appendages add to the amigurumi’s charm and poseability. You can optionally stuff the very bottom of the arms lightly to give them a bit more form.
R1: MR, 6 sc (6)
R2–R4: sc around (6) for 3 rounds
Lightly stuff only the very bottom (optional).
Flatten the top and sc across 3 stitches to close.
Fasten off, leave a tail for sewing.
Legs (Make 2, Green)
Create two legs for your alien cat, following a similar method to the arms but with a slight increase to form a more defined foot area. Lightly stuff the foot section to give it shape and stability. These small details bring your amigurumi to life.
R1: MR, 6 sc (6)
R2: sc around (6)
R3: (sc, inc) x3 (9)
R4: sc around (9)
Lightly stuff the foot area.
Flatten the top and sc across 4–5 stitches to close.
Fasten off, leave a tail for sewing.
Face Details (Whiskers and Mouth)
Adding the facial details is where your alien cat truly comes to life. Using black yarn or embroidery floss and a tapestry needle, carefully stitch the whiskers and mouth. For the whiskers, create three short, straight stitches on each side of the face, positioning them near the lower half of the eyes for optimal impact.
It’s important to keep the whiskers short to prevent them from snagging on pockets or other items when the keychain is in use. For the mouth, fashion a tiny “u” shape or a simple, small line centered just below the eyes. Optionally, you can add a tiny nose stitch – a very small triangle or dot – directly above the mouth for extra character. Remember to tie off all ends securely inside the head and weave them deep into the stuffing to hide them completely.
Assembly Instructions
Bringing all the crocheted components together is a rewarding final step. Careful assembly ensures your alien cat keychain is durable and well-proportioned. Begin by sewing the ears to the head, positioning them on the top sides, roughly between rounds 3 and 6. Securely stitch around the base of each ear so they stand slightly outward, giving your cat an alert look.
Next, center the head precisely on the body. Utilize the long tail left from either the body or the head, sewing through both pieces with tight, even stitches. To guarantee durability, especially for a keychain that will endure daily wear, go around the seam at least twice. This robust attachment prevents the head from wobbling or detaching.
Attach the arms to the sides of the body, just below the head seam. Position them slightly forward to create an endearing “hugging” posture. Finally, sew the legs near the lower front of the body, ensuring they are evenly spaced. This attention to symmetry is crucial for the finished cat to sit level and appear balanced, even if it’s primarily used as a keychain. Before trimming your final ends, gently tug on each assembled part to confirm all seams are secure and ready for everyday use.
Keychain Attachment Instructions
Securing your finished alien cat to a keychain ring requires a sturdy attachment method to prevent twisting and ensure longevity. The goal is to attach the ring firmly at the top center of the head. You have two reliable options to choose from, depending on your preference for visibility and strength.
Option A: Yarn loop (simple + secure)
For this method, insert your crochet hook at the very top of the head, near the magic ring area. Pull up your green yarn and chain 8 to 12 stitches; the exact number will depend on the size of your keychain ring and how much slack you desire. Slip stitch back into the exact same spot on the head to form a closed loop. Weave the remaining yarn tail inside the head and knot it securely, hiding any knots deep within the stuffing. Finally, thread your keychain ring through this durable yarn loop.
Option B: Direct stitching to the chain ring (extra durable)
If you prefer maximum durability, especially for a heavily used keychain, opt for direct stitching. Use a strong thread or double up your green yarn for added resilience. Stitch directly through the top of the head multiple times, wrapping around the small chain link of your keychain hardware. Once securely attached, knot the thread or yarn inside the head and weave the ends deep into the stuffing, ensuring they are completely out of sight and secure. For more advanced techniques or to explore other crochet fundamentals, consider learning the Bullion Stitch to expand your skills.
Helpful Crochet Tips for Beginners
Embarking on amigurumi as a beginner can be incredibly rewarding with a few helpful tips. If you’re just starting out, an all-in-one crochet kit can provide everything you need to get going. Firstly, always use a smaller hook size than what your yarn band typically recommends. This creates tighter stitches, preventing the stuffing from peeking through and ensuring a neat, professional finish. Secondly, consistently count your stitches in every round. Amigurumi projects are much easier to manage and less prone to errors when your stitch counts remain accurate from start to finish.
Learning the invisible decrease technique is another game-changer for amigurumi. This method creates a much smoother, less noticeable decrease, leading to cleaner shaping and a more polished final product. When it comes to placing safety eyes, a great tip is to pin them in place first, or insert them without locking the backs. This allows you to experiment with different expressions and positions before committing. Finally, if you notice your piece looking too pointy or not quite the right shape, try adding one extra plain round (single crochet around without increases or decreases) between your increase or decrease rounds; this often helps to round out the form beautifully. These basic projects like this alien cat or even Easiest Easter Projects for Newbies are perfect for practicing these foundational skills. For more general advice, a guide on crochet tips and tricks can be invaluable.
Customization Ideas
Once you’ve mastered the basic alien cat, the possibilities for customization are endless, allowing you to create truly unique pieces. Experiment with different color swaps: imagine your cat in pastel pink, vibrant purple, neon green, or even a value yarn pack that gives a “galaxy” effect. Beyond color, alter its expression by embroidering sleepy eyes, a tiny fang, or rosy blush cheeks using pink thread for added cuteness.
For extra flair, consider adding small accessories. A mini bow tied around its neck, a tiny contrasting belly patch, or even a little embroidered star on its forehead can amplify its “alien” vibes. If you prefer to use your creation as a bag charm rather than a keychain, simply attach a lobster clasp and make the chain loop slightly longer. These small adjustments transform your amigurumi into a personalized statement piece or a thoughtful, custom gift.
Conclusion
This green crochet amigurumi cat keychain offers a delightful, quick project ideal for beginners and seasoned crocheters alike. Its charming “alien” aesthetic, combined with straightforward techniques, makes it incredibly satisfying to create. Whether destined for your own keys, backpack, or as a thoughtful handmade gift, this pattern provides a foundation for endless creative expression. Enjoy crafting a whole collection of these tiny alien kitties, each customized with unique colors and expressions. For more fun patterns, check out Kawaii Crochet: 40 Super Cute Crochet Patterns for Adorable Amigurumi.
Loved this Crochet Green Alien Cat Amigurumi Keychain Pattern? Don’t forget to save this pin to your Pinterest board for later, share it with a crafty friend, and leave a comment below to show off your adorable alien cat!


