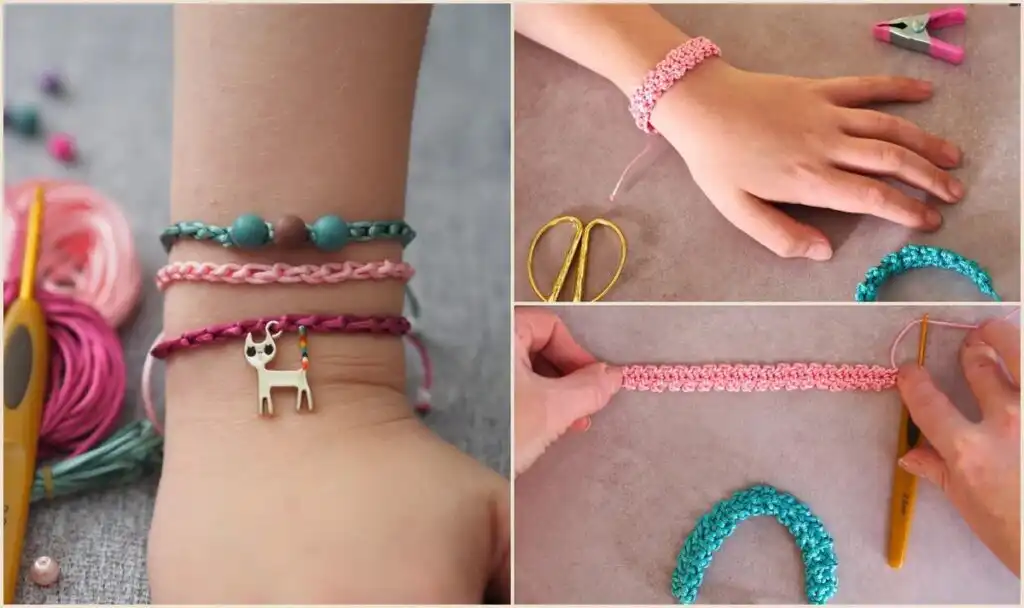
Master the Single Crochet Stitch Friendship Bracelet: Free Pattern & Guide
Discover the joy of crafting your very own basic crochet stitches by creating a beautiful Single Crochet Stitch Friendship Bracelet. This free pattern is designed for both beginners and experienced crafters, providing a quick and satisfying project. You’ll learn fundamental techniques to create personalized jewelry perfect for gifting or accessorizing your favorite outfits.
Friendship bracelets are among the most rewarding projects for anyone new to crochet. They require only a few basic stitches, making them ideal for building confidence and skill. Because these bracelets are narrow, they work up quickly, allowing you to see tangible results in a short amount of time.
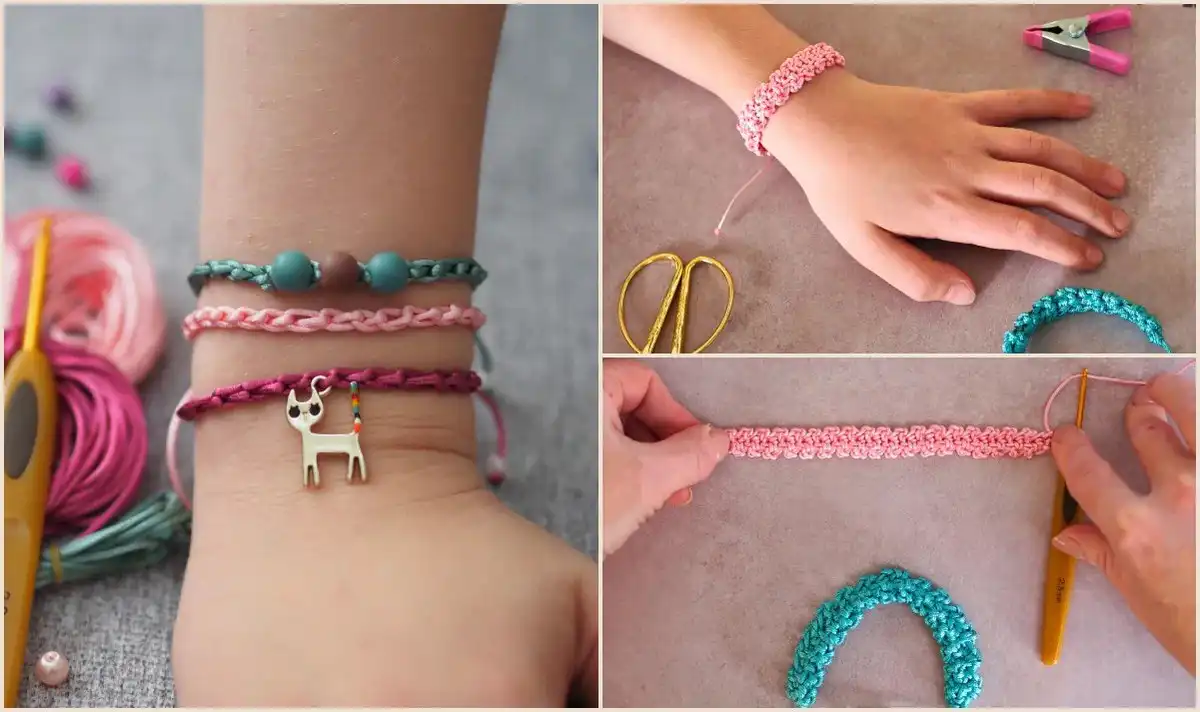
A crocheted bracelet, whether made from a simple chain stitch or a more intricate single crochet, serves as an excellent introductory project. Its simplicity and speed make it perfect for encouraging children to learn crocheting, fostering creativity and fine motor skills. You’ll soon have a collection of unique gifts or stylish accessories to match every mood and ensemble.
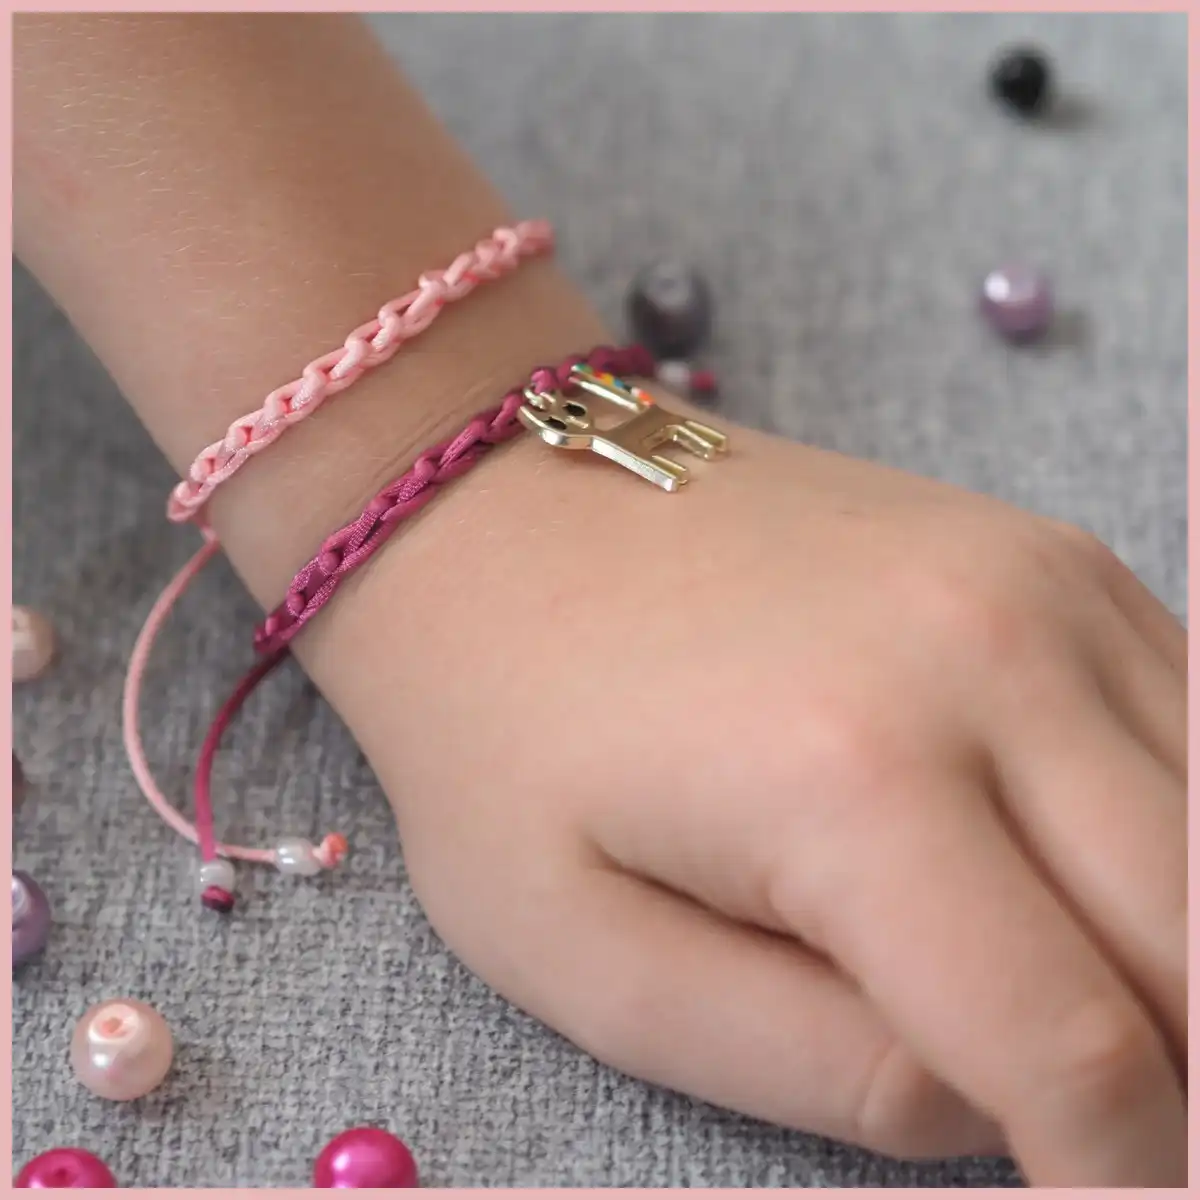
Easy Chain Stitch Friendship Bracelet Free Crochet Pattern
The chain stitch friendship bracelet is an absolute beginner’s dream, offering a straightforward path to creating charming wearable art. This pattern is particularly wonderful for introducing new crocheters, including children, to the craft. It’s incredibly quick to complete, resulting in lovely, custom-made accessories that can add a pop of color to any outfit or be given as heartfelt presents.
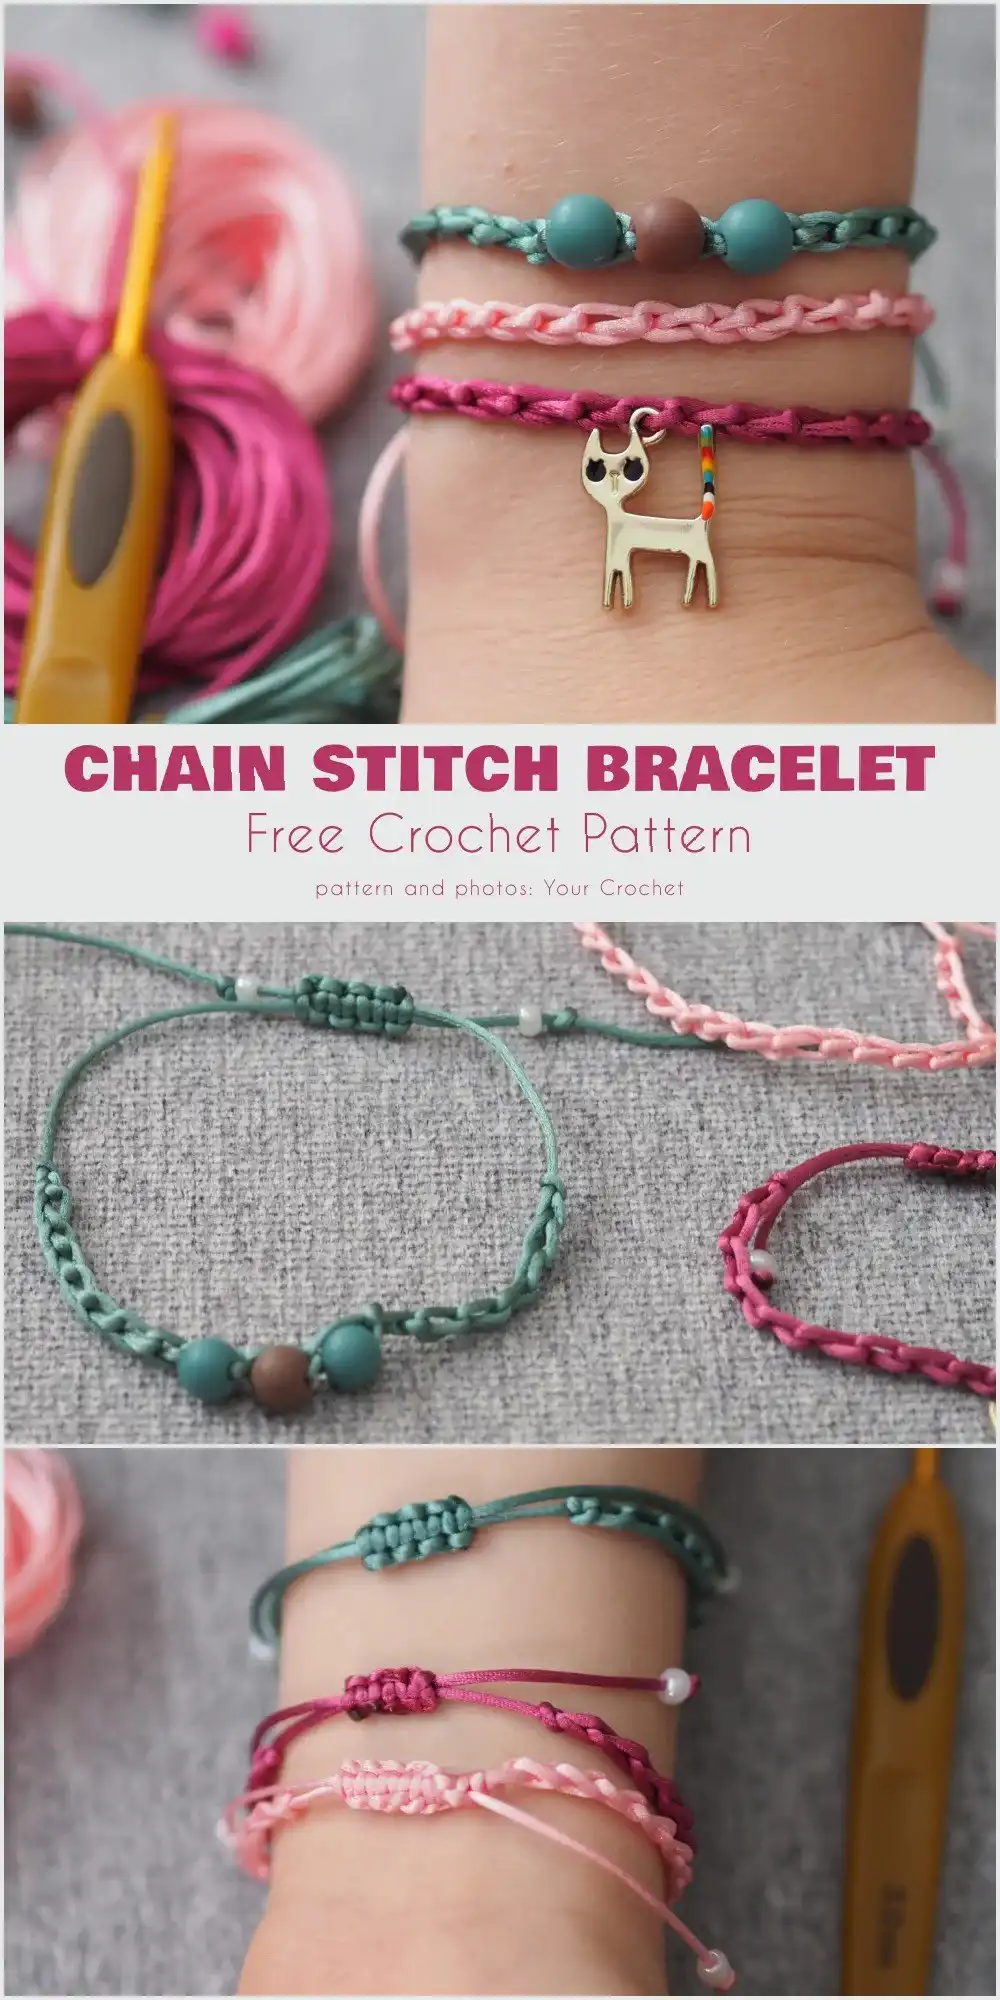
Materials you will need:
- Satin Nylon Cord for the Bracelet; embroidery thread can be substituted for a softer feel.
- Crochet hook – a 3 mm hook size is ideal for the recommended cord.
- Scissors for cutting yarn ends.
- Beads (optional) for embellishment.
- Lighter for sealing nylon cord ends safely.
Step 1: Beginning
To start your bracelet, leave an approximate 8-inch (20 cm) tail at the beginning of your cord. These longer tails are crucial for constructing an adjustable closure later, ensuring a perfect fit. Next, create a slip knot on your cord, ready to be secured onto your crochet hook.
Step 2: Continue with a Chain
Insert your crochet hook into the slip knot and gently tighten it. Begin making a chain by grabbing the cord with your hook and pulling it through the loop already on the hook. Continue this process until your chain measures approximately 5 inches (12-13 cm). The chain should wrap around about three-quarters of your wrist, leaving space for the adjustable closure.
The exact number of chains will vary based on your chosen cord or yarn thickness and tension; for a typical bracelet, around 20 chains are often sufficient. Once your chain reaches the desired length, cut the cord, leaving another 8-inch (20 cm) tail. Pull this tail through your last chain loop and tug firmly to secure a knot, preventing unraveling.
Step 3 Finishing off
For the simplest version, especially for very young crafters, you can simply tie the bracelet directly around the wrist. However, for a more polished and versatile finish, we highly recommend learning to create an adjustable closure. This method adds a professional touch and enhances the bracelet’s wearability, much like finishing off a beautiful crochet rose pattern.
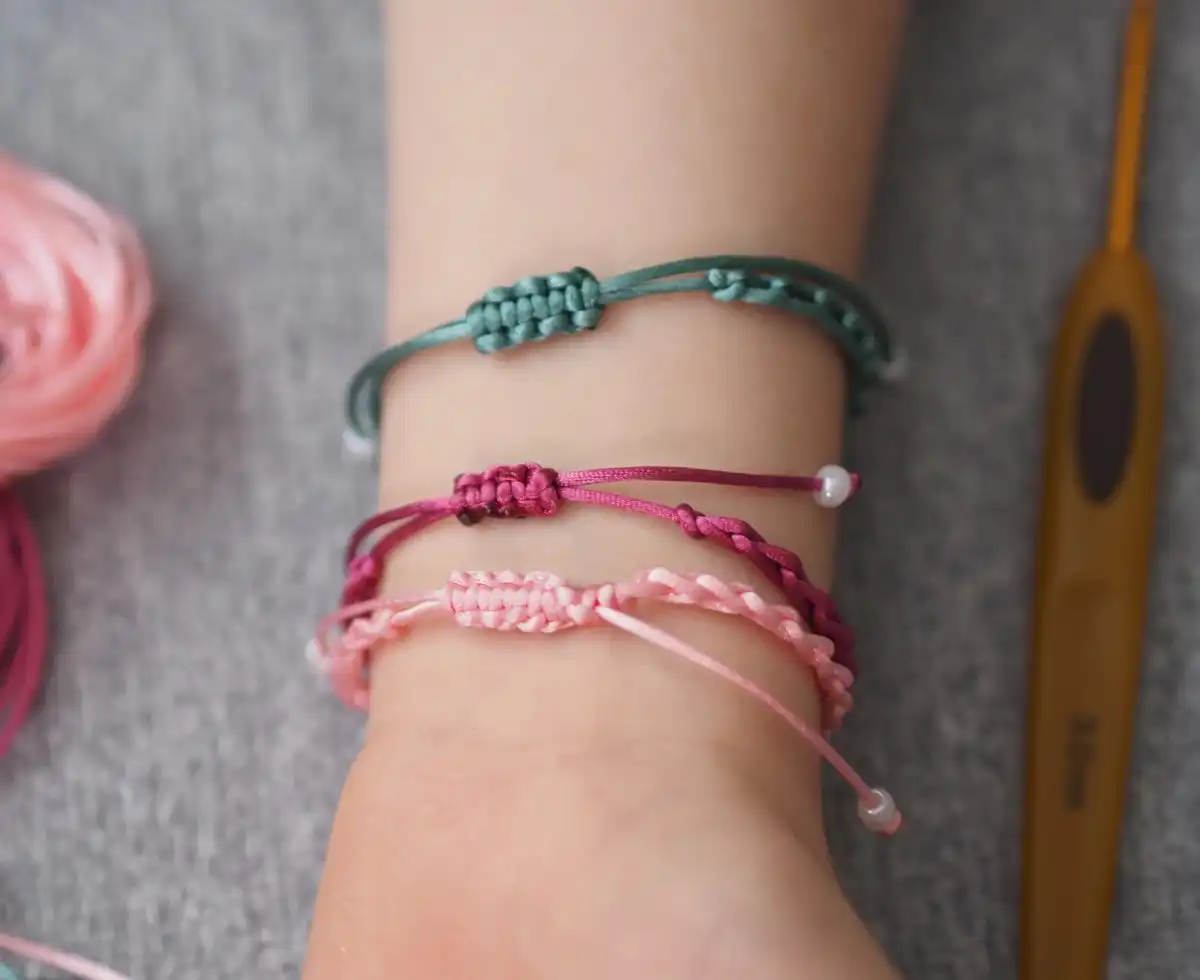
How to Make an Adjustable Knot for a Bracelet
The adjustable knot technique, often referred to as a square knot, is widely utilized in macrame and various bracelet designs. This ingenious knot allows the wearer to easily adjust the bracelet’s fit to their wrist width, ensuring comfort and easy removal. While it might seem complex initially, with a bit of practice, it becomes quite straightforward.
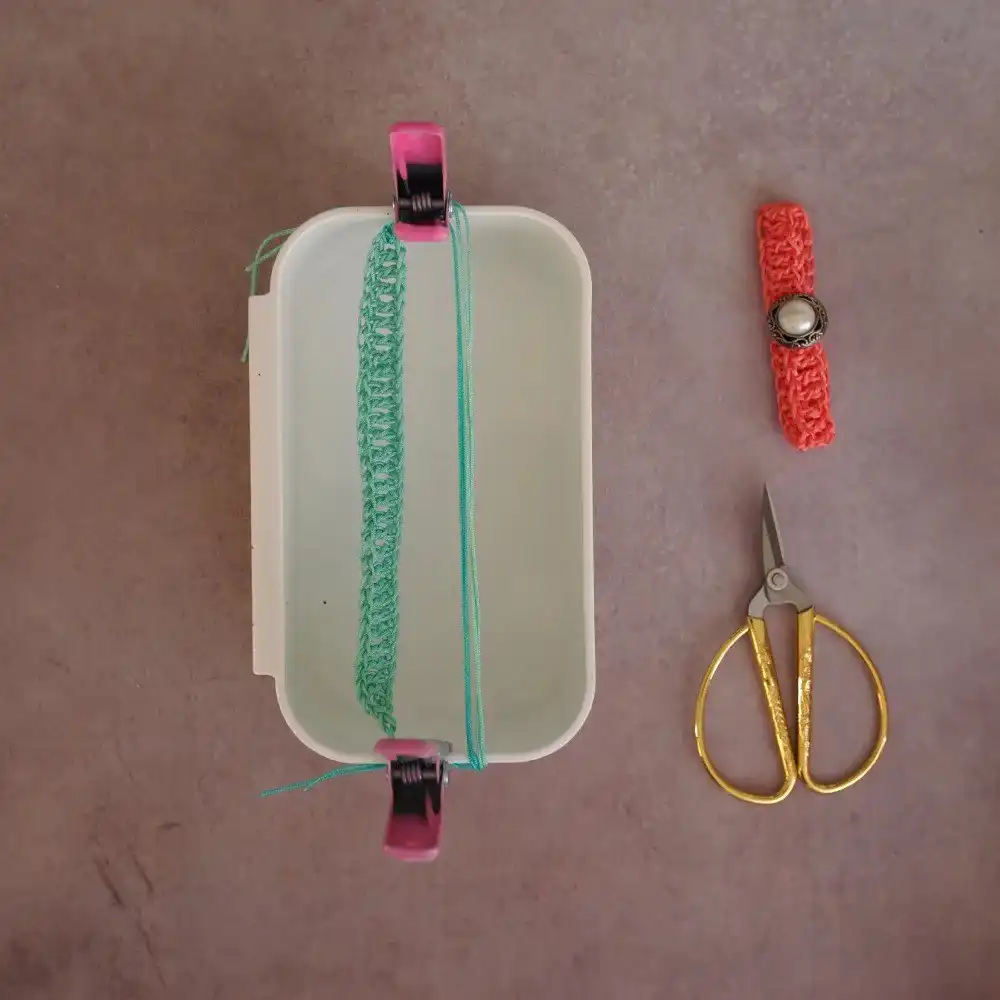
Using a square knot closure often results in slightly longer tails on your bracelet. These can be beautifully adorned with small beads, transforming them from a functional necessity into an elegant design element. Before you begin knotting, a helpful tip is to block your bracelet end strands using a box cover and clips. This provides slight tension, making the knot-tying process much simpler and more precise.
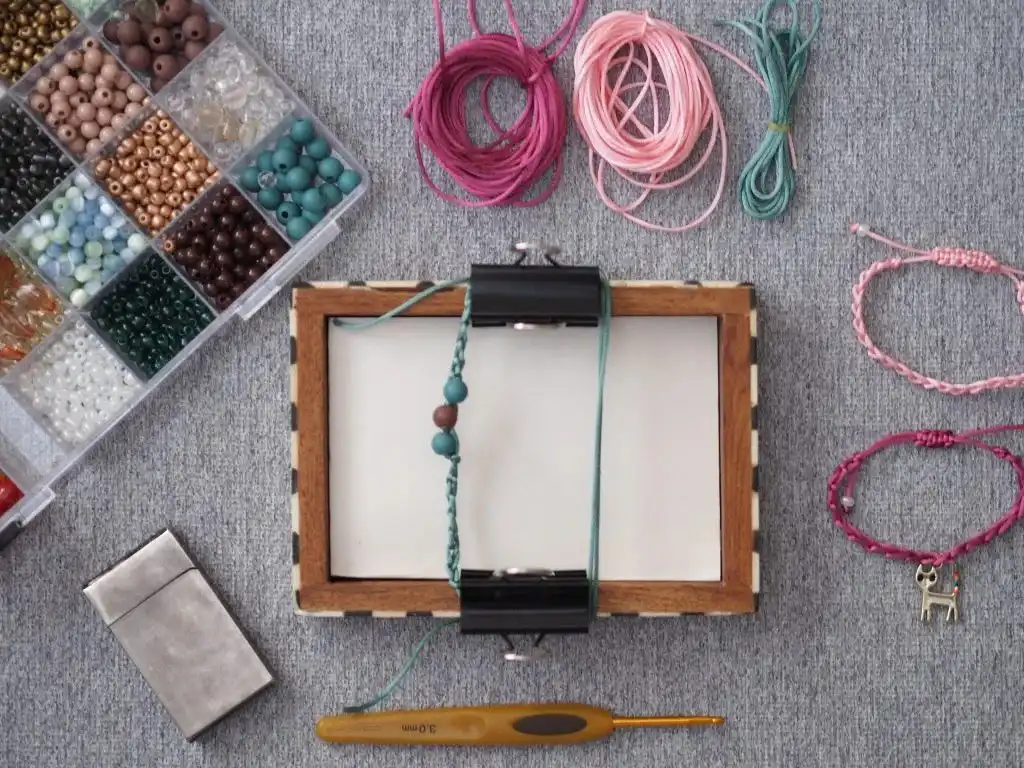
Start with a Knot
To begin forming your adjustable knot, cut a separate 8-inch (20 cm) length of cord. For a cohesive look, using the same color as your main bracelet is often preferred, but feel free to experiment with contrasting colors for a unique design. This extra cord will form the body of your adjustable clasp.
Next, carefully tie this new cord around the two main bracelet tails. This initial tie serves to secure the cords together, creating a stable base from which to build your square knot. Ensure it’s snug but not overly tight, allowing the tails to move slightly as you work.
Repeat Square Knots
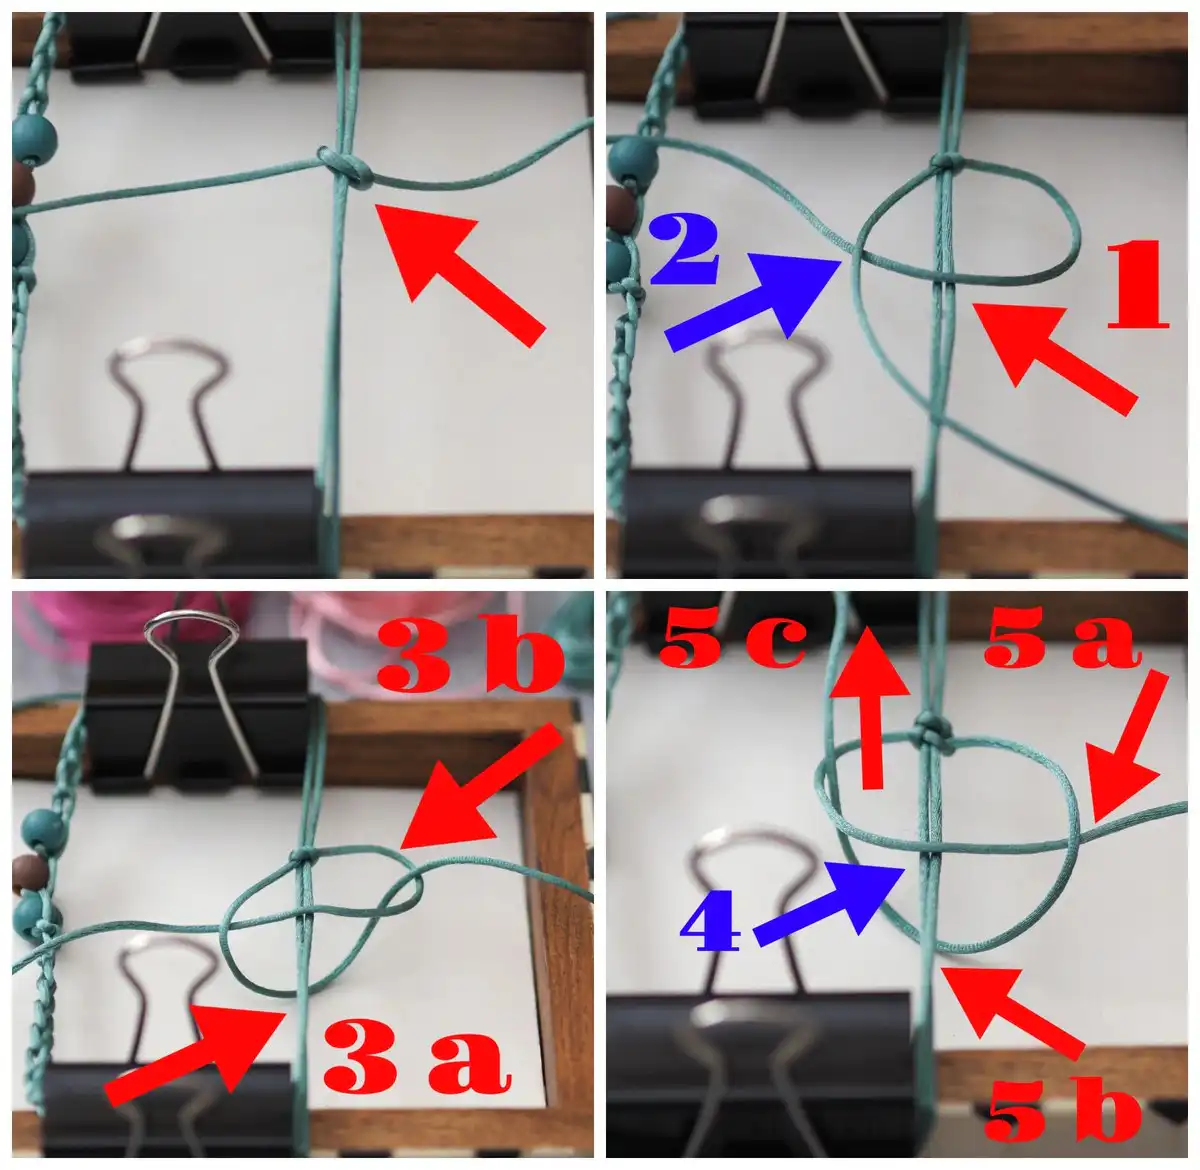
You will now have four cords: two central cords (the bracelet tails) and a working cord on the right and left for the adjustable knot. Follow these steps carefully:
- Take the right working cord and place it over the two central bracelet cords, forming a loop.
- Place the left working cord over the right working cord’s end.
- Now, take the left working cord, pass it under the two central bracelet cords, and then bring it up through the loop created by the right cord. Pull both working cords tightly to secure the first half of the square knot.
- To complete the knot, take the left working cord and place it over the two central bracelet cords.
- Place the right working cord over the left working cord’s end, pass it under the central bracelet cords, and bring it up through the loop formed by the left cord.
- Pull both working cords tightly to secure the second half of the square knot.
- Repeat these steps a few times, always alternating the starting side (left then right, then left again). This alternating direction is key to creating a balanced and secure square knot pattern.
Finishing off
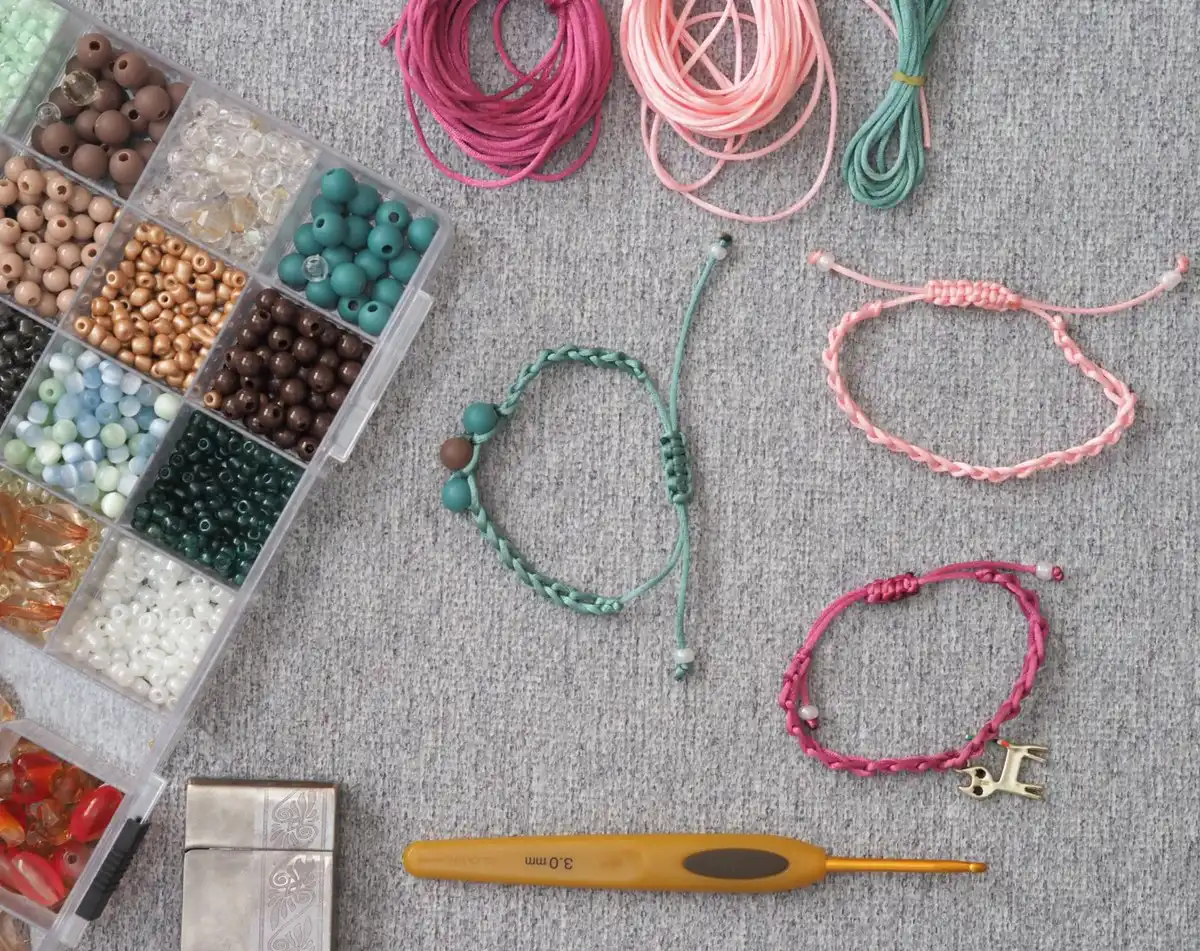
Once you’ve achieved your desired length for the square knot, carefully trim the ends of the working cords, leaving about 3 mm of length. Use a lighter to very briefly melt and press these ends, creating a secure, non-fraying finish. This step is crucial for durability. Check that your square knot closure is centered neatly on the back of your bracelet.
To test, widen your bracelet and try it on your wrist or a friend’s wrist to determine the optimal length for comfortable wear. For an extra touch, you can thread small beads onto the main bracelet tails and secure them with a small knot at the very end of each cord. Trim any excess string and melt the ends if using synthetic cord to prevent unraveling.
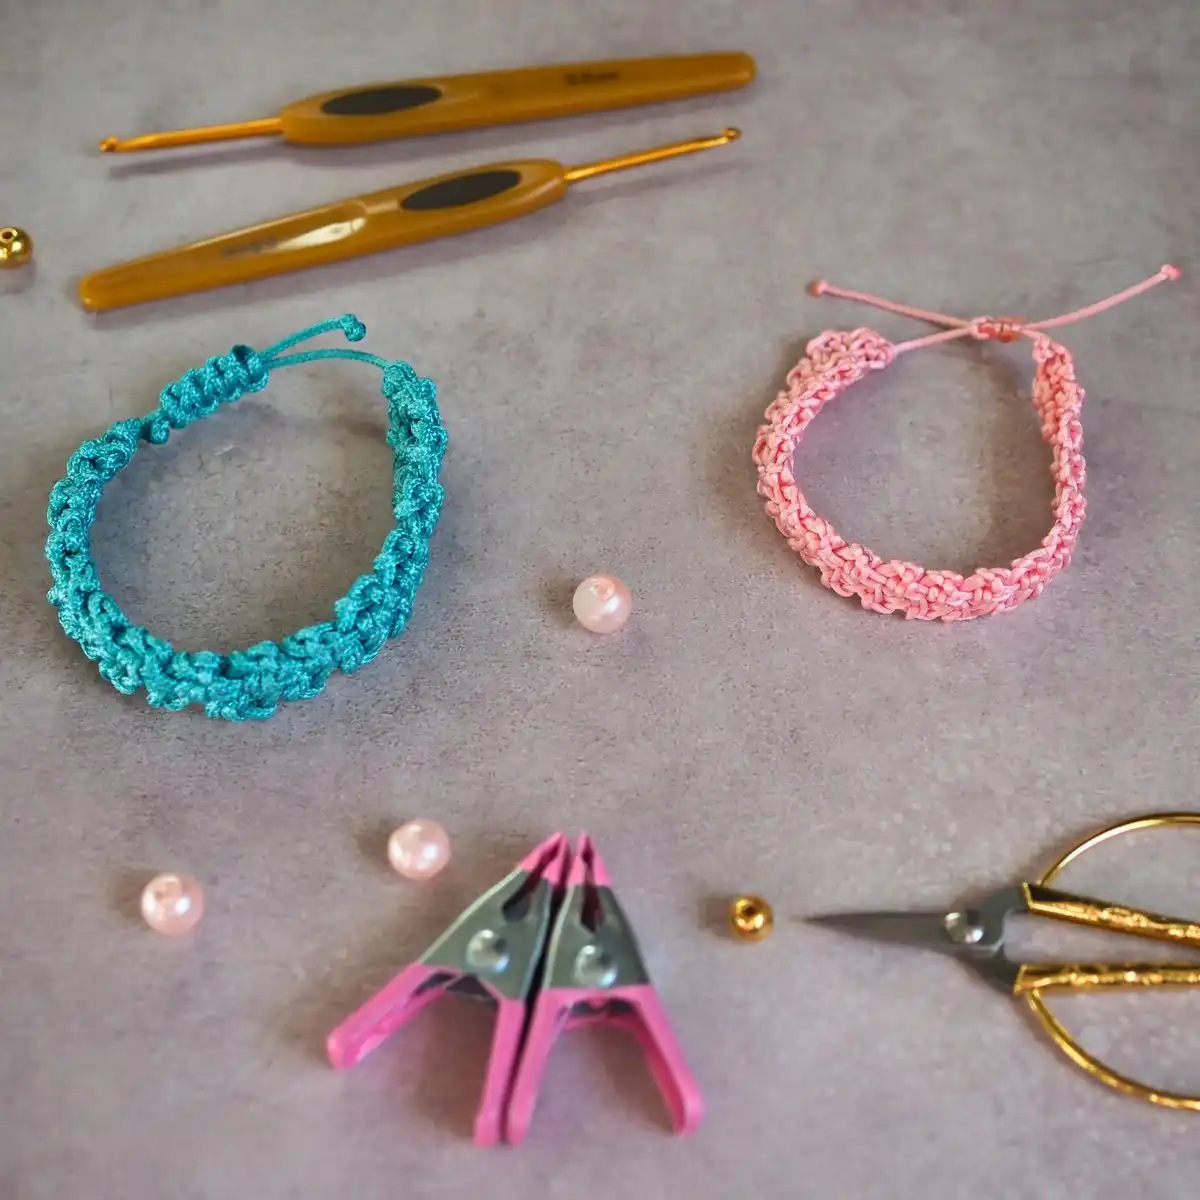
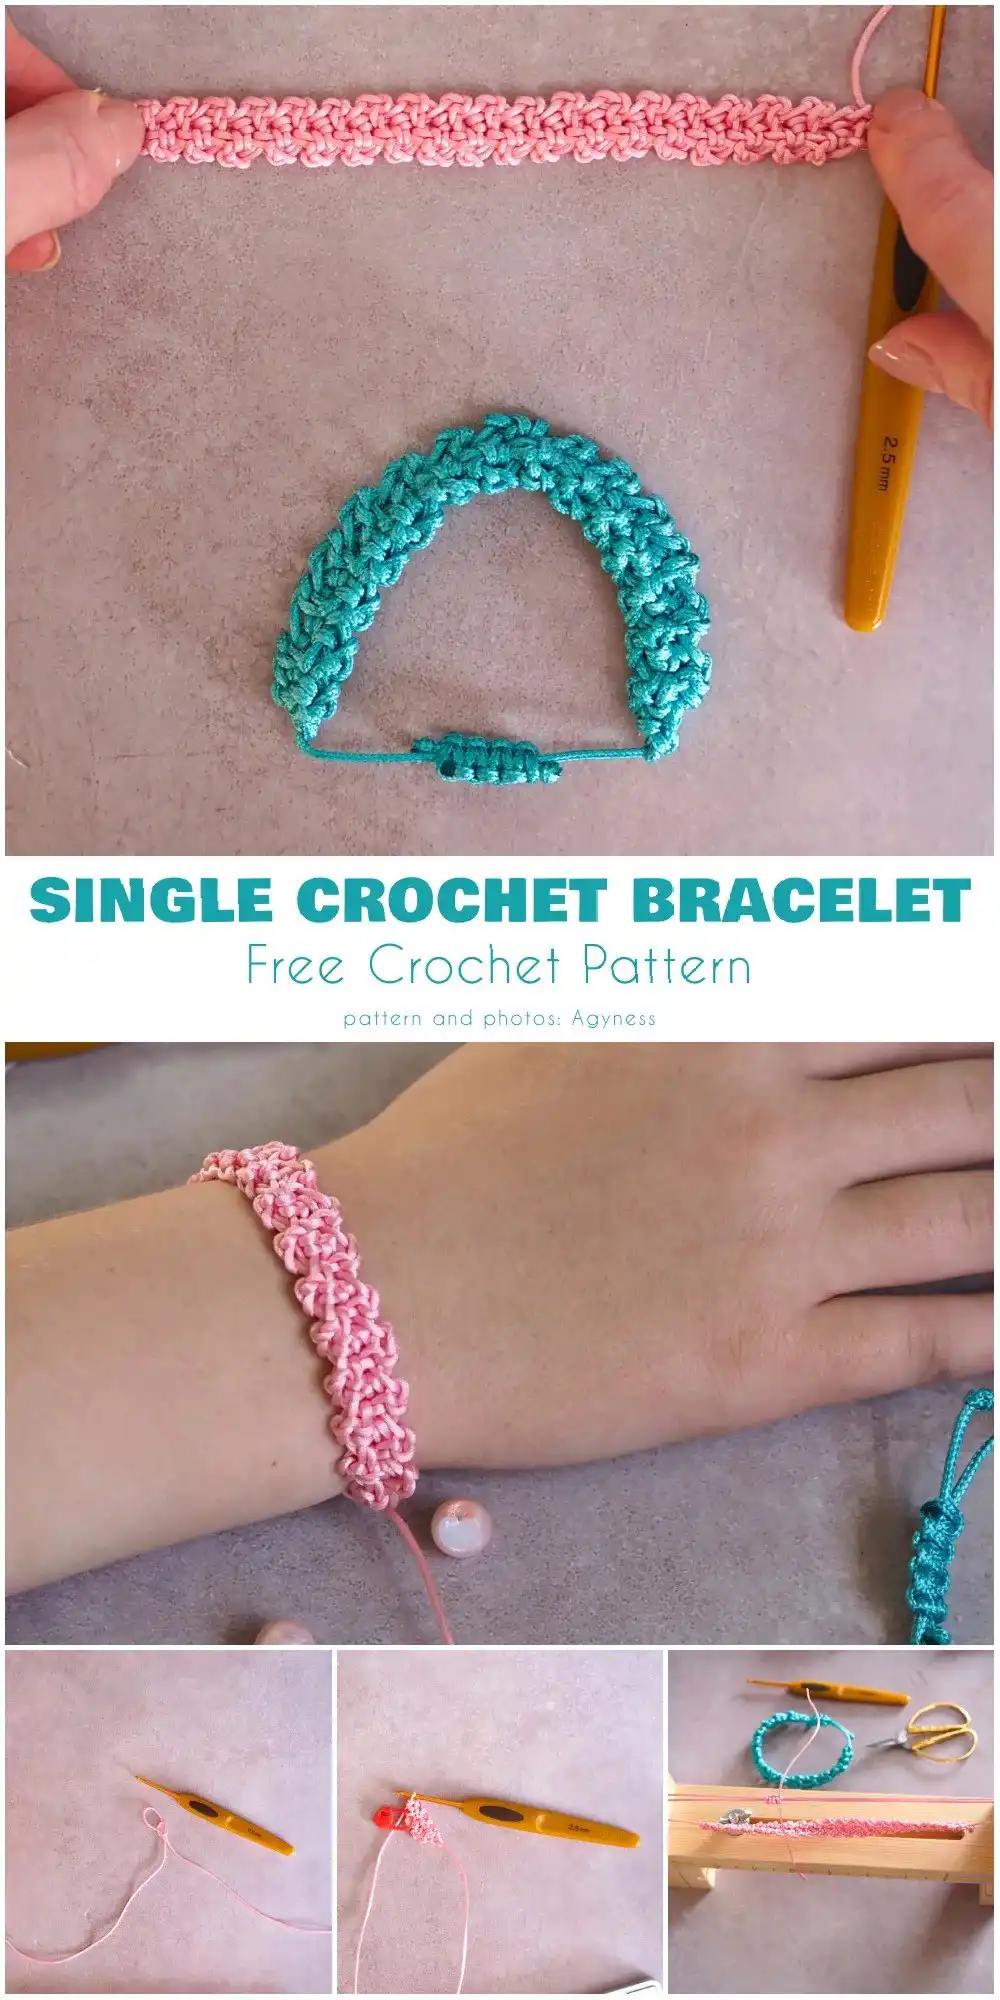
Single Crochet Friendship Bracelet Free Pattern
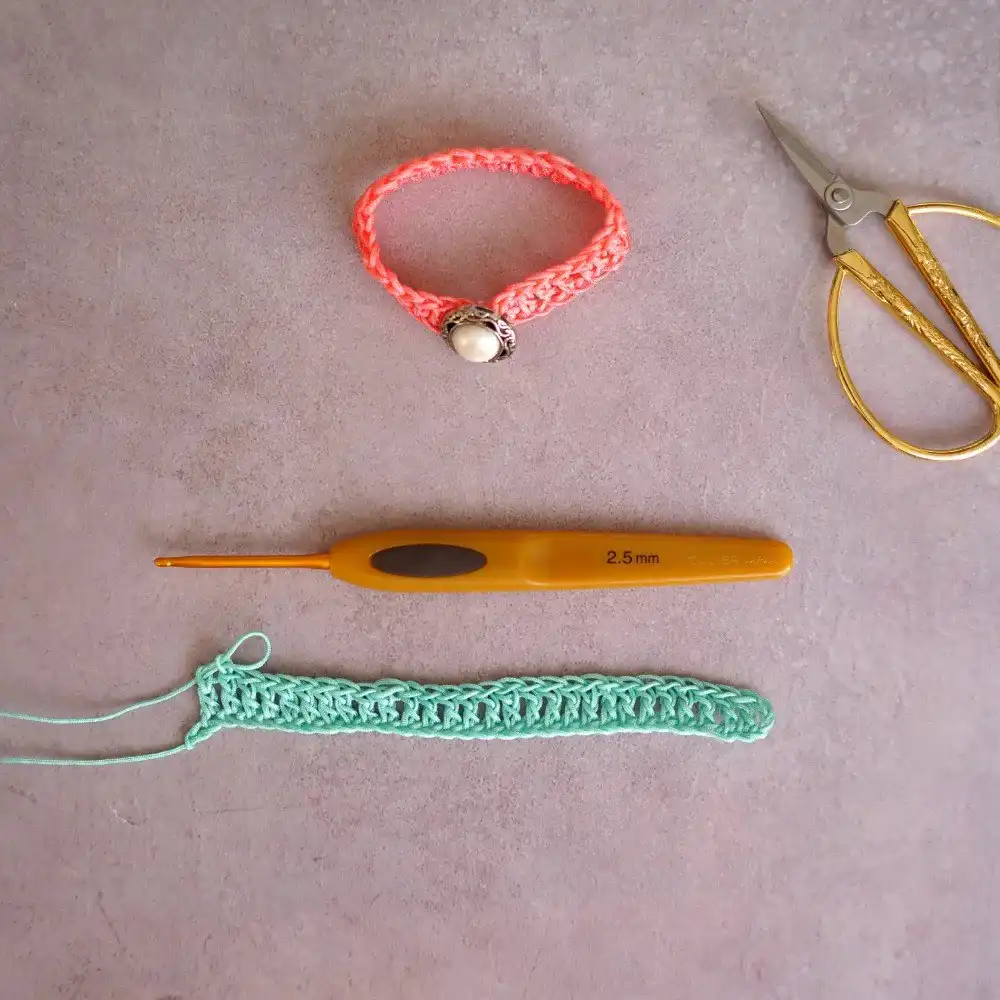
A single crochet stitch bracelet offers a slightly more textured and robust alternative to the chain stitch version, making it another fantastic project for crocheting novices. This pattern introduces the fundamental single crochet stitch in a simple, repetitive manner, helping to solidify basic techniques. It’s a stepping stone to more complex projects, much like mastering a mini cowboy hat.
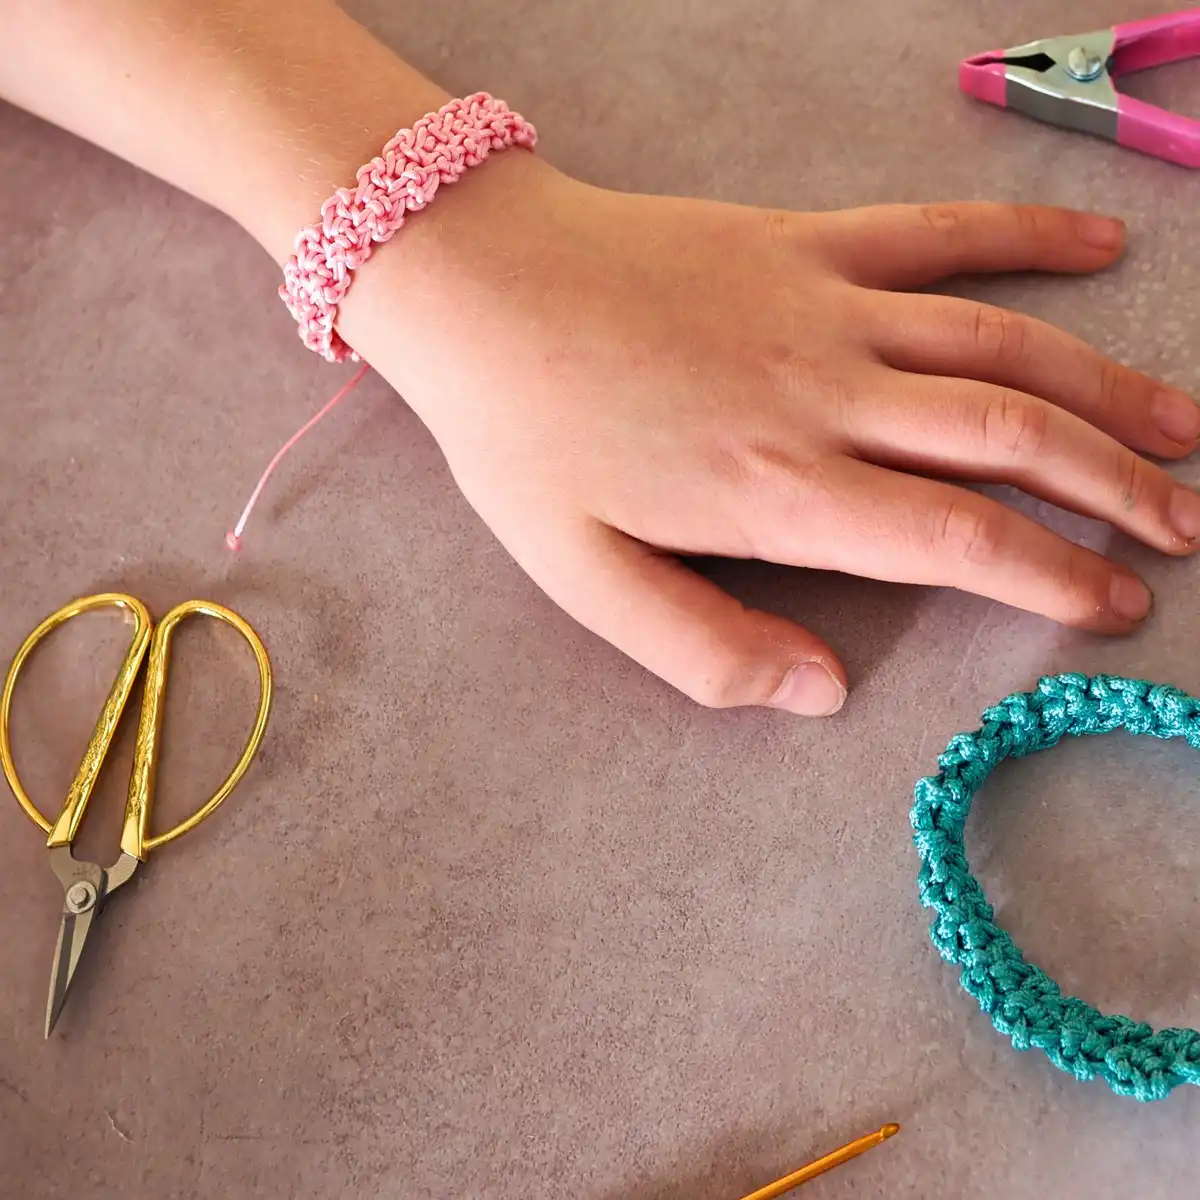
Materials you will need:
- 1 mm Nylon or Cotton Cord for the Bracelet (for a finer look).
- 2.5 mm Crochet Hook (suitable for 1mm cord).
- Alternatively, 1.5 mm Nylon Cord with a 3 mm – 4 mm Crochet Hook (for a slightly thicker bracelet).
- Scissors for precise cutting.
- A box lid and 2 clips (optional, for blocking ends).
- Beads (optional) for decorative flair.
- Lighter for sealing synthetic cord ends.
Beginning
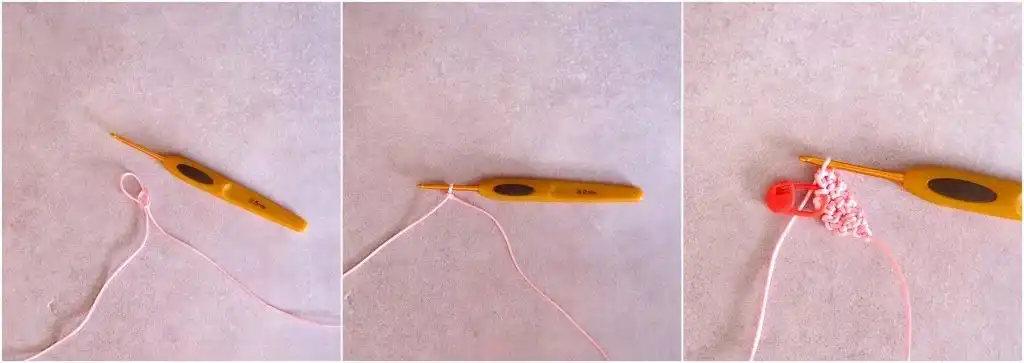
Begin by leaving an approximately 8-inch (20 cm) tail at the start of your cord; this length is essential for forming the adjustable closure later. Create a slip knot, then insert your crochet hook into it and gently pull the cord to tighten the knot onto the hook. This forms your starting point.
Next, yarn over and pull through the loop on your hook to create your first chain. Repeat this process two more times so you have a total of three chains. These initial chains will form the foundation row for your single crochet stitches.
Row 1
To begin your first row of single crochet, insert your hook into the second chain from the hook. Yarn over and pull a loop through that chain, so you now have two loops on your hook. Yarn over again and pull through both loops on your hook to complete your first single crochet stitch. This creates the primary fabric of your bracelet.
Now, locate the next string of yarn, which is typically a small “bump” at the end of the chain, rather than a traditional chain stitch opening. Insert your hook under this bump. Yarn over and pull through, then yarn over and pull through both loops on your hook to make your second single crochet. After completing the second stitch, turn your work over to begin the next row.
Next Rows
Continue crocheting rows of two single crochets each until your bracelet reaches the desired length. To measure, wrap the crocheted portion around your wrist; it should cover approximately three-quarters of its circumference, leaving room for the closure. This repetitive motion helps build consistent tension and stitch definition.
Once you reach the desired length, for the very last row, make only one chain instead of two. This helps to center the cord neatly in the middle of the bracelet, creating a balanced finish. Yarn over and pull through the last loop to make a knot, then tighten it securely. Cut the cord, leaving another 8-inch (20 cm) tail. Return to your initial starting end and insert your hook into the middle of the first row, yarn over, and pull through to tighten this end as well, creating a neat foundation.
Making a Clousure
With both ends prepared, you have two primary options for finishing your single crochet bracelet. The simplest method is to tie the bracelet directly around the wrist, which is great for quick gifts or very young wearers. For a more sophisticated and adjustable fit, you can proceed to make the adjustable square knot, as detailed in the previous section. This closure method adds versatility and a professional touch to your handmade piece.
Finishing off
After creating your adjustable square knot for the closure, place the bracelet on your wrist to determine the ideal length for the hanging cords. This ensures comfortable wear and easy removal. With this length in mind, tie small, secure knots at the very ends of the cords. Trim any excess cord, leaving about 2 mm of length.
Finally, using a lighter, carefully melt the very ends of the synthetic cords for a brief moment. This prevents fraying and ensures the knots remain secure, giving your single crochet friendship bracelet a durable and polished finish.
Double Crochet Bracelet Free Pattern
The double crochet bracelet offers a slightly wider and more textured fabric compared to its chain or single crochet counterparts, creating a distinct look. This pattern is perfect for those who have mastered the basic stitches and are looking to expand their repertoire with another fundamental stitch. It’s a great next step for crafters aspiring to create more intricate pieces, like various adorable crochet turtle patterns.
Materials you will need:
- 0.80 or 1 mm Nylon or Cotton Cord for the Bracelet.
- 2.0 mm Crochet Hook (for finer cords).
- Scissors for cutting.
- A box lid (optional) and 2 clips (optional) for blocking.
- A button (optional) for an alternative closure.
- Lighter (optional) for sealing synthetic ends.
Beginning:
Start by leaving an approximately 8-inch (20 cm) tail at the beginning of your cord, which will be used later for the adjustable closure. Create a slip knot and chain 33 stitches. This length is designed to be versatile, fitting both adult and children’s wrists once adjusted. The foundation chain is critical for the overall length and drape of your bracelet.
Next, yarn over, insert your hook into the fourth chain from the hook, yarn over again, and pull up a loop (you’ll have three loops on your hook). Yarn over and pull through the first two loops, then yarn over and pull through the remaining two loops to complete your first double crochet (DC). Continue making double crochet stitches in each chain across the row, stopping just before the very last chain. This forms the main body of your bracelet.
Once you’ve crocheted double crochets to the end of the row (leaving the last chain unworked), chain 1. Then, slip stitch into the very first chain of your starting round to connect the two ends, forming a loop. Pull the working cord end through the loop, as well as the cord end from your beginning tail. Cut the working cord, leaving approximately 20 cm (8 inches) of tail. This secures the bracelet loop and prepares it for the closure.
Making the Closure:
To create the closure for your double crochet bracelet, cut a new piece of cord approximately 16 inches (40 cm) long. Fold this cord in half. Insert the folded end into the opposite end of your bracelet (the side without the initial long tail). Pull the two loose ends of the folded cord through the loop you’ve just created, securing it to the bracelet end. This forms a sturdy loop on one side of your bracelet.
You can now choose to simply tie the bracelet around the wrist for a straightforward finish, or for greater adjustability and a refined look, proceed with making an adjustable square knot. The process for creating the square knot is identical to the one described previously, with one minor difference: your double crochet bracelet will now have four cords running through the center of the knot (the two starting tails plus the two new closure tails), rather than just two. The knotting method remains the same, ensuring a secure and adjustable fit.
Finishing Off:
After successfully crafting the adjustable square knot for your bracelet’s closure, carefully place the bracelet onto your wrist. This allows you to gauge the ideal length for the hanging cord tails, ensuring comfortable wear and easy removal. Once you’ve determined the perfect length, secure small, neat knots at the very ends of all four cords.
Trim any excess cord, leaving approximately 2 mm (about 3/16 inch) of cord past each knot. For synthetic cords, use a lighter to gently melt the ends. This crucial step prevents the cords from unraveling, ensuring your beautiful double crochet friendship bracelet remains durable and cherished for a long time.
We hope you enjoyed crafting these beautiful friendship bracelets! Don’t forget to save this pattern to your Pinterest board, share it with a crafty friend, and leave a comment below with your finished creations. Happy crocheting!


