This post contains affiliate links. As an Amazon Associate, we earn from qualifying purchases.
Adorable Crochet Baby Axolotl With Custom Gills and Bubble-Stitch Limbs
Embark on a delightful crochet journey to create your very own charming baby axolotl amigurumi! This pattern stands out with its intricate yet beginner-friendly details, featuring playful embroidered facial expressions, delicate custom gills, and uniquely textured bubble-stitch limbs. Perfect for crafting a one-of-a-kind keepsake or a thoughtful handmade gift, this little amphibian friend is sure to bring smiles.
Whether you’re looking to expand your amigurumi collection or dive into a new crochet adventure, this adorable baby axolotl with its distinctive design is an engaging project. Its compact size makes it ideal for a crochet keychain, a desk companion, or a charming addition to any nursery decor. Get ready to bring this aquatic cutie to life with your hook and yarn!
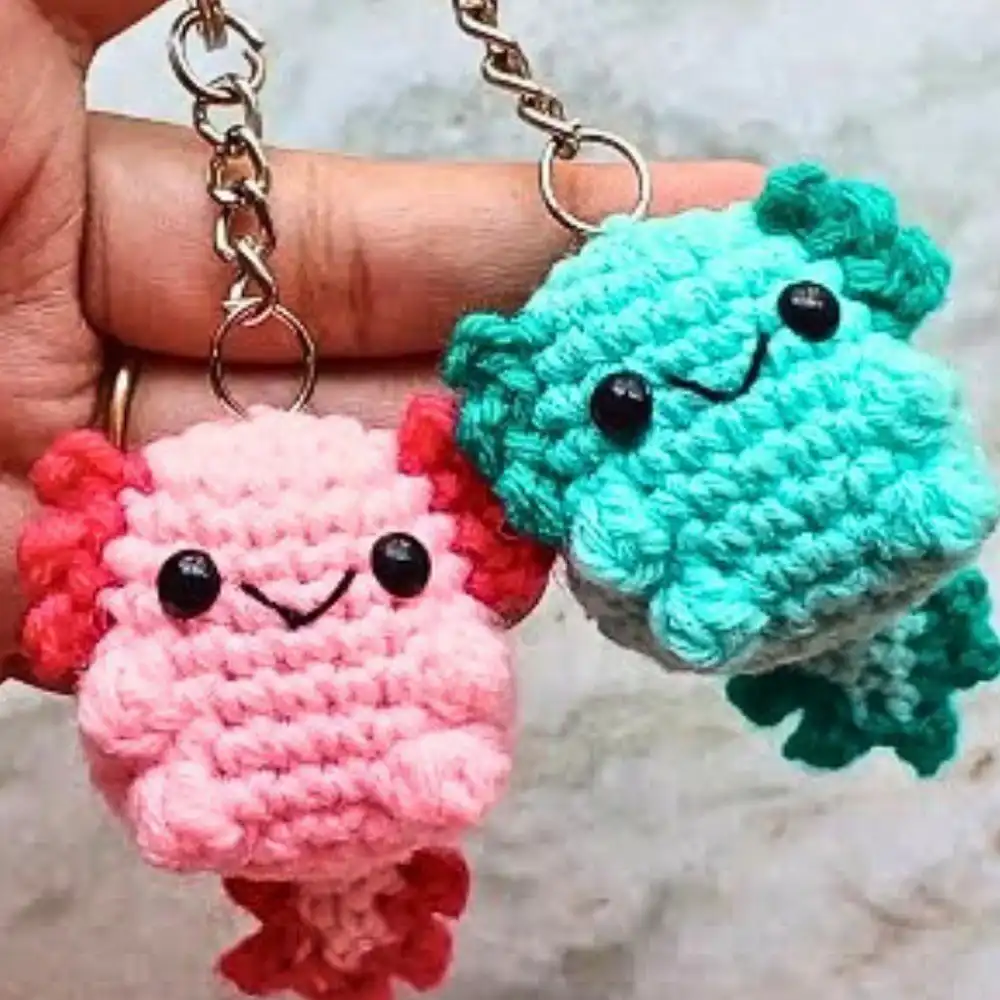
This remarkable baby axolotl amigurumi captivates with its thoughtful design elements. From the unique, frilly gills that frame its face to the tiny, three-dimensional bubble-stitch limbs that add tactile charm, every detail contributes to its distinct character. Constructed with durable, tight stitches, this little creature is built to last, especially with secure 4 mm safety eyes ensuring its endearing gaze remains intact. It’s not just a project; it’s a durable, adorable piece of art, perfect as a collectible amigurumi or a functional accessory.
Crochet Baby Axolotl
Crafting this baby axolotl is an immensely satisfying and accessible process, designed to be enjoyable for crocheters of all levels, including eager beginners. The pattern systematically walks you through every essential step, starting from the foundational magic circle, progressing through shaping techniques like invisible decreases, and culminating in the creation of its sturdy body, vibrant gills, and characteristic smile. Its manageable size ensures it’s a quick-to-finish project, perfect for instant gratification, while the minimal sewing required makes it a joy from start to finish. You’ll be amazed at how quickly this enchanting creature takes shape under your hands.
Materials and Preparation
To successfully bring this irresistibly cute baby axolotl amigurumi to life, gathering the right materials is the first crucial step. Choosing your yarn carefully sets the tone for your finished piece. Opt for high-quality stuffing that maintains its shape, and ensure your tools are readily accessible. This preparation phase is key to a smooth and enjoyable crocheting experience, allowing you to focus on the creative process.
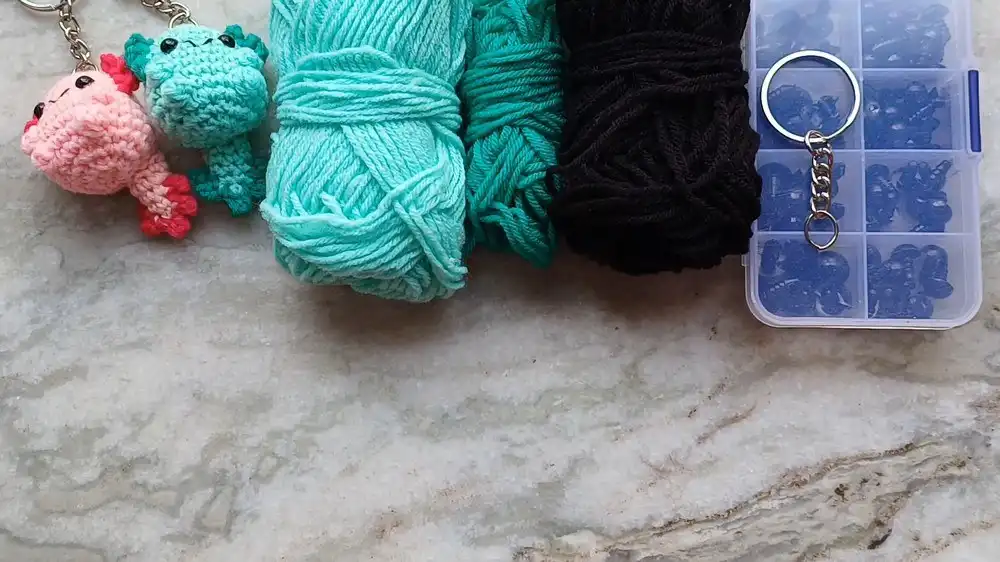
- Yarn: Select light and dark shades of the same color palette to create a cohesive look for the body and gills. A 4-ply yarn is highly recommended for its versatility and stitch definition. You’ll also need a small amount of black yarn for embroidering the axolotl’s signature charming smile. Consider using mercerized cotton for a slight sheen and durability.
- Hook: A 3 mm crochet hook is essential for this project. Although 4-ply yarn typically calls for a 4 mm hook, using a slightly smaller hook creates tighter stitches. This density is crucial for amigurumi, preventing the stuffing from showing through and ensuring a firm, well-shaped finished product.
- Safety Eyes: Use 4 mm safety eyes to give your axolotl its endearing, expressive face. These provide a secure and lasting feature, vital for any amigurumi intended for play or display.
- Keychain Accessories: If you plan to transform your axolotl into a portable charm, have a blank keychain and small jump rings ready. These allow you to easily attach your finished piece to bags, keys, or zippers, making it a delightful accessory.
- Stuffing: High-quality polyester fiberfill is ideal for stuffing. Ensure you have enough to firmly fill the body, giving your axolotl a plump and huggable form without being overstuffed or lumpy.
- Additional Tools: A yarn needle is indispensable for weaving in ends and assembly. Stitch markers, whether store-bought or improvised (like paperclips or contrasting yarn), are crucial for keeping track of your rounds. Finally, sharp scissors will ensure clean yarn cuts throughout your project.
Abbreviations and Notes
Understanding the standard crochet abbreviations is fundamental to following any pattern, and this axolotl guide is no exception. Familiarizing yourself with these shorthand terms will streamline your crafting process, making each step clear and efficient. These abbreviations are universal in the crochet world, so mastering them here will benefit all your future projects.
- CH: Chain
- SC: Single Crochet
- INC: Increase (making two single crochets into one stitch)
- DEC: Decrease (combining two stitches into one)
- BLO: Back Loop Only
- MC: Magic Circle (also known as Magic Ring)
- BUBBLE: Bobble stitch (a cluster of partial double crochets worked into a single stitch, then closed together)
Notes and Tips:
These crucial tips are designed to help you achieve the best possible results for your baby axolotl. Paying attention to these details will ensure your amigurumi is not only adorable but also structurally sound and beautifully finished. They address common challenges and offer guidance for a professional-looking outcome.
- Continuous Rounds (No Joining): This amigurumi pattern is worked in continuous spiral rounds, meaning you won’t join at the end of each round with a slip stitch. This technique creates a seamless fabric, ideal for toys. Always use a stitch marker to indicate the last stitch of each round, moving it up as you progress to avoid losing your place.
- Tight Stitches: A key to successful amigurumi is creating tight stitches. As mentioned in the materials section, using a smaller crochet hook than typically recommended for your yarn weight helps achieve this. Tight stitches prevent stuffing from showing through your fabric and result in a firmer, more durable toy.
- Shaping: Amigurumi often requires a bit of gentle manipulation. As you crochet, especially when creating the bubble stitches for limbs and gills, periodically push and adjust them from the right side of your work. This helps them pop out correctly and ensures your axolotl has its intended adorable shape.
- Sewing Only for Tail: One of the joys of this pattern is its minimal sewing! Apart from attaching the tail, most elements are crocheted directly onto the body or require very little assembly. This makes the project quicker and more enjoyable, especially for those who dislike extensive sewing.
Gauge, Approximate Size, and Pattern Notes
While precise gauge isn’t critical for this amigurumi project, focusing on stitch tension is paramount for a professional finish. Your goal is to create a dense fabric that keeps the stuffing securely inside, preventing any unsightly gaps. This project is designed to be compact and charming, perfect for various uses and suitable for carrying a piece of handmade joy wherever you go.
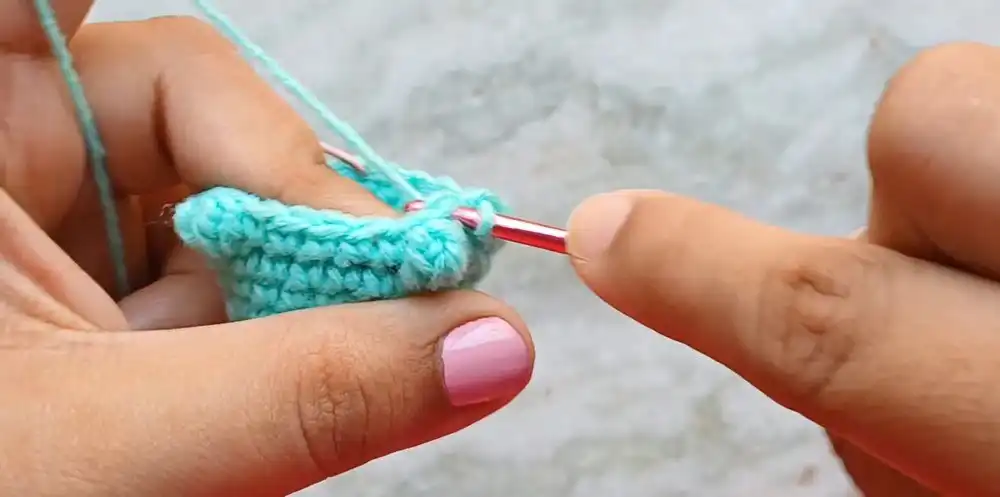
- Gauge: As this is an amigurumi project, achieving an exact gauge isn’t as crucial as it might be for garments. The most important aspect is to maintain tight stitches. This prevents the stuffing from poking through the fabric and ensures your axolotl holds its shape beautifully. If your stitches are too loose, consider going down a hook size.
- Finished Size: Once completed, your baby axolotl will stand approximately 3–4 inches tall. This petite size makes it incredibly versatile. It’s perfectly proportioned to function as an adorable keychain, a charming desk accessory, or a cute figurine to adorn a shelf or plant pot. Its small footprint also makes it an excellent candidate for gifting.
- Special Techniques: This pattern introduces and utilizes a few fundamental amigurumi techniques that enhance the final look and construction of your axolotl. Mastering these will serve you well in future crochet projects.
- Magic Circle: The foundation for most amigurumi, this technique creates a tightly closed center, avoiding a hole at the start of your piece.
- Bobble Stitch: Used for creating the distinctive bubble limbs and decorative gills, this stitch adds wonderful texture and dimension, making your axolotl truly unique.
- Invisible Decrease: This technique is crucial for seamlessly shaping the axolotl’s body and head. It creates a much neater decrease than a standard single crochet decrease, resulting in a smoother, more professional finish.
Step-by-Step Pattern
This comprehensive step-by-step pattern guides you through the creation of your charming baby axolotl, breaking down each component into manageable stages. Follow these instructions carefully to construct a beautifully detailed and robust amigurumi. Pay close attention to stitch counts and technique application for the best results.
Body
The body forms the main structure of your axolotl. Starting with a magic circle, you’ll gradually increase stitches to create the rounded base, forming the head and upper body. Consistency in your single crochet stitches and accurate counting of increases are key to achieving the correct shape and size for your amigurumi.
- Round 1 (MC): Begin by creating a Magic Circle. Chain 1 (this chain does not count as a stitch). Work 6 single crochets (SC) into the circle. Gently pull the tail to tighten the circle completely, closing any central gap. (6 SC)
- Round 2: Work an Increase (INC) in each stitch around (2 SC in every stitch). This doubles your stitch count and begins to form the base of the head. (12 SC)
- Round 3: Repeat the pattern of [SC in the next stitch, then INC in the following stitch] all the way around. This creates a gradual expansion of your piece. (18 SC)
- Round 4: Work 1 SC in each stitch around. This round adds height without increasing the circumference, helping to shape the head. (18 SC)
- Round 5: Repeat the sequence of [SC in the next 5 stitches, then INC in the next stitch] three times around. This further expands the head to accommodate facial features. (21 SC)
- Round 6: Work 1 SC in each stitch around. Another height-building round to define the head shape. (21 SC)
- Round 7: Repeat the pattern of [SC in the next 6 stitches, then INC in the next stitch] three times around. This final increase round for the main body section establishes the widest part of the head. (24 SC)
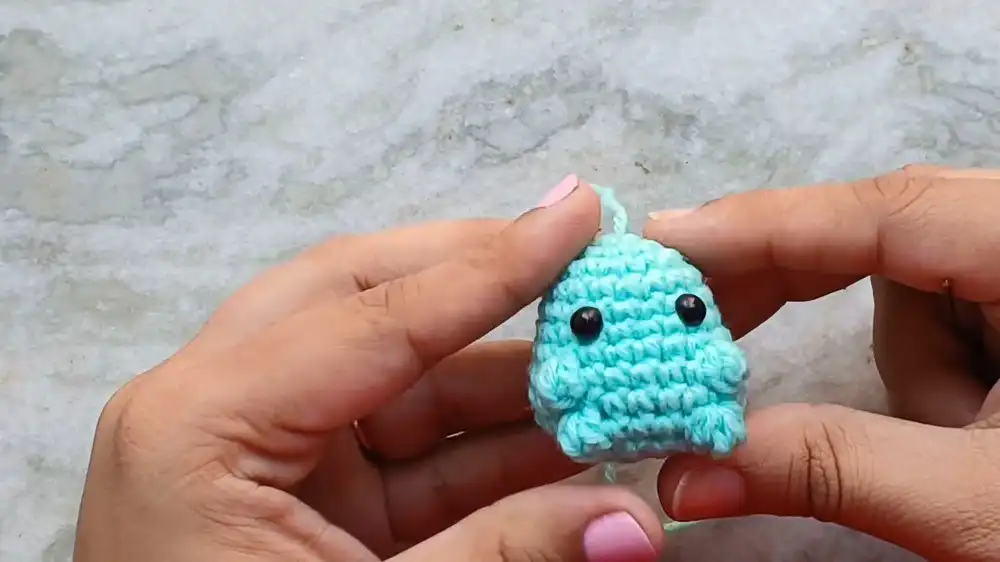
Adding Face Details
The face is where your axolotl truly comes to life! Carefully placing the safety eyes and embroidering the smile gives your amigurumi its unique personality. Take your time with these details, as they significantly impact the final expressive quality of your creation.
- Insert Safety Eyes: With the body partially formed, it’s time to add the eyes. Place the 4 mm safety eyes between Rounds 5 and 6. Position them approximately 3 stitches apart from each other, ensuring they are aligned symmetrically with where the arms will be placed. Once you’re happy with the placement, securely push on the safety backings from the inside.
- Embroider the Smile: Using your black yarn and a yarn needle, embroider a charming smile just under the eyes, between Rounds 6 and 7. Start by creating a simple “straight stitch” across the desired mouth area. Then, to create a subtle curve, use your needle to carefully tuck the yarn slightly inwards at the center of the mouth, securing it with a tiny stitch from the back. Ensure all yarn ends are neatly hidden inside the head for a clean finish.
Arms (Bubble Stitch):
The bubble stitch arms add an adorable, three-dimensional element to your axolotl, giving it character and texture. This technique might seem intricate at first, but following the steps carefully will help you master it. The key is to form a cluster of stitches in one spot to create that distinctive puff.
- Round 8: Begin this round by working SC in the first 8 stitches. In the next stitch, you will create the first bubble stitch for an arm.
- Yarn over (YO), insert your hook into the stitch, YO, and pull up a loop. You should now have 3 loops on your hook.
- YO, pull through 2 loops. You will have 2 loops remaining on your hook. (This is a partial double crochet).
- Repeat steps 1 and 2 three more times into the exact same stitch. After all four partial double crochets, you will be left with 5 loops on your hook.
- YO and pull through all 5 loops on your hook to complete the bubble.
- To secure and “push out” the bubble, work 1 SC into the very next stitch.
Continue by working SC into the next 5 stitches, then create another bubble stitch using the same method. Finish the round by working SC into the remaining stitches. (You should still have 24 SC in total, with two new bubble stitches incorporated).
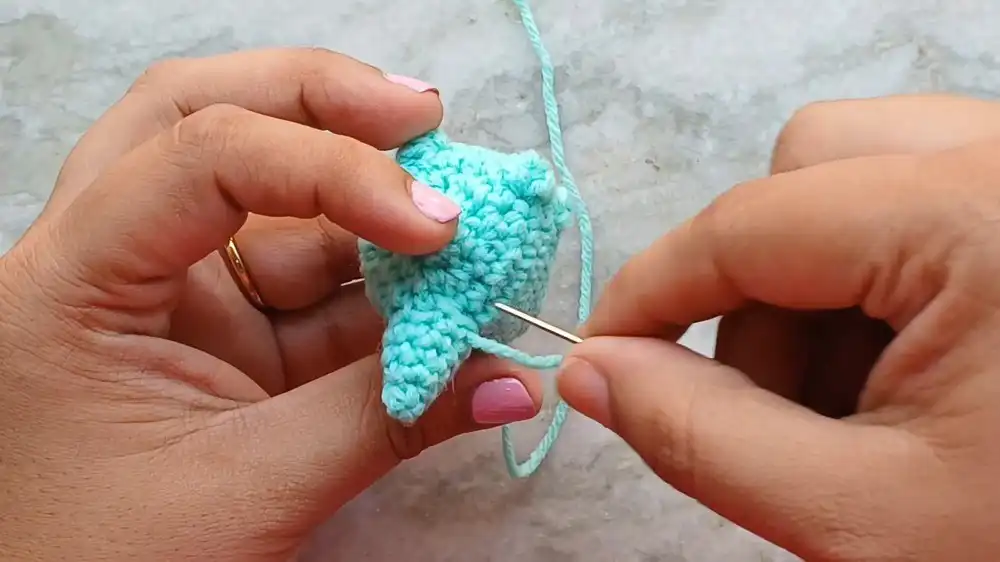
Legs (Bubble Stitch):
Similar to the arms, the bubble stitch legs provide another delightful tactile detail. These are positioned lower on the body, maintaining symmetry and adding to the axolotl’s whimsical charm. Ensure your bobble stitches are consistent in size and well-defined to create neat, rounded limbs.
- Round 10: Start this round by working SC in the first 9 stitches. Then, create one bubble stitch in the next stitch following the same technique used for the arms. Work SC in the next 4 stitches, then create another bubble stitch. Finish the round by working SC in the remaining 9 stitches. (You will still have 24 SC in total, now with two new bubble stitches for the legs).
Decreasing for the Head:
This phase is crucial for shaping the head and neck of your axolotl, gradually reducing the stitch count to create a distinct form. The invisible decrease technique is vital here to ensure a smooth, nearly imperceptible reduction, maintaining the neatness of your amigurumi.
- Round 11: Repeat the pattern of [SC in the next 2 stitches, then work an Invisible Decrease (INV DEC) across the next 2 stitches] all the way around the round. This begins to significantly shape the head. (18 SC)
- Round 12: Repeat the pattern of [SC in the next 1 stitch, then work an INV DEC] all the way around the round. This further closes the head opening. (12 SC)
Add Stuffing: At this stage, it’s time to firmly stuff the body of your axolotl. Use your fingers or a stuffing tool to push the fiberfill down evenly, ensuring the head and body are well-shaped and plump. Be careful not to overstuff, which can distort the stitches, but ensure it’s firm enough to hold its form.
- Round 13: Work a decrease (INV DEC) in every stitch across the round. This will rapidly close the remaining opening. (6 SC)
Cut your yarn, leaving a tail of about 6-8 inches. Fasten off your work. Thread the yarn tail onto your yarn needle. Weave the tail through the front loops of the remaining 6 stitches. Pull the tail tight to cinch the hole completely shut. Finally, weave the remaining tail securely into the body of the axolotl to hide it.
Tail
The tail adds a characteristic aquatic touch to your axolotl, giving it balance and completing its silhouette. This piece is crocheted separately and then attached, allowing for a distinct shape and slight flexibility. Ensure the stuffing is light so the tail maintains a natural curve.
- Round 1 (MC): Create a Magic Circle. Work 4 SC into the circle. Pull the tail to tighten the circle. (4 SC)
- Round 2: Repeat the pattern of [SC in the next stitch, then INC in the next stitch] alternately around the round. This begins the widening of the tail. (6 SC)
- Round 3: Work 1 SC in each stitch around. This round adds length without increasing width. (6 SC)
- Round 4: Work SC in the first 2 stitches, then INC in the next 2 stitches, then finish with SC in the last 2 stitches. This creates a subtle widening for the tail’s base. (8 SC)
- Round 5: Work 1 SC into all stitches around. This final round adds length before assembly. (8 SC)
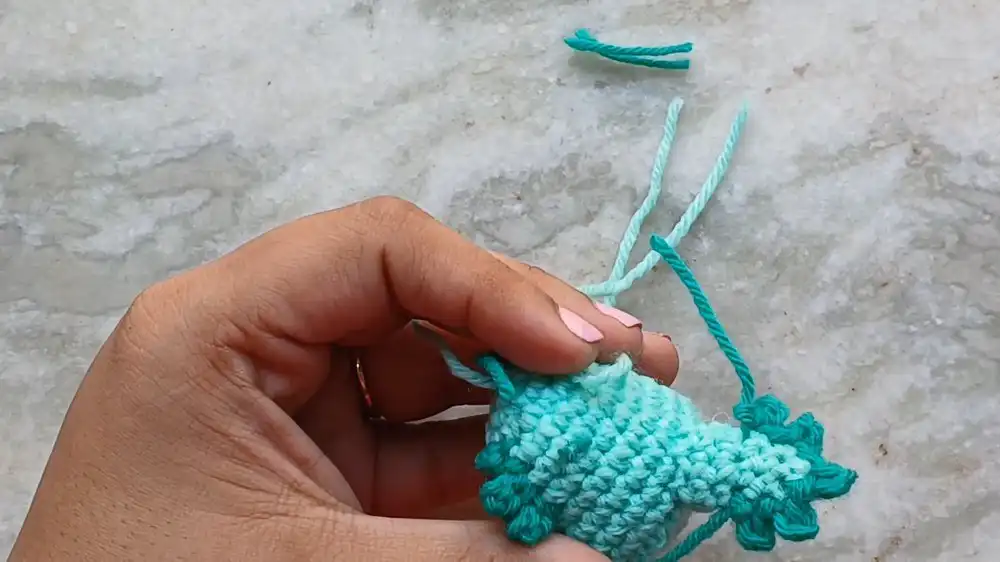
Assembly: Lightly stuff the tail with fiberfill; avoid overstuffing to keep it flexible. Position the tail at the back center of the body, ensuring the natural curve of the tail faces upwards. Using the long yarn tail left from the tailpiece and your yarn needle, sew the tail securely to the body with neat, small stitches. Once attached, weave any excess yarn into the body to hide it.
Gills (Using Dark Yarn)
The gills are arguably the most distinctive feature of an axolotl, and these crocheted versions add incredible detail and charm. Using a darker shade of yarn creates a lovely contrast. Take care to space them evenly and symmetrically for a balanced look.
- Start by joining your dark yarn with a slip stitch between rounds 6 and 7, approximately one stitch away from the safety eye. This placement initiates the gill formation.
- Chain 3, then make a slip stitch into the very first chain you made. This creates a small, delicate picot loop, forming the first frilly gill.
- Move up to the next row (or slightly above your first gill) and make another slip stitch. This positions you for the next gill, keeping the rows evenly spaced for a natural look. Create a total of 3 gills on this side of the face, spacing them out slightly.
- Repeat the entire process on the other side of the face, ensuring that your gills are symmetrical in placement and number for a perfectly balanced axolotl.
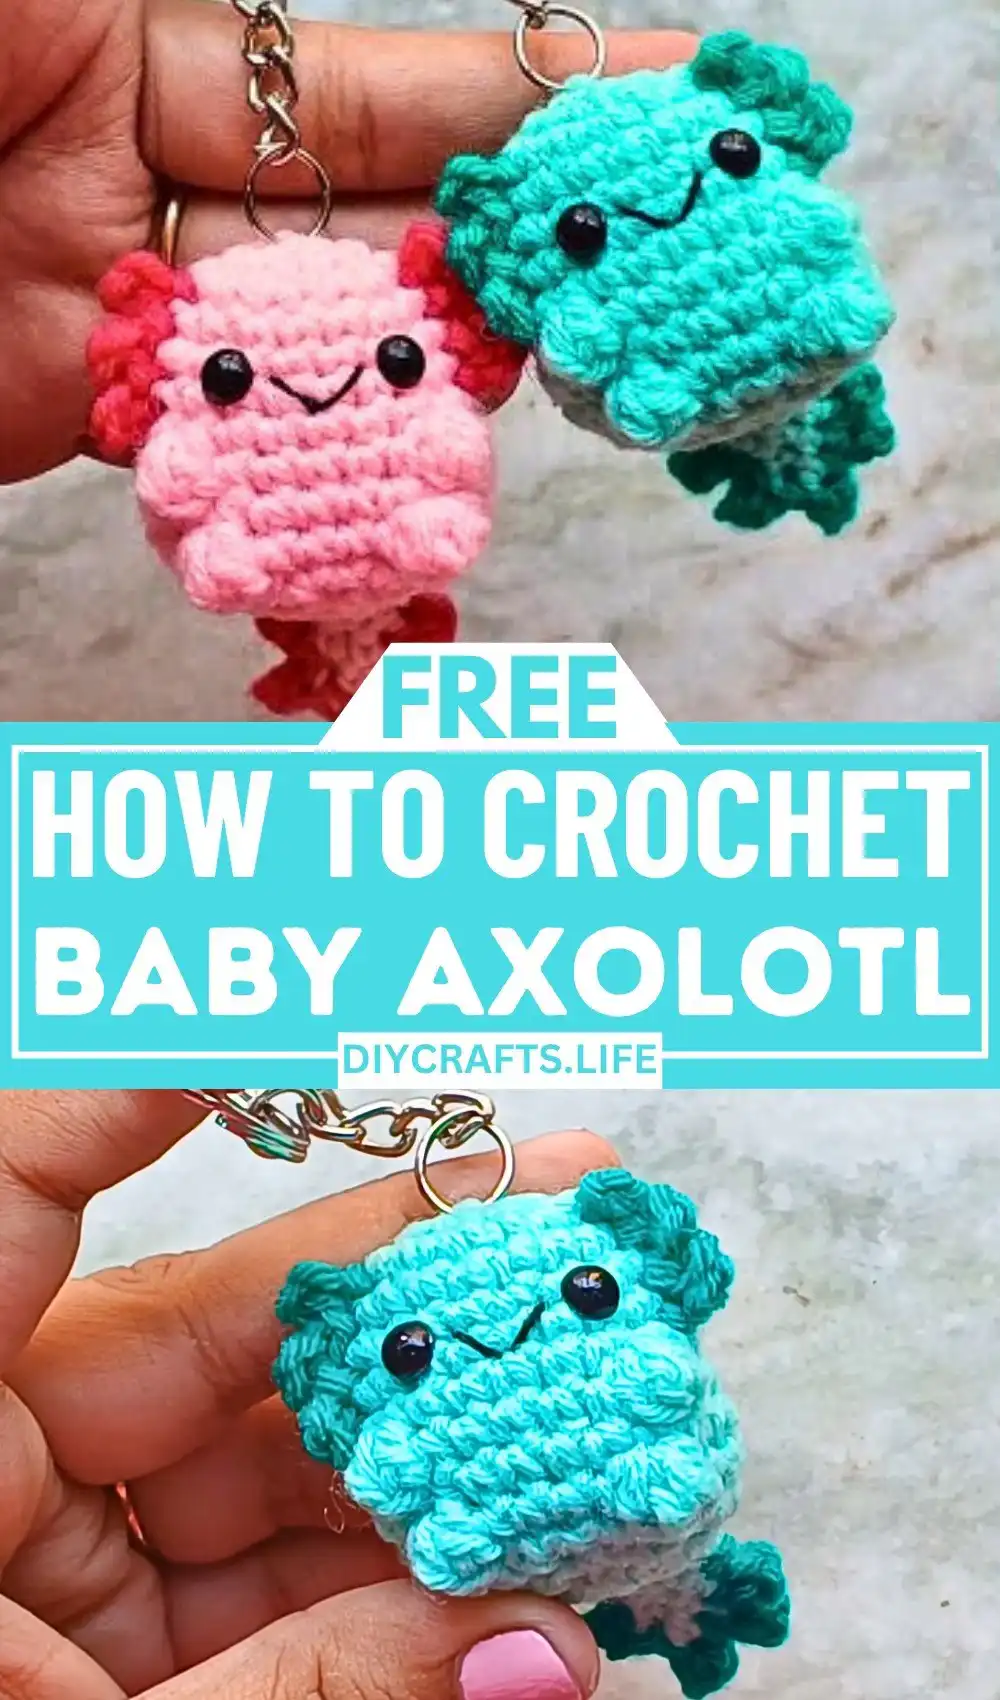
Finishing Touches
These final steps are where all your hard work comes together, ensuring your crochet baby axolotl is perfectly polished and ready for display or gifting. Attention to these details makes a significant difference in the overall quality and presentation of your finished amigurumi.
- Keychain Attachment (Optional): If you plan to make your axolotl a keychain, thread the yarn tail at the very center top of the head onto your yarn needle. Pull this tail through the jump ring of your keychain, then guide it back into the head of the axolotl. Secure it tightly with several strong knots inside the head, then trim and hide any remaining yarn tail for a neat finish.
- Weave in Ends: Carefully and securely weave in and hide all remaining yarn tails. Use your yarn needle to thread them through the inside of the body, ensuring they are invisible and won’t unravel. This gives your axolotl a professional and tidy appearance.
- Final Check: Take a moment to gently shape the arms, legs, tail, and gills of your axolotl. Use your fingers to fluff up the bubble stitches and ensure everything is positioned as desired. Add any fine adjustments necessary to perfect its charming look.
Pattern Question
Answering common questions helps ensure your project turns out perfectly. One frequent query involves hook size, which is critical for amigurumi results. Understanding why a specific hook size is recommended can prevent common issues like stuffing visibility and maintain the toy’s structural integrity and aesthetic appeal.
Question: Can I use a larger crochet hook than the recommended 3 mm for this pattern?
Answer: While you certainly can use a larger hook, such as a 4 mm, it’s generally not recommended for amigurumi projects like this baby axolotl. Using a larger hook will inevitably create looser stitches. This looseness can cause the polyester fiberfill stuffing to show through the fabric, diminishing the neat appearance of your amigurumi. More importantly, looser stitches result in a less firm and durable toy, which might not hold its shape as well over time or with handling. For the best results, including tight, neat stitches and a well-defined shape, sticking to the recommended 3 mm crochet hook is advised. This ensures your baby axolotl is sturdy, adorable, and professionally finished.
Conclusion
This delightful crochet baby axolotl design beautifully marries whimsical charm with straightforward, easy-to-master techniques. Whether you intend for your finished creation to serve as an adorable keychain, a heartfelt handmade gift, or a unique decorative accent, its crisp details and beginner-friendly approach guarantee a rewarding crafting experience. The joy of creating this captivating little amphibian is matched only by the pleasure of owning such a special, handcrafted item!
Video Tutorial
For visual learners or those who prefer following along with demonstrations, a detailed video tutorial can greatly enhance the crafting experience. While not embedded here, searching for “Crochet Baby Axolotl Video Tutorial” on platforms like YouTube can provide step-by-step guidance, making the process even clearer and more accessible. Watching the techniques in action, especially for specific stitches like the bubble stitch or invisible decrease, can be incredibly helpful.
More Free Crochet Patterns
If you’ve enjoyed crocheting this adorable axolotl and are eager for more creative projects, explore these other fantastic free crochet patterns. From festive holiday decorations to charming home accents, there’s always something new to inspire your next crafting adventure. These patterns offer varied challenges and delightful outcomes, perfect for expanding your crochet repertoire.
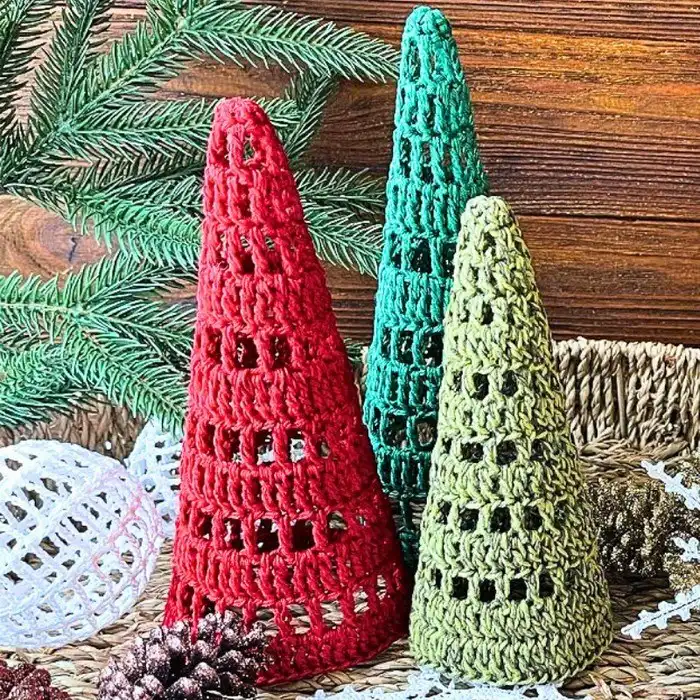
Easy Crochet Christmas Tree Pattern with Starch Stiffening
Craft a charming and sturdy Christmas tree that stands tall and proud with this easy-to-follow pattern. Utilizing a starch stiffening technique, your crocheted tree will maintain its elegant conical shape, making it a perfect festive centerpiece or mantelpiece decoration. This project is ideal for adding a touch of handmade warmth to your holiday decor, offering a blend of traditional crochet with a clever finishing touch.
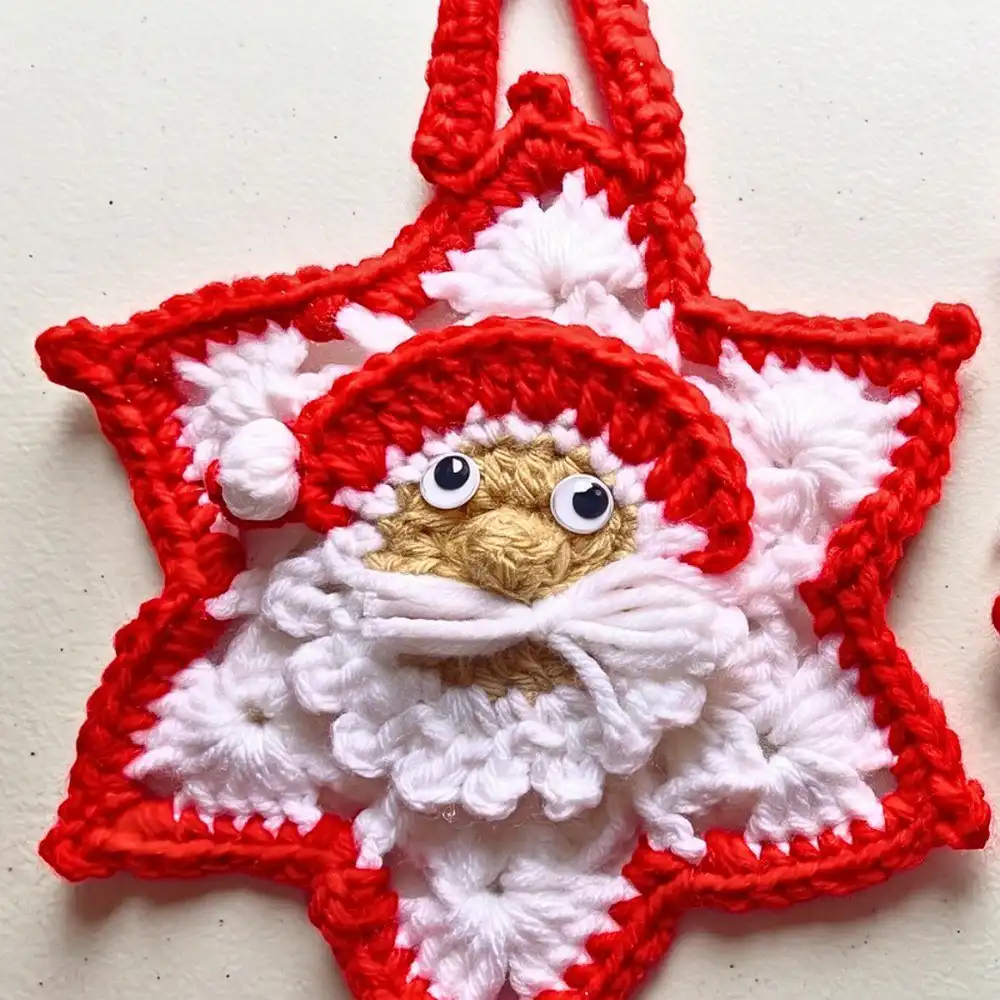
Crochet Santa Star Ornament For Festive Décor
Brighten your holiday season with this adorable Santa star ornament! This pattern combines the classic five-point star shape with whimsical Santa Claus elements, creating a unique and festive decoration. It’s a quick and rewarding project, perfect for adding to your Christmas tree, hanging in windows, or as a thoughtful gift topper. Embrace the holiday spirit with this charming design.
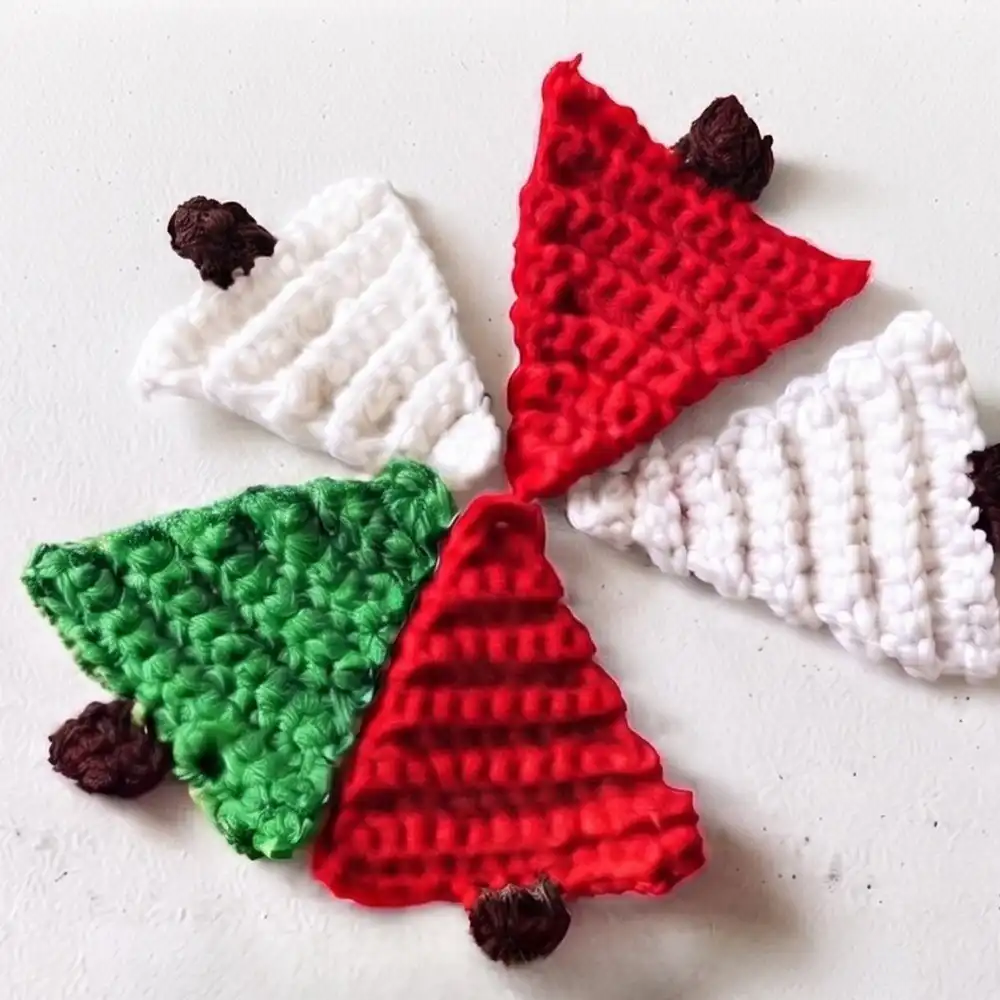
Crochet Hanging Christmas Tree Decoration Pattern Free
Create a series of delightful hanging Christmas tree decorations with this versatile free pattern. These small, elegant ornaments are perfect for adorning your tree, embellishing gift packages, or creating a festive garland. Designed to be quick and satisfying, they offer a wonderful opportunity to use up leftover yarn scraps while producing beautiful, handmade holiday accents.
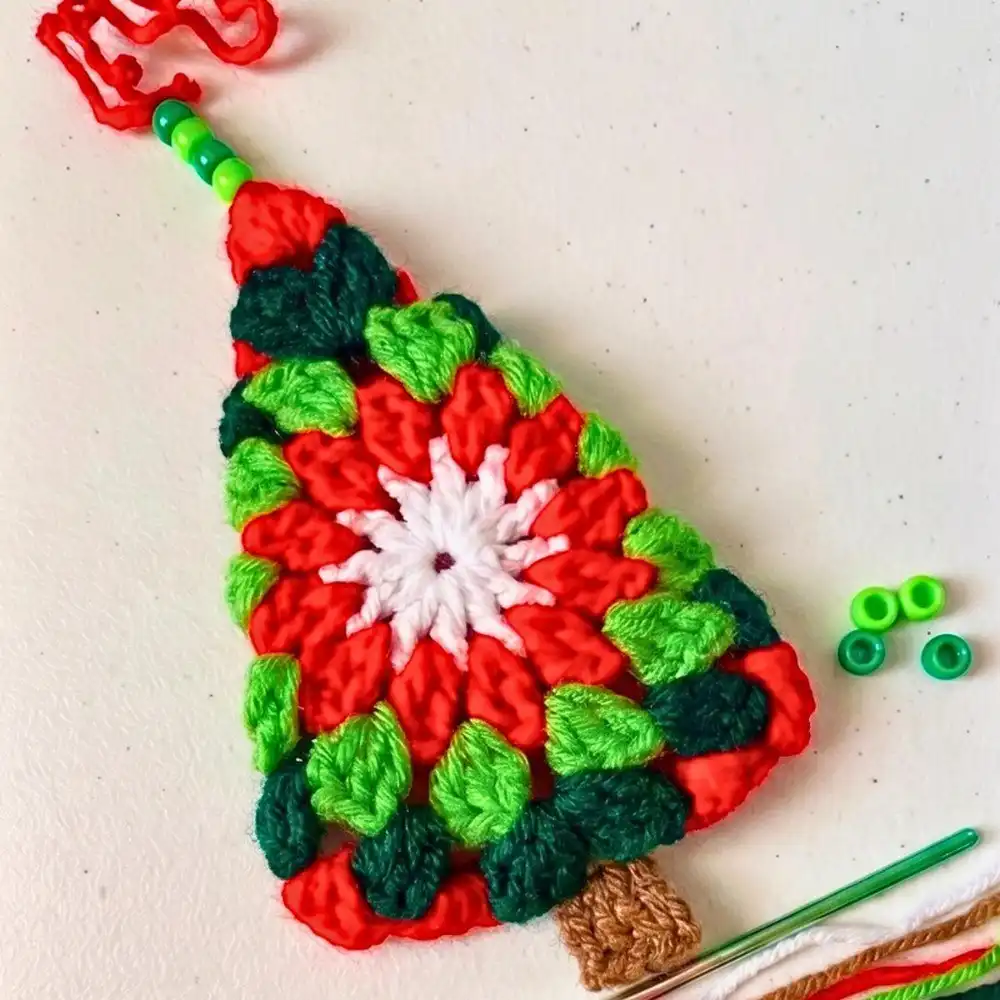
Crochet Christmas Tree Pattern For The Best Decoration
This comprehensive crochet Christmas tree pattern provides all the instructions you need to craft a truly special holiday decoration. Whether you envision a miniature tree for your desk or a larger, more elaborate piece, this pattern offers flexibility and clear guidance. It’s designed to be a centerpiece of your festive decor, showcasing your crocheting skills and bringing holiday cheer to any room.
We hope you’ve enjoyed crafting your own unique baby axolotl! Don’t forget to save this pattern to your Pinterest board for future reference, share it with fellow crochet enthusiasts, and leave a comment below with your thoughts or any tips you discovered during your making process. Happy crocheting!


