Master the Free Crochet Dish Scrubby Pattern – Easy Gift Idea for a Spotless Home
Transform your kitchen cleaning routine with these delightful and incredibly effective handmade scrubbies! This free crochet dish scrubby pattern offers an easy gift idea for anyone who loves a sparkling clean home. Crocheting these scrubbies is not only a practical endeavor but also a wonderfully quick and satisfying project that utilizes unique scrubby yarns designed to tackle tough messes with ease.
Crafted to be both functional and fun, these scrubby pads work up quickly, making them ideal for last-minute gifts or for building up your own stash of eco-friendly cleaning tools. We’ll guide you through each step, ensuring your creations are durable, effective, and bring a touch of handmade charm to everyday chores. If you’re new to crochet or need a refresher on the basics, be sure to check out our guide on how to single crochet.
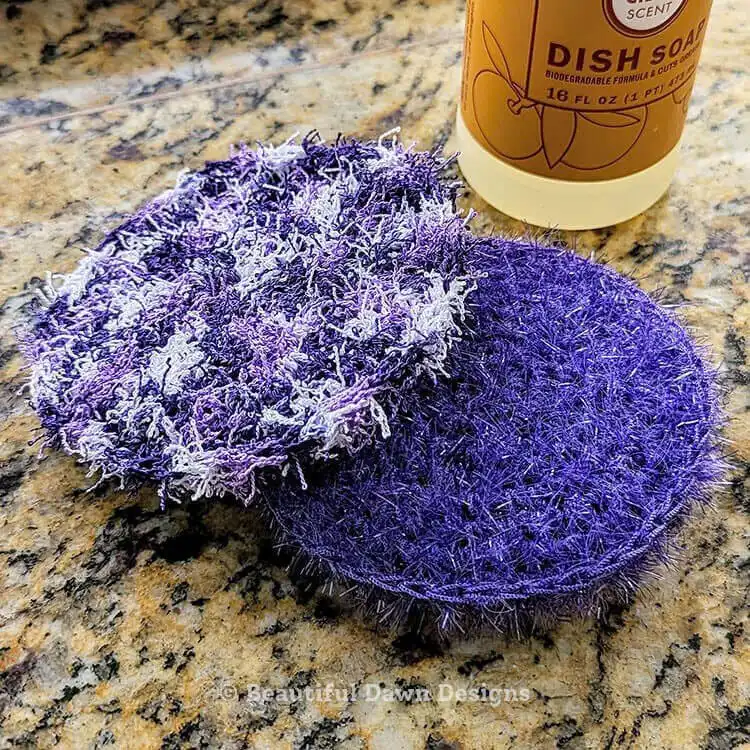
Originally, this pattern was inspired by the discovery of Squeaky Clean Sparkle Yarn by Loops and Threads, a material specifically engineered for its scrubbing power without shedding. This yarn comes in a vibrant array of colors, ensuring your dish scrubbies are not only efficient but also visually appealing. While polyester scrubby yarn dries remarkably fast, you can also opt for 100% cotton yarn for a different texture, though cotton scrubbies will take longer to air dry. Both options produce fantastic results, allowing you to customize your scrubbies to your preference.
Materials:
- Yarn: 1 skein Squeaky Clean Sparkle Yarn by Loops and Threads (or Red Heart Scrubby Yarn as an alternative). These yarns are specifically designed for scrubbing, offering excellent durability and textured cleaning power.
- Hook: US size G 4.0 mm crochet hook. This size is commonly used for scrubby yarns, providing the right tension for a firm yet flexible crochet hook.
- Accessories: Stitch marker, scissors, tapestry needle. A stitch marker is crucial for working in continuous rounds, while scissors and a tapestry needle are essential for finishing and weaving in ends neatly.
With just a few supplies, you can create functional and beautiful items. Explore other creative projects like these crochet bag patterns or even playful Tooth Fairy Pillows.
Pattern Notes:
- Continuous Rounds: This pattern is worked in continuous rounds, meaning you will not join with a slip stitch at the end of each round. This technique creates a seamless spiral, ideal for durable scrubbies.
- Stitch Marker: Always use a stitch marker in the first stitch of each round. This helps you keep accurate count and know exactly where each round begins, preventing mistakes and ensuring your scrubby maintains its perfect circular shape.
Abbreviations (US):
- ch: chain. The foundational stitch for starting your work.
- st(s): stitch(es). Refers to any crochet stitch you will be working into.
- sc: single crochet. The primary stitch used in this pattern, known for its dense and sturdy fabric, perfect for scrubbing.
- inc: increase (work 2 stitches in the same stitch). This technique expands your work, creating a flat circle.
- sl st: slip stitch. Used for joining or fastening off.
Understanding these abbreviations is key to confidently following any Crochet Stitch Dictionary. They provide a universal language for crafters, simplifying complex instructions into concise terms.
Easy Scrubby Crochet Pattern
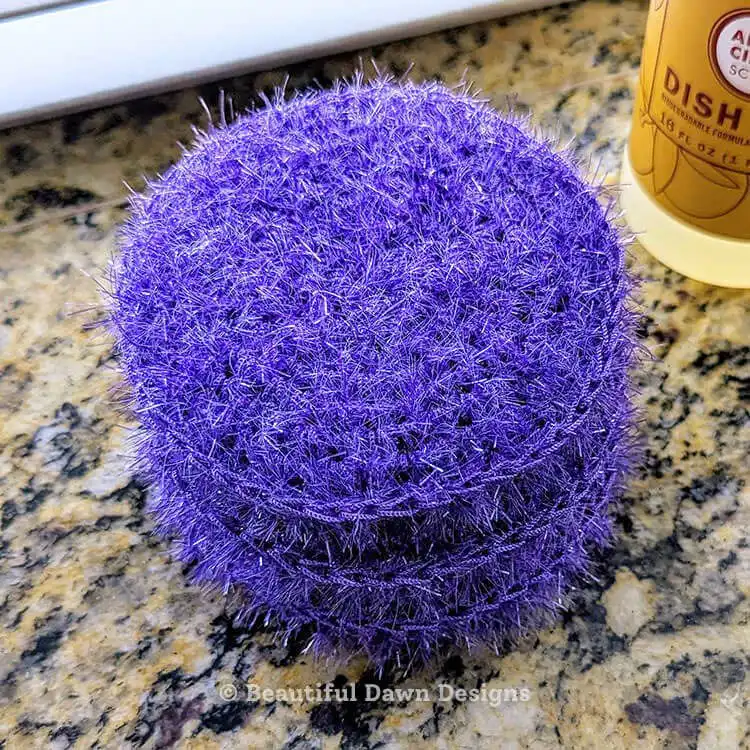
This pattern creates a robust, double-layered dish scrubby that is both effective for cleaning and comfortable to hold. The key to its durability lies in working two identical pieces and then joining them together, creating a thick and resilient cleaning tool. Pay close attention to your stitch count in each round to ensure perfectly circular and flat scrubby pieces.
Follow this part of the pattern twice, making 2 scrubby pieces.
To begin, you will start with a small circle that will gradually increase in size to form a flat disc. This method ensures a tight center, preventing holes and adding to the scrubby’s longevity. We’ll be working these increases systematically to maintain a smooth, even shape, essential for a functional and aesthetically pleasing scrubby.
- Ch 2: Begin by making a slip knot and chaining two stitches.
- Round 1: Work 6 single crochet stitches into the 2nd chain from the hook. (6 sts). This creates your initial small ring. Remember to place your stitch marker in the first stitch of this round to mark your starting point.
- Round 2: Increase in each stitch around. (12 sts). By working two single crochet stitches into every stitch from the previous round, you effectively double your stitch count and begin to expand your circle.
- Round 3: Inc, sc in next st. Repeat from to around. (18 sts). Here, you establish a pattern of increasing every other stitch, allowing the circle to grow without ruffling.
- Round 4: Inc, sc in next 2 sts. Repeat from to around. (24 sts). Continue the increasing pattern, adding more stitches between increases to maintain flatness.
- Round 5: Inc, sc in next 3 sts. Repeat from to around. (30 sts). The circle continues to expand, maintaining its flat shape as the number of single crochet stitches between increases grows.
- Round 6: Inc, sc in next 4 sts. Repeat from to around. (36 sts). You’re now creating a larger scrubby, building on the established increase pattern.
- Round 7: Inc, sc in next 5 sts. Repeat from to around. (42 sts). The scrubby is nearing its desired size, with consistent increases ensuring a perfect circular form.
- Round 8: Inc, sc in next 6 sts. Repeat from to around. (48 sts). This is the final increase round, bringing your scrubby piece to its full diameter.
- Finishing First Piece: Slip stitch to the first stitch, fasten off, and weave in ends using your tapestry needle. This secures your work and creates a neat finish.
Repeat all these steps once more to create a second identical scrubby piece. Both pieces should be approximately 4 inches in diameter.
Attach the Scrubby Pieces
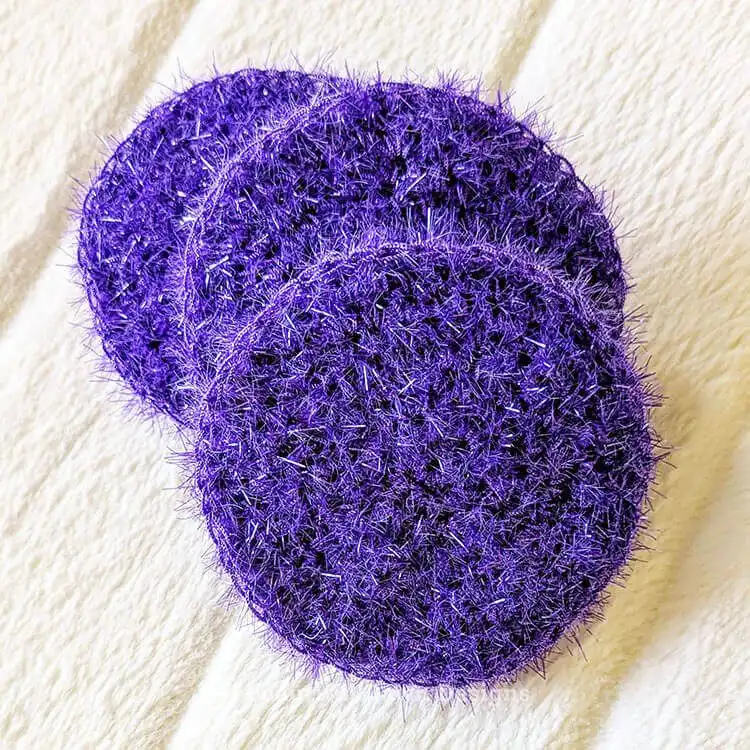
Once you have two completed scrubby pieces, the final step is to join them together to form a thick, durable, double-layered dish scrubby. This not only adds to its scrubbing power but also makes it more comfortable to hold and more resilient to wear and tear. The joining process also creates a neat, reinforced edge.
- Round 1: Place your two scrubby pieces on top of each other with the wrong sides facing inward. Attach your yarn to both scrubbies by inserting your hook through a stitch on both pieces simultaneously. Chain 1 and then work 1 single crochet in the same stitch (through both layers). Continue working 1 single crochet in each stitch around, ensuring you go through both layers of the scrubbies for each stitch. This firmly joins the two pieces together and creates a sturdy border.
- Finishing: Fasten off your yarn and weave in any remaining ends using your tapestry needle. Double-check that all ends are securely tucked away for a professional finish.
Your finished dish scrubby is now ready for action! This makes a fantastic easy crochet minimalist accessory that is both practical and thoughtful.
We hope you enjoyed creating this Free Crochet Dish Scrubby Pattern! Share your finished scrubbies with us and don’t forget to save this pattern to your Pinterest board for future reference. Happy crocheting!


