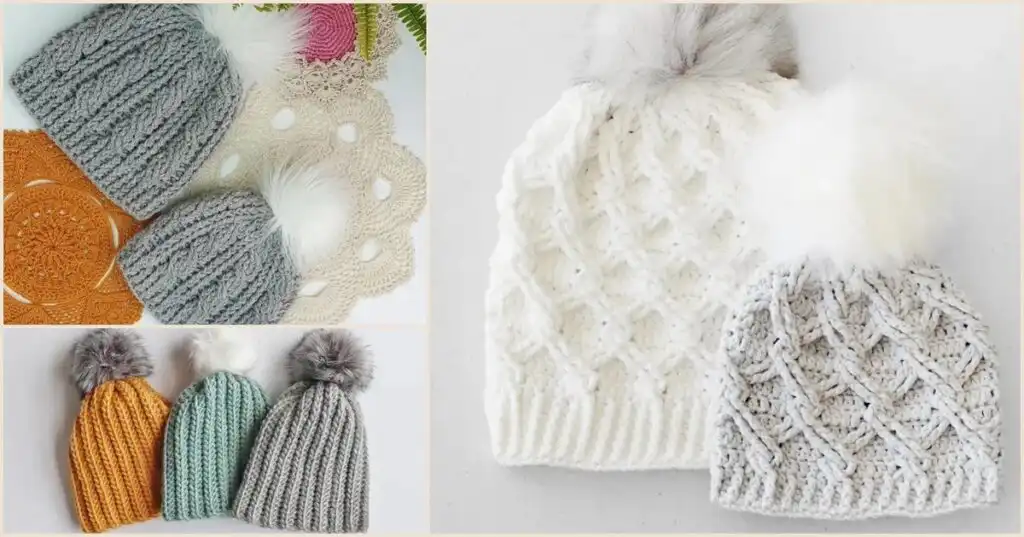
Adorable & Free Crochet Hat Patterns for Babies and Kids
Discover the joy of crafting with our collection of adorable and free crochet hat patterns for babies and kids! Whether you’re a seasoned crocheter or just picking up your first hook, creating handmade hats for the little ones in your life is a truly rewarding experience. These patterns offer warmth, style, and a touch of handmade love, making them perfect gifts or cherished additions to any child’s wardrobe.
This comprehensive guide will walk you through everything from accurately sizing a hat to mastering essential crochet techniques. We’ll explore various stitch patterns, yarn types, and offer tips for customizing your creations. Prepare to dive into a world of cozy yarn and charming designs, ensuring every little head stays snug and stylish. If you love creating cozy items, you might also enjoy exploring free crochet patterns for scarves and shawls for adults.
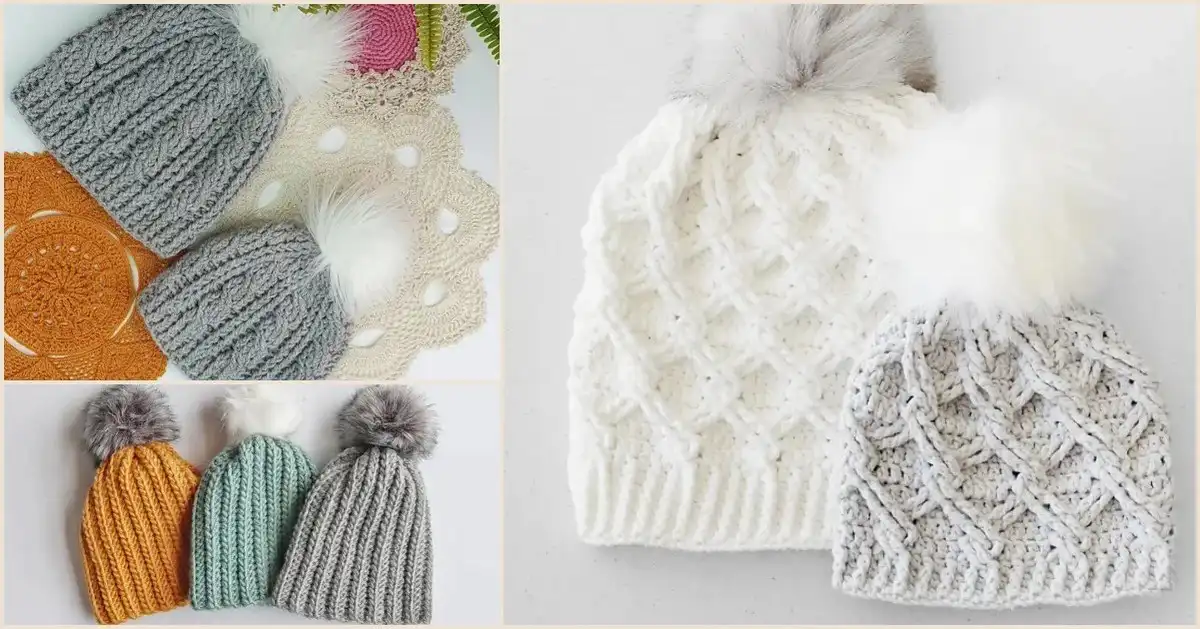
We absolutely love crocheting hats! They are such a wonderful, heartfelt gift, and many designs are surprisingly easy to make. In this post, you’ll learn the proper way to size a hat and how to crochet it from start to finish. You’ll also find over 25 free hat patterns, perfect for beginners, along with charming designs specifically for babies and kids, stylish bucket hats, and elegant textured cable hats. Let’s begin with precise measurements to ensure a perfect fit!
One of the true pleasures of crocheting is creating beautiful, customized pieces that fit just right. When it comes to crochet hats, achieving that ideal fit begins with accurate measurements. Whether you’re crocheting for yourself, a friend, or a family member, this step-by-step guide will help you measure and craft a crochet hat that is both comfortable and stylish. Let’s explore the world of free crochet patterns, precise hat measurements, and the art of crafting the perfect fit!
This detailed guide will walk you through the entire process of crocheting a hat. So, gather your yarn, hook, and let’s get started on creating your very own stylish and snug headwear!
Step-by-step guide how to size a crochet hat:
Before you begin crocheting, understanding how to size your hat correctly is crucial for a comfortable and well-fitting final product. This section ensures your handmade hat will be cherished for its perfect fit as much as its beauty.
Materials Needed:
- Flexible measuring tape
- Pen and paper (or a digital device for recording measurements)
Step 1: Measure the Head Circumference
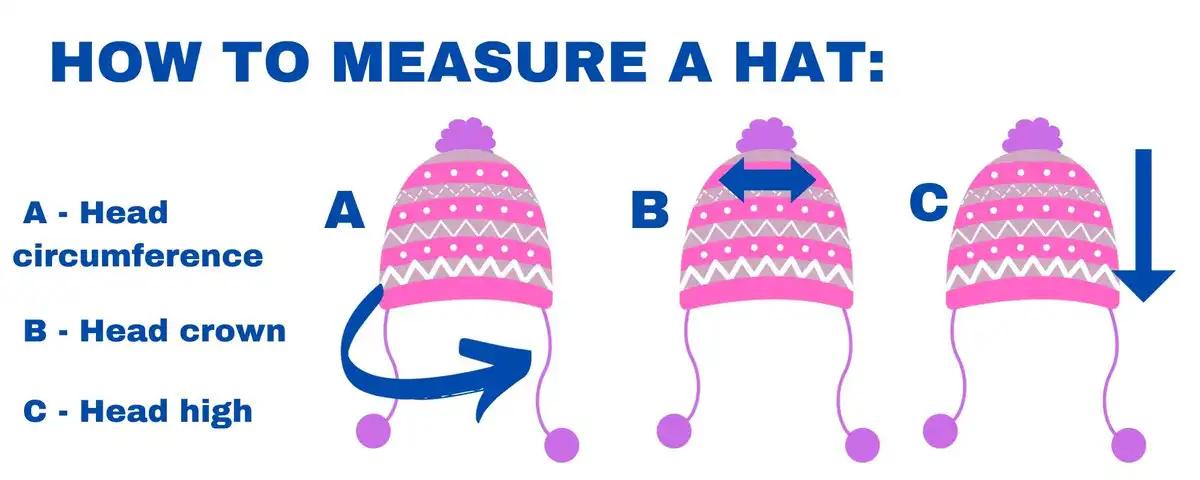
The first and most critical measurement for any crochet hat is the head circumference. To get this right, take your flexible measuring tape and gently wrap it around the widest part of the head. Position it just above the ears and eyebrows, ensuring the tape is snug but not uncomfortably tight. Record this measurement accurately in either inches or centimeters for future reference.
Step 2: Calculate the Crown Size
The crown is the very top section of the hat, and its diameter determines how wide this top portion will be. When starting a hat from the top down, you typically begin by creating a flat circle, increasing stitches in each round. You continue these increases until the desired crown diameter is achieved. Once the crown reaches the correct size, you stop increasing and simply continue crocheting even rounds until the hat reaches its desired height.
Step 3: Determine the Hat Height
To determine the ideal hat height, measure from the base of the ear—where the bottom edge of the hat will rest—up to the very top of the head. Record this measurement carefully. The desired style of the hat will also influence its final height; a slouchy hat, for instance, will be significantly longer than a snug-fitting beanie. If you plan for a looser, slouchy fit, adjust your measurement accordingly to account for the extra length needed.
Step 4: Adjust for Stitch Patterns
It’s important to remember that different stitch patterns and yarn weights can significantly impact the stretch, drape, and overall size of your finished hat. A dense stitch like single crochet will have less give than a looser double crochet fabric. If you are following a specific crochet pattern, always check for any additional guidance it might provide on sizing adjustments or gauge swatches. Taking a moment to consider these factors can prevent sizing issues later on.
Step 5: Consider Ease
Think about the level of ease you want the hat to have. Some individuals prefer a very snug fit that hugs the head, while others enjoy a bit more room for comfort or hair. If you are unsure, adding a small amount of ease, perhaps an extra inch or two in circumference, can help ensure a comfortable and versatile fit. This slight allowance can make a big difference in how often the hat is worn.
Step 6: Customize for Age Groups
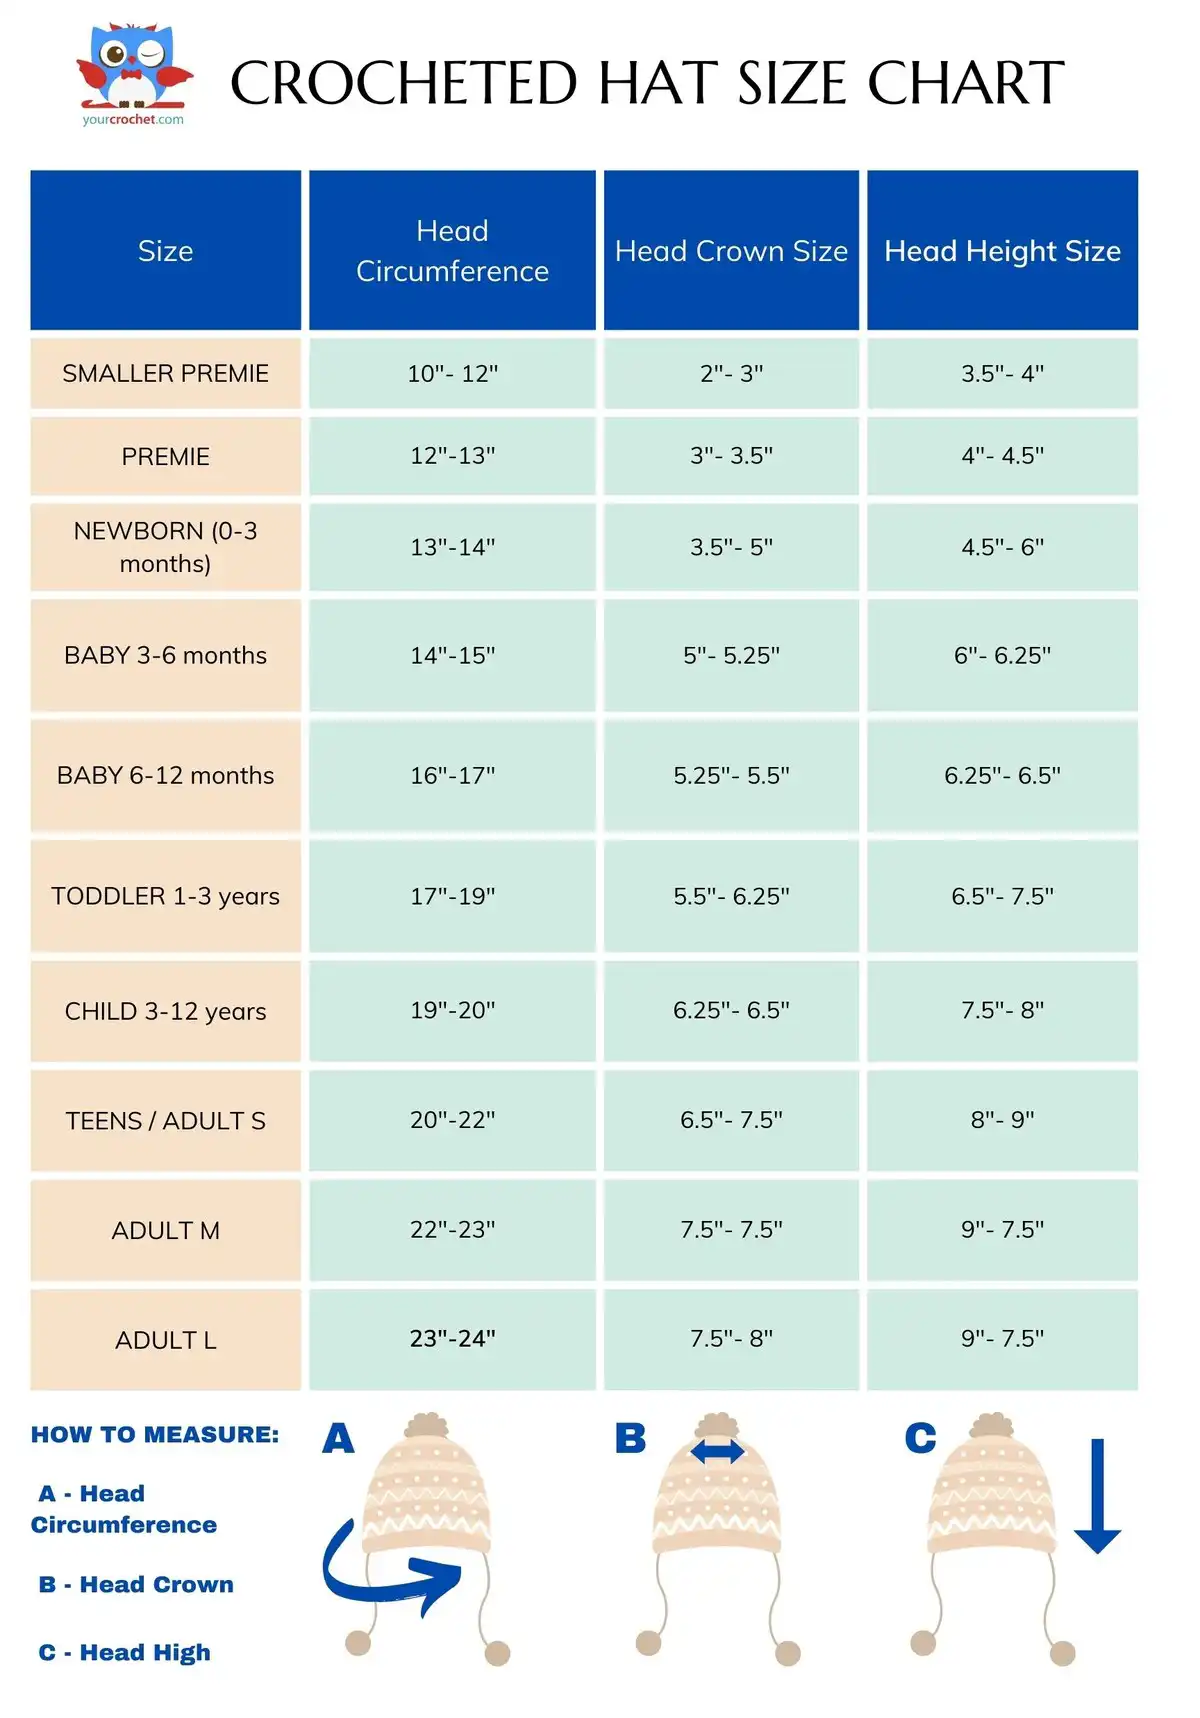
Typical head circumferences vary considerably across different age groups, from newborns to adults. While charts provide useful averages, the most accurate fit will always come from measuring the actual recipient’s head whenever possible. If a direct measurement isn’t feasible, consult a reliable crochet hat size chart as a reference to estimate the dimensions for various ages. This helps create a better-fitting hat, especially when crafting delicate headwear for babies.
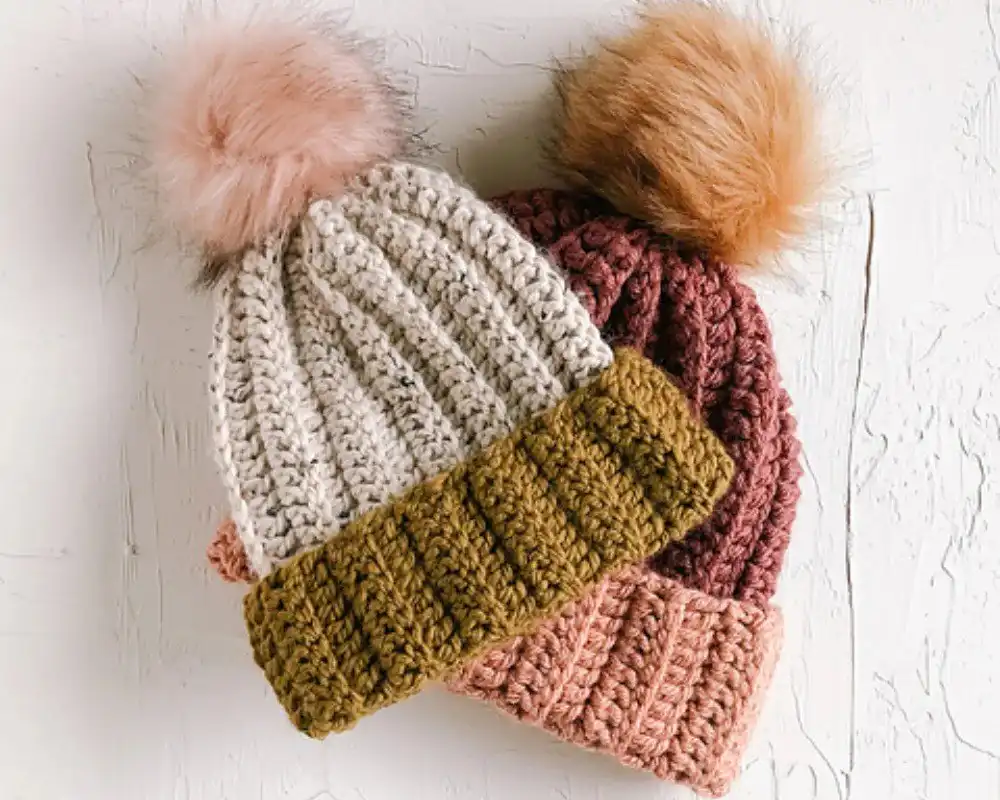
Step-by-step guide on how to crochet a hat for beginners:
Whether you’re a seasoned crocheter or a beginner seeking a simple yet satisfying project, this step-by-step guide will walk you through the process of crocheting a hat. So, gather your yarn, hook, and let’s get started on crafting your own stylish and snug headwear!
There are several methods for crocheting a hat. You can work from the top down, or from the brim up. Crochet hats can be made in continuous rounds, or by creating a rectangular piece that is then seamed into a tube and gathered at the top. For this tutorial, we will focus on a common and beginner-friendly approach.
Materials Needed:
Before we dive into the crochet magic, gather your essential materials:
- Yarn of your choice
- Crochet hook (size recommended on yarn label)
- Scissors
- Yarn needle for weaving in ends
- Stitch markers (optional, but highly recommended for beginners)
Step 1: Choose Your Yarn and Hook
The best yarn for your crochet hat depends entirely on its intended use and wearer. For the warmest winter hats, wool is an excellent choice, though some may find it itchy or allergenic. In such cases, softer merino wool or luxurious alpaca wool offers warmth without the irritation. If you prefer a thinner yarn but still want warmth, consider adding an extra layer, like a faux fur insert. For everyday hats in milder climates, acrylic yarn skeins or worsted weight yarn is popular due to its versatility and easy care. If you prefer a lighter, more breathable option for warmer climates or sensitive skin, consider a high-quality 100% cotton yarn. Always check the yarn label for recommended washing instructions, especially for kids’ hats, and the suggested crochet hook size.
Step 2: Make a Slip Knot and Chain
Begin by creating a slip knot on your crochet hook. Then, chain the desired number of stitches, which will form the foundation of your hat. The exact number of chains depends on both your head circumference measurement and the specific stitch pattern you’ve chosen. For an average adult-sized hat made from the bottom up, you would commonly start with around 60-70 chains to create the initial brim circumference.
Step 3: Join in the Round
Once you have crocheted your initial chain, carefully join it into a circle. To do this, insert your hook into the very first chain you made, and then work a slip stitch. Be sure not to twist your chain before joining, as this will complicate the rest of your project. This joined chain forms the foundational ring for your hat, allowing you to work in continuous rounds upwards.
Step 4: Crochet the Base Rounds
Now it’s time to establish the body of your hat. Choose a basic stitch that you’re comfortable with; single crochet (sc) or half double crochet (hdc) work exceptionally well for beginners, creating a dense yet flexible fabric. For these stitches, a common starting point is a 6 mm crochet hook. Double crochet (dc) is also an option, though it creates a looser fabric and is slightly more involved. Crochet evenly around the circle, working into each chain stitch from the previous round. These initial rounds will begin to build the height and overall size of your hat.
Step 5: Continue the Body
After completing any initial increase rounds (if you started from the crown down), continue crocheting even rounds without any increases or decreases until your hat reaches the desired length. This creates the main cylindrical part of the hat. This is a great stage to experiment with different stitch patterns, like the intricate designs you might find in feather and fan stitch projects, or by introducing new colors to add flair and personalize your creation.
Step 6: Decrease Rounds
When the body of your hat has reached sufficient length—remember to measure frequently against the head or a size chart—it’s time to shape the crown. This is done by gradually decreasing the number of stitches in each round. Follow your chosen pattern’s instructions carefully for the decrease sequence to ensure a smooth, even, and visually appealing taper towards the top of the hat. Consistent decreases are key for a professional finish.
Step 7: Finish and Fasten Off
Once you’ve completed all the decrease rounds and reached the very top of your hat, cut your yarn, ensuring you leave a tail long enough for weaving in later. Use your hook to pull the tail through the last loop on your hook to fasten off securely. Then, take your yarn needle and weave in all loose ends neatly into the fabric of your hat. Taking the time to properly weave in ends ensures a durable and polished final product.
Step 8: Embellish (Optional)
Now comes the fun part: personalizing your creation! Get creative with embellishments to make your hat truly unique. You can add a fluffy pom-pom to the top, crochet a contrasting border around the brim, sew on appliques, or even embroider small details. The possibilities are endless, allowing you to add your personal touch and make your hat stand out. For example, a small crocheted flower or playful ears could be perfect for a child’s hat.
OK, I’m ready to make a hat.
What are the best super easy crochet hat patterns (free) for beginners?
Free crochet hat patterns are precisely what you need for a cozy and productive evening! They are not only super relaxing to create but also serve as the perfect starting point for all beginners looking to learn how to crochet. These projects are typically simple and intuitive, allowing you to easily choose a pattern and quickly whip up a stylish beanie for every member of your family and your friends! Isn’t that wonderful? Make sure to let me know in the comments below.
Easy stitches, a fast work-up time, and a detailed pattern—preferably with a video tutorial—are the hallmarks of a simple crochet hat pattern. While a basic skill level might suggest boring designs, that’s far from the truth. There are plenty of amazing patterns, like those listed below, that you can use to create a perfect, stylish hat in no time at all.
1.5 Hour Beanie
This fantastic beanie pattern is designed for speed and simplicity, making it an ideal project for beginners or anyone looking for a quick craft session. The pattern utilizes basic stitches to create a cozy, functional hat that can be easily customized with various yarn colors or a playful pom-pom. It’s perfect for last-minute gifts or simply expanding your handmade hat collection with minimal time investment.
Crafted with accessibility in mind, this pattern often includes clear instructions to guide you through each step. You can experiment with different yarn weights to alter the drape and warmth, making it versatile for various seasons. It’s a satisfying project that yields tangible results very quickly.
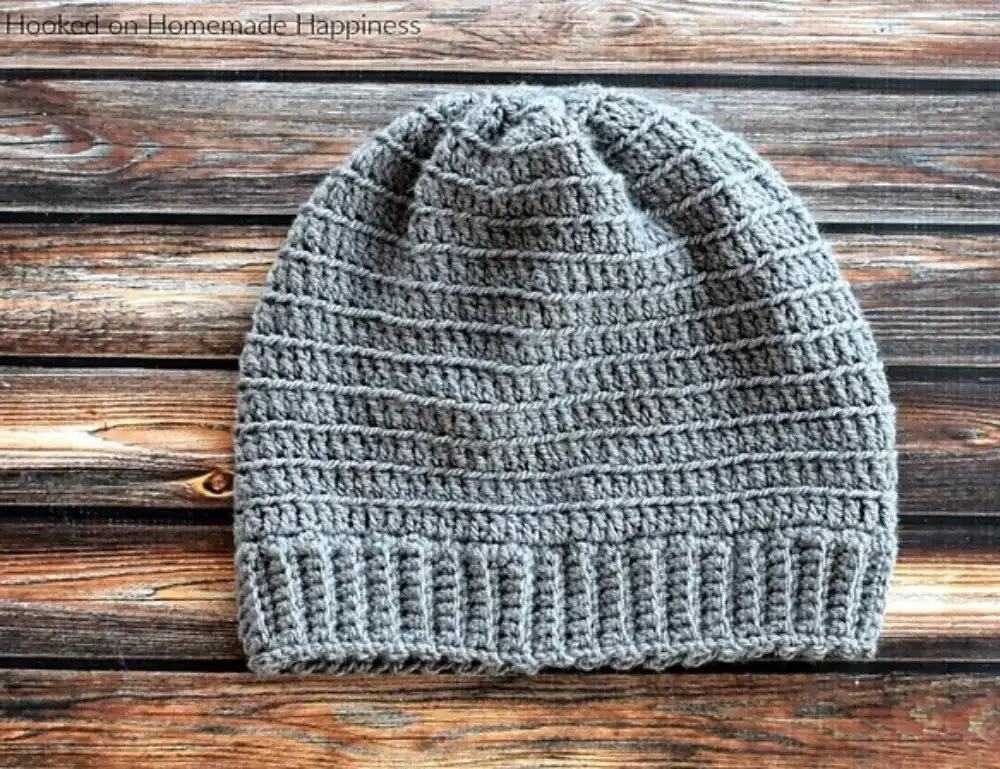
PHOTOS by Make and Do Crew / Make and Do Crew
Bottom Up Beanie
Here’s another excellent free crochet hat pattern for adults, offering a great opportunity to practice making a hat by starting from the bottom brim and working your way up. This construction method allows for easy adjustments to the brim’s width and offers a slightly different crocheting experience than top-down designs. The Bottom Up Beanie pattern is often supported by a video tutorial, making it even more accessible for visual learners.
This beanie is not only very easy to construct but also incredibly functional and comfortable for everyday wear. Its classic design makes it a versatile accessory that suits various styles. You can personalize it with different colors or add a ribbed brim for extra texture and snugness.
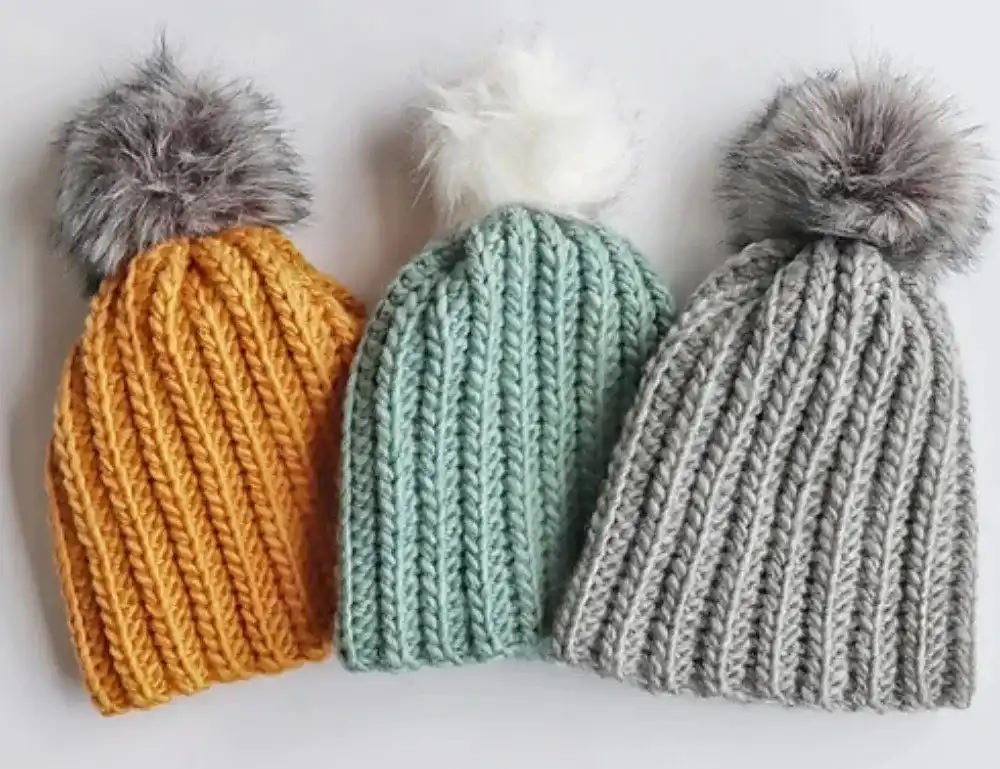
PHOTOS by Bottom Up Beanie / Bottom Up Beanie
Beginner Winter Hat
This delightful beginner hat is primarily built using half double crochet (hdc) stitches, a fundamental yet versatile stitch that creates a lovely texture and density. It’s an engaging project that’s both fun to make and wonderfully practical for colder weather. The simple construction allows for immense creativity in customization, particularly with the addition of different pom-poms, which can instantly change the hat’s character.
The pattern is often designed to be straightforward, making it perfect for those new to crochet. You can choose a bold, single color for a classic look or combine stripes for a more playful design. Its warmth and ease of creation make it a go-to for quick winter gifts.
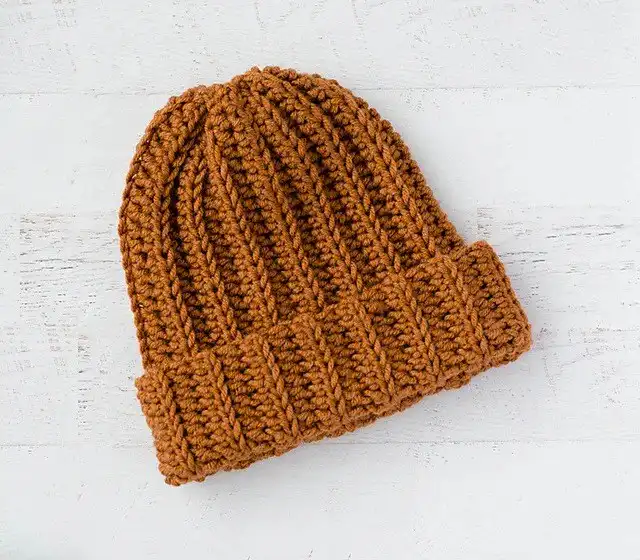
PHOTOS by Beginner Winter Hat / Beginner Winter Hat
Ribbed Wonder Easy Hat
Designed by the talented Crochet 365 Knit Too, this ribbed hat is a remarkably quick and easy project that yields impressive results. While the ribbed texture might appear complex, it’s achieved through a simple technique: working half double crochet stitches into the back loop only on every row. This method creates a stretchy, defined ribbing that looks sophisticated and provides excellent warmth and fit, conforming comfortably to the head.
This pattern is perfect for crocheters looking to add texture to their projects without complicated stitch work. The rhythmic repetition of the stitches makes it an enjoyable, meditative project. Experiment with variegated yarns to highlight the ribbing even further.
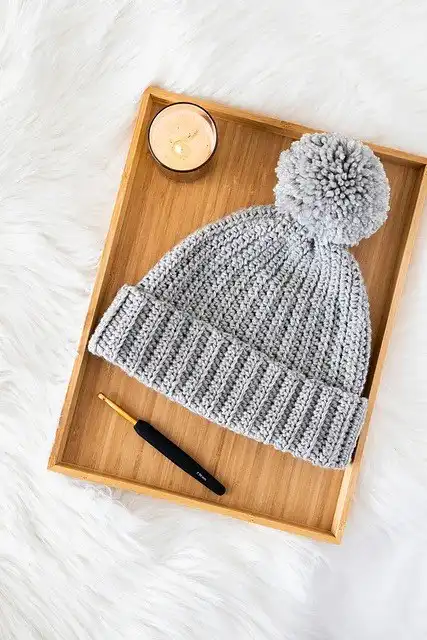
PHOTOS by Crochet 365 Knit Too / Ribbed Hat
Easy Everyday Beanie
You’ll find a similarly inviting pattern in the Easy Everyday Beanie, which features a stylish ribbed fold-over brim. This design element not only adds extra warmth around the ears but also gives the hat a classic, polished look. The beanie is typically topped off with a charming yarn pom-pom, enhancing its cozy appeal. This particular pattern is often a favorite because it’s available in a wide range of sizes, usually 7 different options.
This extensive sizing ensures you can create a perfectly fitting hat for everyone from infants to adults. The simplicity of the pattern makes it adaptable to various yarn types and colors, allowing for endless personalization. It truly lives up to its name as an easy-to-make, everyday essential.
PHOTOS by Easy Everyday Beanie / Easy Everyday Beanie
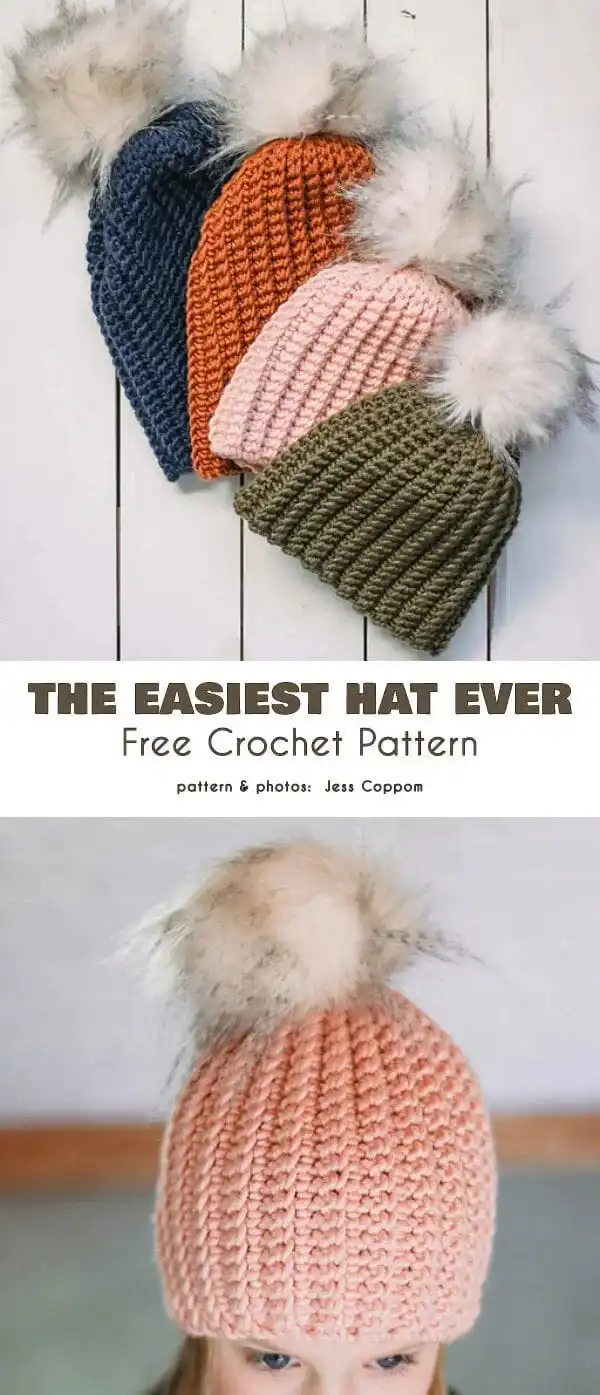
The Easiest Hat Ever
As its name suggests, “The Easiest Hat Ever” lives up to its promise by offering an incredibly straightforward path to crocheting a complete hat. This pattern is often praised for its minimal shaping and simple stitch repeats, making it the ultimate project for absolute beginners. It typically involves creating a flat rectangle that is then seamed and gathered, reducing the complexity often associated with working in the round or precise decreasing.
This pattern is perfect for building confidence in new crocheters, yielding a satisfying finished product quickly. You can easily adjust the size by changing the initial chain length and the number of rows. It’s a fantastic canvas for experimenting with different color blocks or yarn textures.
PHOTOS by The Easiest Hat Ever / The Easiest Hat Ever
Free Crochet Hat Patterns for Babies and Kids
If you’ve just started crocheting, making a hat for a baby or a young child is an exceptionally great project. These smaller creations require a minimal amount of yarn, which is budget-friendly, and you’ll finish them much faster than adult-sized items. This quick turnaround allows you to gain confidence quickly and move on to your next exciting project with a sense of accomplishment!
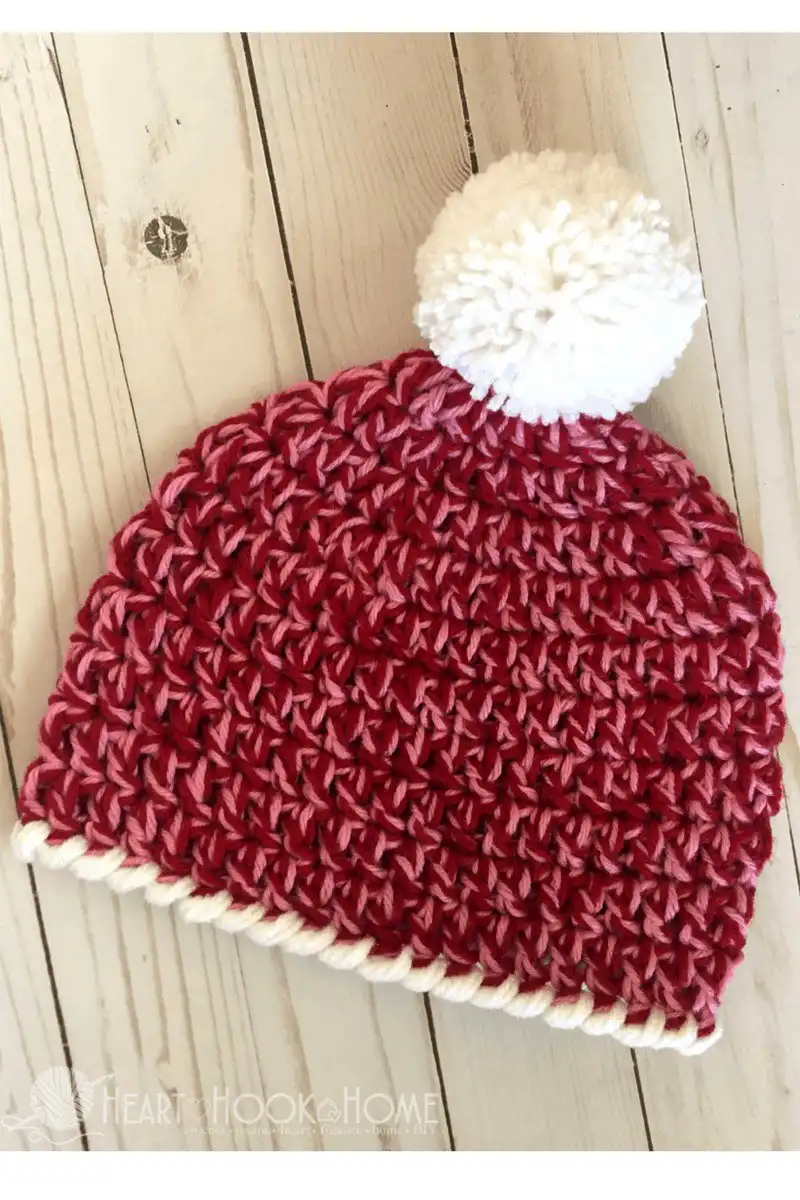
Child Size 30-Minute Beanie
This incredibly cute and quick beanie truly lives up to its “30-Minute” name, making it an excellent project for both experienced crocheters and absolute beginners. Its simple design can be easily modified to fit any age group, from infants to adults, by adjusting the initial chain or initial rounds. This versatility means you can make one for every member of your family in no time, ensuring everyone has a cozy, handmade hat.
The pattern usually features basic stitches that work up quickly, resulting in a snug and comfortable fit. It’s perfect for using up scrap yarn or creating quick gifts. Add a colorful pom-pom to make it even more charming for a child.
PHOTOS by hearthookhome.com / hearthookhome.com
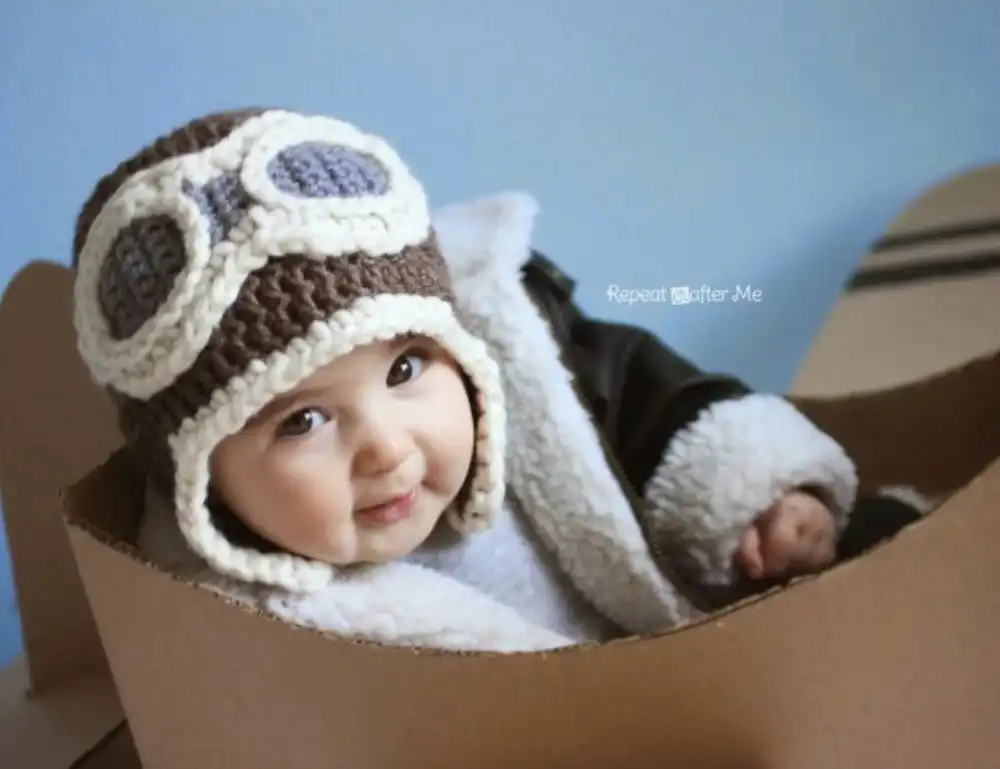
Crochet Aviator Hat
Crochet hats for kids don’t have to be boring, and this adorable baby aviator hat pattern is a testament to that! It’s both fun to create and incredibly practical, designed to keep your little one wonderfully warm and protected from chilly weather and brisk winds. Beyond its functional benefits, this hat also adds an undeniable charm to winter photographs, making every snapshot look utterly precious and memorable.
The aviator style, complete with ear flaps and often a chin strap, ensures maximum warmth and security. You can choose classic neutral tones or vibrant colors to suit the baby’s personality. This unique design is sure to draw smiles and compliments.
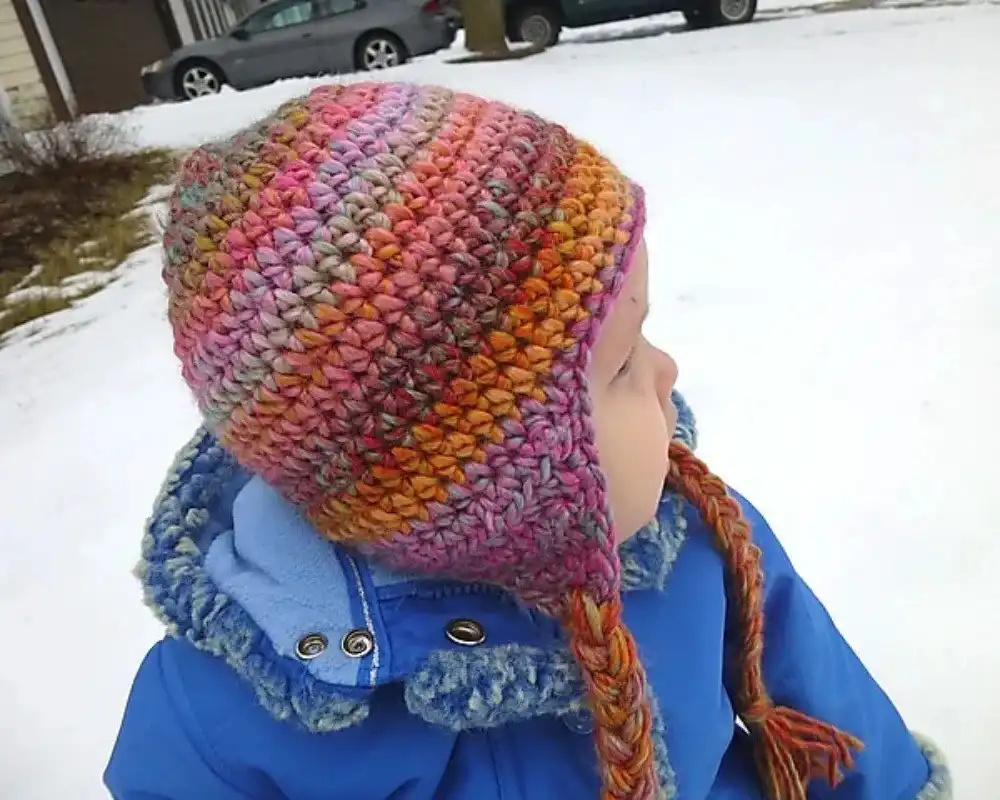
PHOTOS by repeatcrafterme.com / repeatcrafterme.com
Seamless Earflap Hat
If you live in an area with harsh winters, like many of us do, an earflap hat for babies is an absolute essential to ensure your little treasure is fully protected against the cold and wind. The integrated earflaps provide continuous coverage for critical areas, keeping tiny ears warm and snug even during the most enthusiastic snow runs and playful rollovers. Many versions of this pattern also include a free crochet baby hat pattern for 0-3 months, and measurements can often be adjusted for a crochet newborn hat pattern as well.
This design is not only highly functional but also incredibly cute, making it a favorite among parents. The seamless construction adds to its comfort, preventing any irritating seams against delicate skin. Choose soft, warm, baby-safe yarns for optimal comfort and protection.
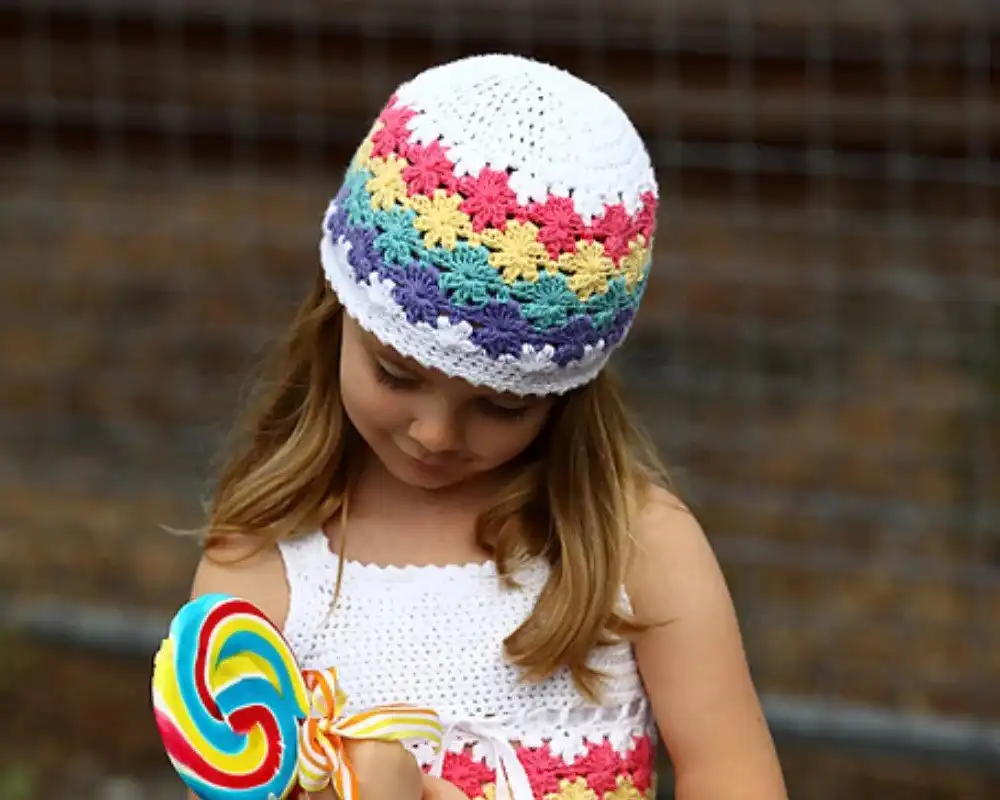
PHOTOS by Ravelry. / Ravelry.
Perenni
The “Perenni” hat pattern is designed to be a versatile delight, perfect for both refreshing summer days and milder winter conditions. Its standout feature is its beautiful rows of delicate flower motifs, which give it an irresistibly adorable look. This charming design is so captivating that every little girl will simply have to wear such a treasure, making it a beloved accessory in any young wardrobe. The floral details add a touch of whimsy and elegance, perfect for special occasions or everyday prettiness.
This pattern often incorporates lighter stitches or yarn weights suitable for warmer weather, while still providing enough coverage for a cool day. The intricate floral design makes it a more engaging project that still remains accessible. Pair it with a simple dress or coat for a truly enchanting outfit.
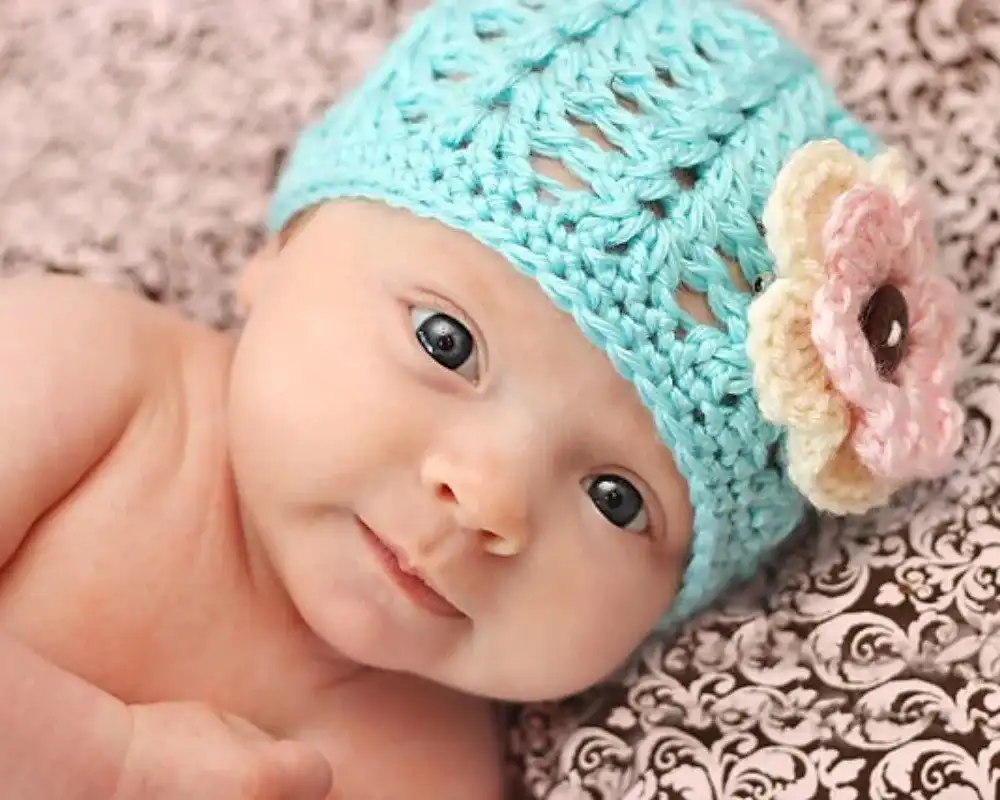
PHOTOS by Perenni / Unspecified Pattern Site
We hope you’ve enjoyed exploring these delightful free crochet hat patterns for babies and kids! From quick-to-make beanies to charming aviator styles, there’s a project here for every skill level and every little head. Don’t forget to save your favorite patterns to Pinterest, share this post with fellow crafters, and leave a comment below to let us know which hat you’ll be crocheting next!


