Free Crochet Pattern for a Ripple Stitch Blanket Fun and Beginner Friendly
Embark on a delightful crochet journey with this Free Crochet Pattern for a Ripple Stitch Blanket Fun and Beginner Friendly. This beautiful design, known as the Painted Canyon Ripple Blanket, offers both a relaxing crafting experience and a stunning finished piece. It’s an ideal project for those looking to expand their crochet skills while creating something truly special for their home. It’s an ideal project for those looking to expand their crochet skills while creating something truly special for their home.
The ripple stitch creates a dynamic, textured fabric that is both visually appealing and incredibly cozy. Even if you’re new to this specific stitch, our detailed guide will walk you through each step, ensuring a smooth and enjoyable process. This blanket makes a wonderful gift or a cherished addition to your own living space, perfectly complementing various decor styles. For more home textile ideas, explore our Crochet Storage Basket: A Colorful and Practical Solution.
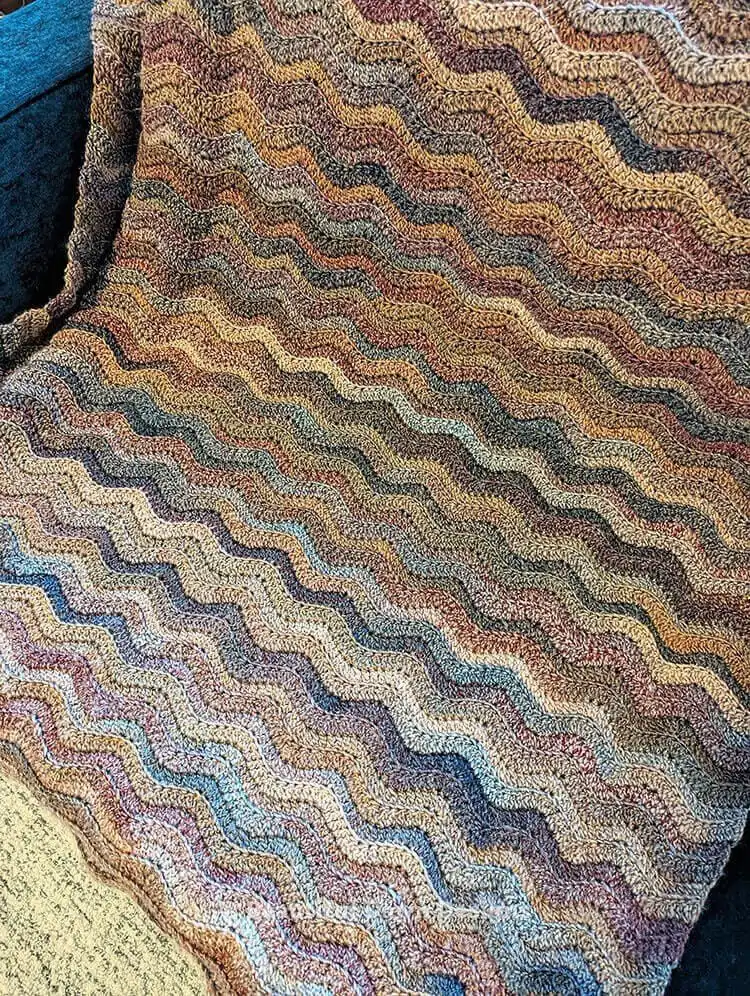
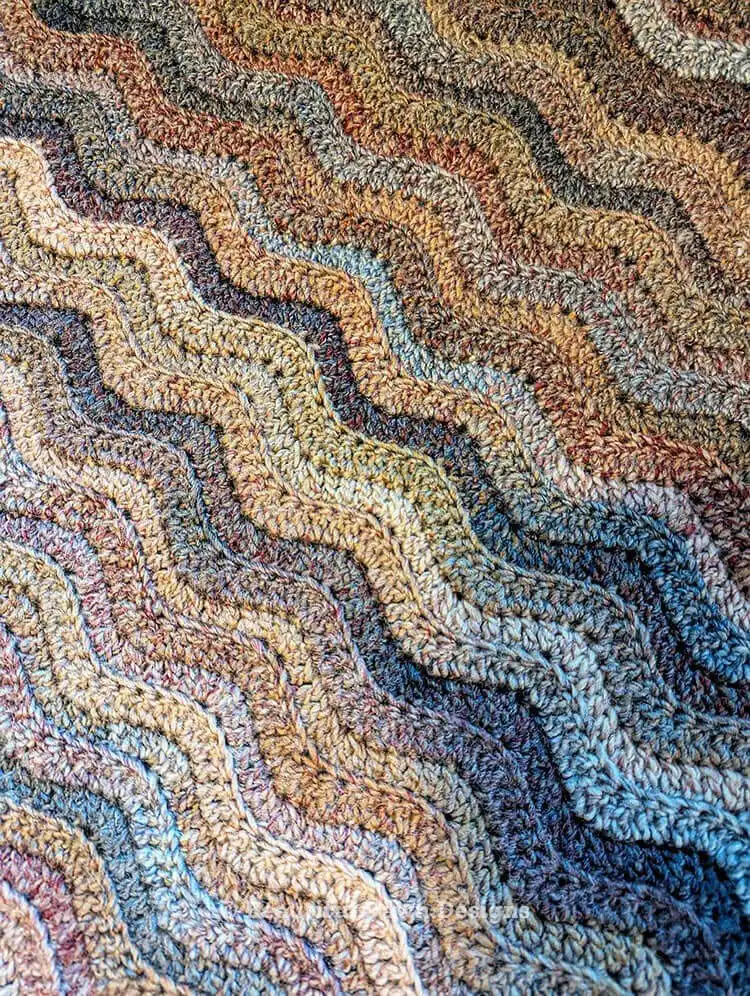
The Painted Canyon Ripple Blanket has quickly become a favorite among crocheters for its engaging rhythm and beautiful outcome. Crafted with Caron Macchiato Cakes yarn, it boasts exceptional softness and a luxurious feel. The yarn’s muted earth tones blend seamlessly through the ripple stitch, creating a sophisticated and calming aesthetic that enhances any room. Starting with a small practice swatch is highly recommended to master the ripple pattern, making the main project much more enjoyable and effortless.
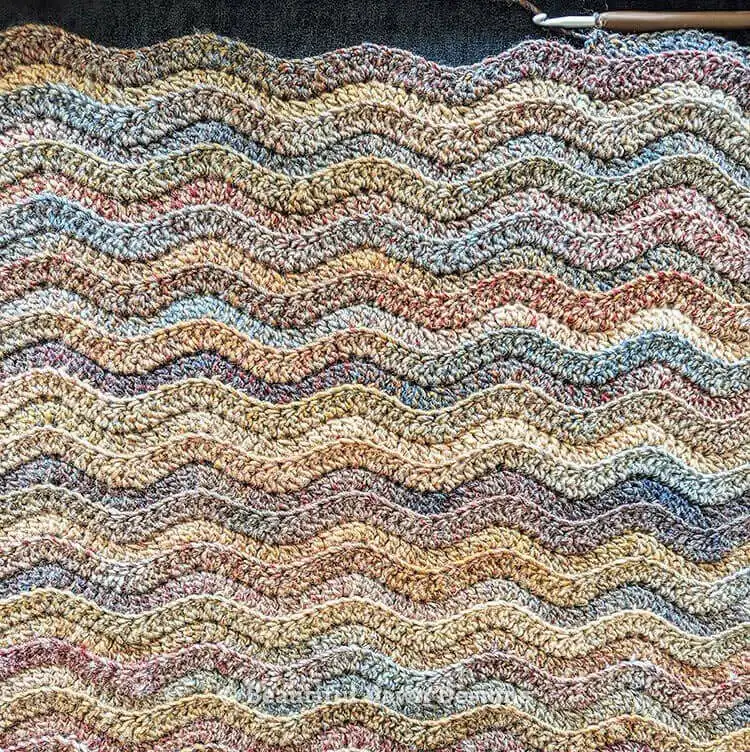
Once you find your rhythm with the ripple stitch, this blanket transforms into a truly meditative project. It’s perfect for unwinding after a long day, letting the yarn flow through your fingers as you watch your favorite shows or listen to an audiobook. The evolving colors and tactile nature of the stitches create a deeply satisfying creative experience, resulting in a unique and cherished blanket. You might also enjoy crafting an Heirloom Baby Blanket Ideas for a similar rewarding project.
Painted Canyon Ripple Blanket Sizing Notes
The Painted Canyon Ripple Blanket pattern is thoughtfully designed to include two popular sizes: a comfortable 36” x 48” Lapghan and a more generous 44” x 56” Smaller Throw. These dimensions offer versatility, allowing you to choose the perfect size for cozy evenings on the couch or as an elegant accent draped over a chair. Understanding blanket dimensions ensures your finished project meets your specific needs and expectations.
Blanket Sizing Guide
To help you select the ideal size for your project, refer to this comprehensive blanket sizing guide. Whether you’re making a gift for a newborn or a grand piece for a master bedroom, these standard measurements provide a clear reference point. Consider the intended use and recipient when deciding on your blanket’s final dimensions for maximum utility and comfort.
- Baby Blanket: 36 x 36 inches
- Toddler Blanket: 40 x 60 inches
- Lapghan: 36 x 48 inches
- Throw Blanket: 48 x 60 inches
- Twin Bed: 65 x 90 inches
- Double Bed: 84 x 90 inches
Materials
Gathering the right materials is the first step to a successful and enjoyable crochet project. For this Painted Canyon Ripple Blanket, the specified yarn ensures both the beautiful color transitions and the desired softness. Using the correct hook size is crucial for achieving the proper gauge, which affects the overall look and drape of your finished blanket. Always have your scissors and tapestry needle ready for neat finishing.
- 4 Caron Macchiato Cakes yarn (481yds, #5 bulky weight) in the color Boundless. Both blanket sizes require 4 skeins of yarn.
- US size J 6.0 mm crochet hook
- Scissors
- Tapestry needle
Sizes (Approximate)
The finished sizes of your Painted Canyon Ripple Blanket will be approximately 36” x 48” for the Lapghan and 44” x 56” for the Smaller Throw. These measurements account for typical yarn tension and hook usage. Remember that slight variations can occur based on individual crocheting style, so checking your gauge is always a good practice to ensure your blanket meets these dimensions.
Gauge (4in x 4in)
Achieving the correct gauge is vital for ensuring your finished blanket matches the pattern’s intended size and drape. For this pattern, aim for approximately 16 stitches and 7 rows within a 4-inch by 4-inch square. Taking the time to create a gauge swatch before starting your blanket can save you time and prevent disappointment, guaranteeing your ripple pattern develops beautifully.
Size Adjustment
One of the fantastic aspects of this pattern is its adaptability. To easily adjust the width of your blanket, simply start with a longer or shorter initial chain. The pattern operates on a chain multiple of 12 plus 3 stitches. For instance, if you desire a different width, chain in multiples of 12 (e.g., 24, 36, 48) and then add 3 additional stitches to that total. This flexibility allows you to customize the blanket to your exact preferences.
Pattern Notes
Understanding these specific pattern notes will significantly enhance your crocheting experience and ensure your Painted Canyon Ripple Blanket turns out perfectly. Paying attention to how stitches are counted and where they are placed is key to maintaining the beautiful ripple effect. These small details make a big difference in the final appearance and structure of your blanket.
- The chain 3 at the beginning of rows counts as a stitch. Ensure you work those final 2 double crochet stitches into the turning chain (the top of the ch 3 from the previous row) for a neat edge.
- Once you reach Row 2, all subsequent stitches are worked exclusively in the back loop only. This technique creates the distinctive ridge and texture that defines the ripple pattern.
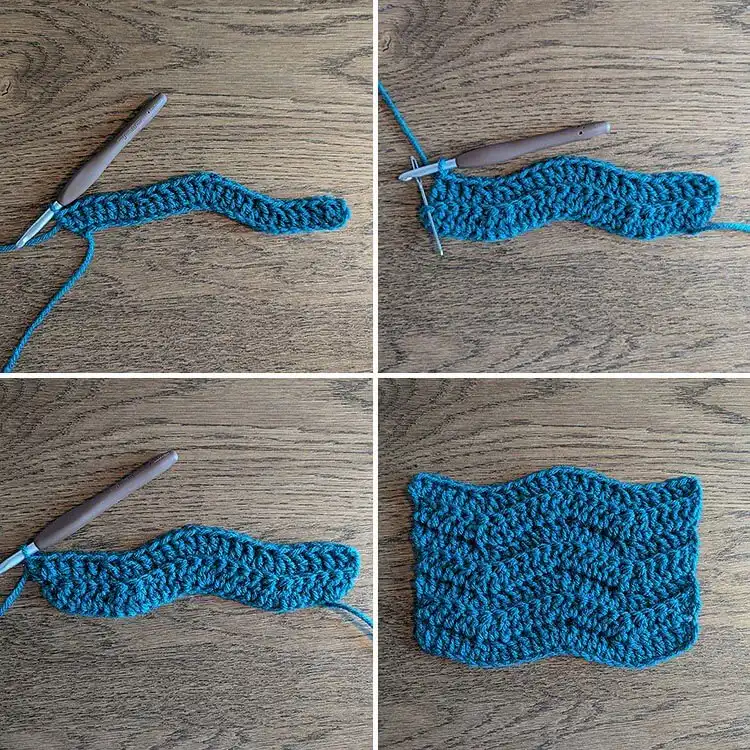
- A practice swatch is highly recommended to get comfortable with the stitch sequence before beginning your full blanket. For your swatch, chain 27 and follow the pattern instructions as written for a few rows.
Abbreviations (US)
Familiarizing yourself with these standard US crochet abbreviations will make reading and following the pattern straightforward. Each abbreviation represents a specific stitch or action, ensuring clarity throughout the instructions. If you’re new to these terms, a quick review will help you confidently navigate the pattern and create your stunning ripple blanket.
- ch – chain
- st(s) – stitch(es)
- dc – double crochet
- dc2tog – double crochet two together; also known as a double crochet decrease
Painted Canyon Ripple Blanket Video Tutorial
For visual learners or those who prefer step-by-step guidance, a comprehensive video tutorial is an invaluable resource. This video walks you through the entire process of creating your Painted Canyon Ripple Blanket, from the initial chain to the intricate stitch work. Watching the techniques in action can clarify any uncertainties and build your confidence, making the crafting process even more enjoyable. The video is especially helpful for mastering the ripple stitch rhythm.
Painted Canyon Ripple Blanket Crochet Pattern
Now, let’s dive into the core of creating your beautiful Painted Canyon Ripple Blanket. This section provides the detailed, row-by-row instructions you’ll need to bring this project to life. Follow the steps carefully, paying attention to stitch counts and placement, to achieve the iconic ripple wave. Remember, consistency is key for a uniform and attractive finish.
To begin, chain (147, 183). The first number corresponds to the Lapghan size, and the second to the Smaller Throw. Choose your desired blanket size and chain the appropriate number of stitches. Ensure your initial chain is not too tight, as this can affect the width and drape of your foundation row.
Row 1: Starting in the 4th chain from the hook, work 1 double crochet. Place 1 double crochet in the next 3 chains. Then, begin your repeat section: double crochet two together twice, work 1 double crochet in the next 3 chains, work 2 double crochets in each of the next 2 chains, work 1 double crochet in the next 3 chains. Repeat from to until 8 chains remain. To finish the row; double crochet two together twice, work 1 double crochet in the next 3 chains, and finally, work 2 double crochets in the last chain. Chain 3 and turn your work. (You should have 144, 180 stitches).
For the remainder of the blanket, all stitches are worked in the back loop only. This detail is crucial for creating the raised ridges that define the ripple pattern’s texture and visual appeal. Take care to insert your hook only into the back loop of each stitch for consistent results.
Row 2: In the 1st stitch, work 1 double crochet. Work 1 double crochet in the next 3 stitches. Begin your repeat section: double crochet two together twice, work 1 double crochet in the next 3 stitches, work 2 double crochets in each of the next 2 stitches, work 1 double crochet in the next 3 stitches. Repeat from to until 8 stitches remain. To finish the row; double crochet two together twice, work 1 double crochet in the next 3 stitches, and work 2 double crochets in the top of the turning chain. Chain 3 and turn your work.
Repeat Row 2: Continue repeating Row 2 until your blanket reaches the desired length, approximately (48”, 56”) or your preferred measurement. The consistent repetition will allow the beautiful ripple pattern to emerge. Once you’ve achieved your desired length, fasten off your yarn securely and carefully weave in all loose ends for a polished and professional finish. This final step ensures your blanket is durable and looks impeccable.
We hope you thoroughly enjoy creating your own Painted Canyon Ripple Blanket! This pattern is a wonderful way to relax and produce a beautiful, functional piece of art for your home. Don’t forget to save this pin to your Pinterest board, share it with fellow crochet enthusiasts, and leave a comment below with your progress or questions!


