Oil Painting for Beginners: Master Techniques with 14 Inspiring Ideas
Embark on a captivating artistic journey with oil painting, a revered medium that has graced masterpieces throughout history. This comprehensive guide to oil painting for beginners will demystify the process, from understanding the unique properties of oil paints to assembling your essential toolkit. Discover the rich potential of this versatile art form and prepare to create your own lasting works.
This post contains affiliate links. As an Amazon Associate, we earn from qualifying purchases at no extra cost to you. Explore our Amazon storefront here for more art supplies and crafting inspiration.
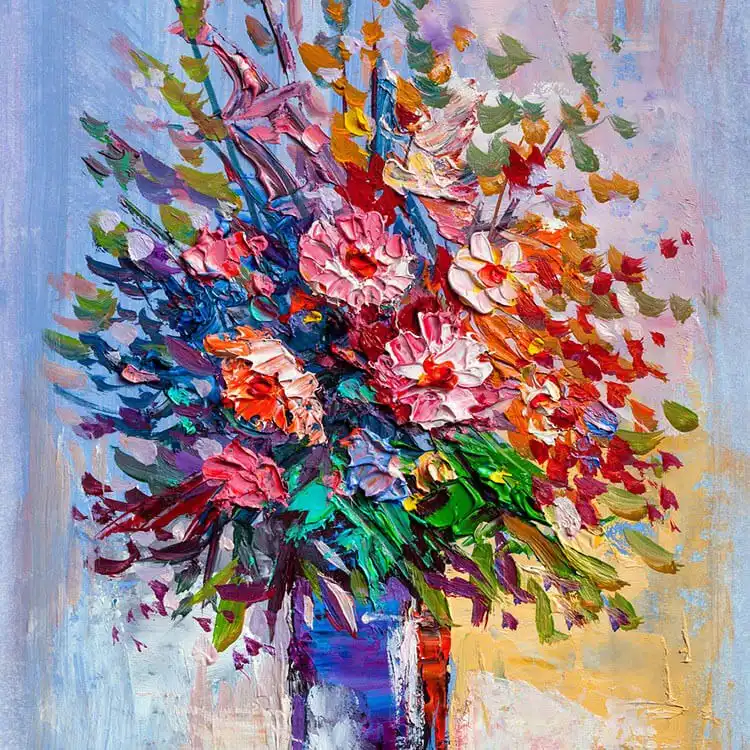
Whether you’re a complete novice or looking to transition from other mediums, learning the fundamentals of oil painting is an incredibly rewarding experience. We’ll cover everything you need to know to get started, setting you up for success as you explore various painting ideas and techniques. With a little guidance, you’ll soon be wielding brushes and blending colors like a pro, bringing your creative visions to life on canvas.
Oil paint has been the chosen medium for some of the world’s most iconic artworks, such as Vincent van Gogh’s The Starry Night and Leonardo da Vinci’s Mona Lisa. Its rich history dates back to the 15th century with Early Netherlandish painters, gaining widespread popularity in the 16th century due to its unparalleled durability and adaptability. Artists globally continue to favor oil paint for its luminous quality and flexible working properties.
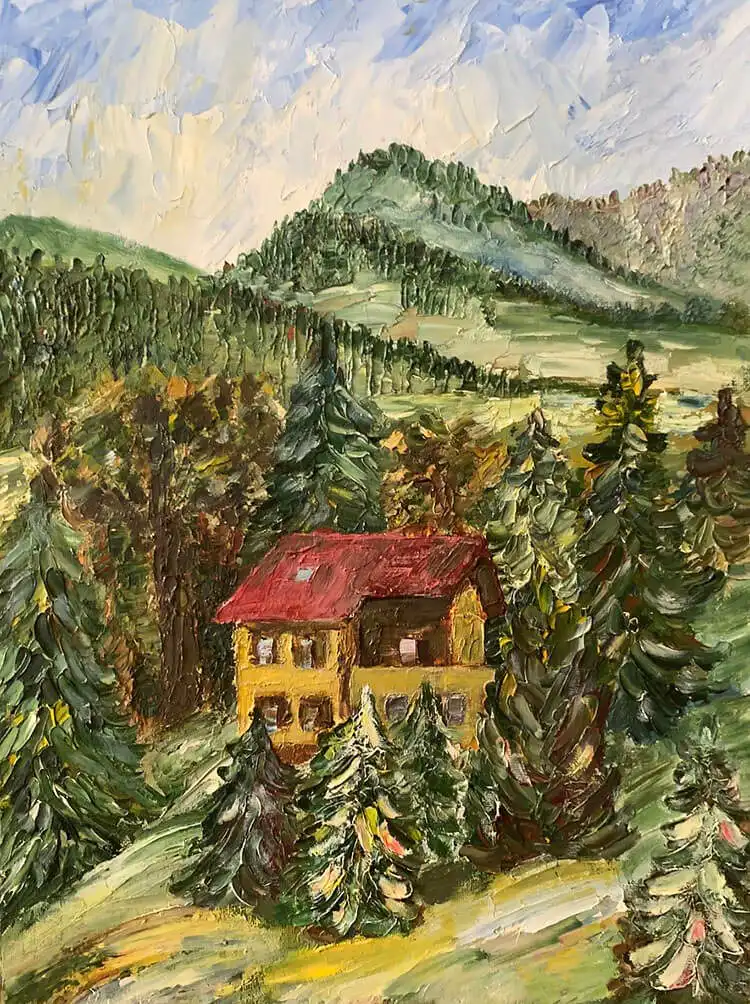
The enduring appeal of oil paint lies in its unique characteristics, allowing for deep color saturation, smooth blending, and textural variations that other mediums often can’t achieve. Its slow drying time offers artists ample opportunity to manipulate the paint on the canvas, rework areas, and achieve subtle transitions. This makes it an excellent choice for those who enjoy a deliberate and layered approach to their art.
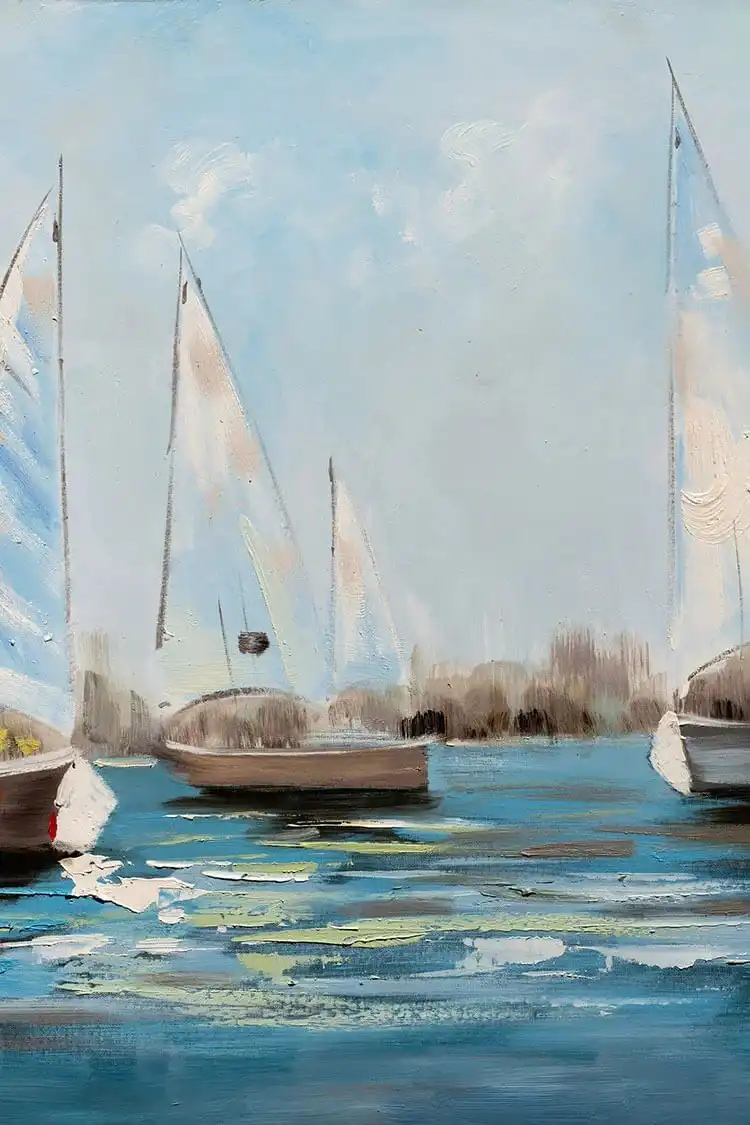
What is Oil Paint?
Oil paint is a distinctive type of artistic paint composed of finely ground pigments suspended in a drying oil. Common drying oils include linseed oil, poppy seed oil, walnut oil, and safflower oil, each contributing different characteristics to the paint’s drying time and texture. This suspension allows the pigment to be carried smoothly and applied with rich opacity or translucent glazes.
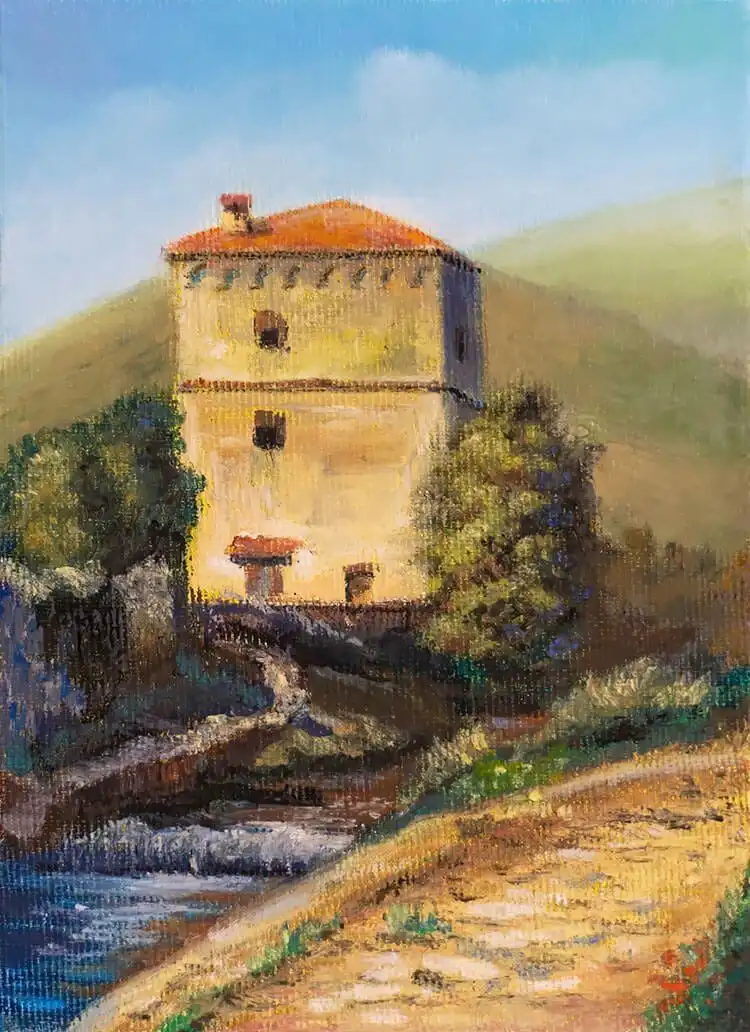
The consistency and flow of oil paint can be precisely controlled by incorporating an oil medium or a solvent. Solvents like turpentine offer fast evaporation, while mineral spirits provide a more moderate drying rate, ideal for cleaning brushes and thinning paint without over-diluting the pigment. Conversely, oil mediums are used to adjust the paint’s viscosity, making it softer, more fluid, or extending its drying time. After your painting is thoroughly dry, a final layer of varnish enhances glossiness and provides essential protection to your completed artwork.
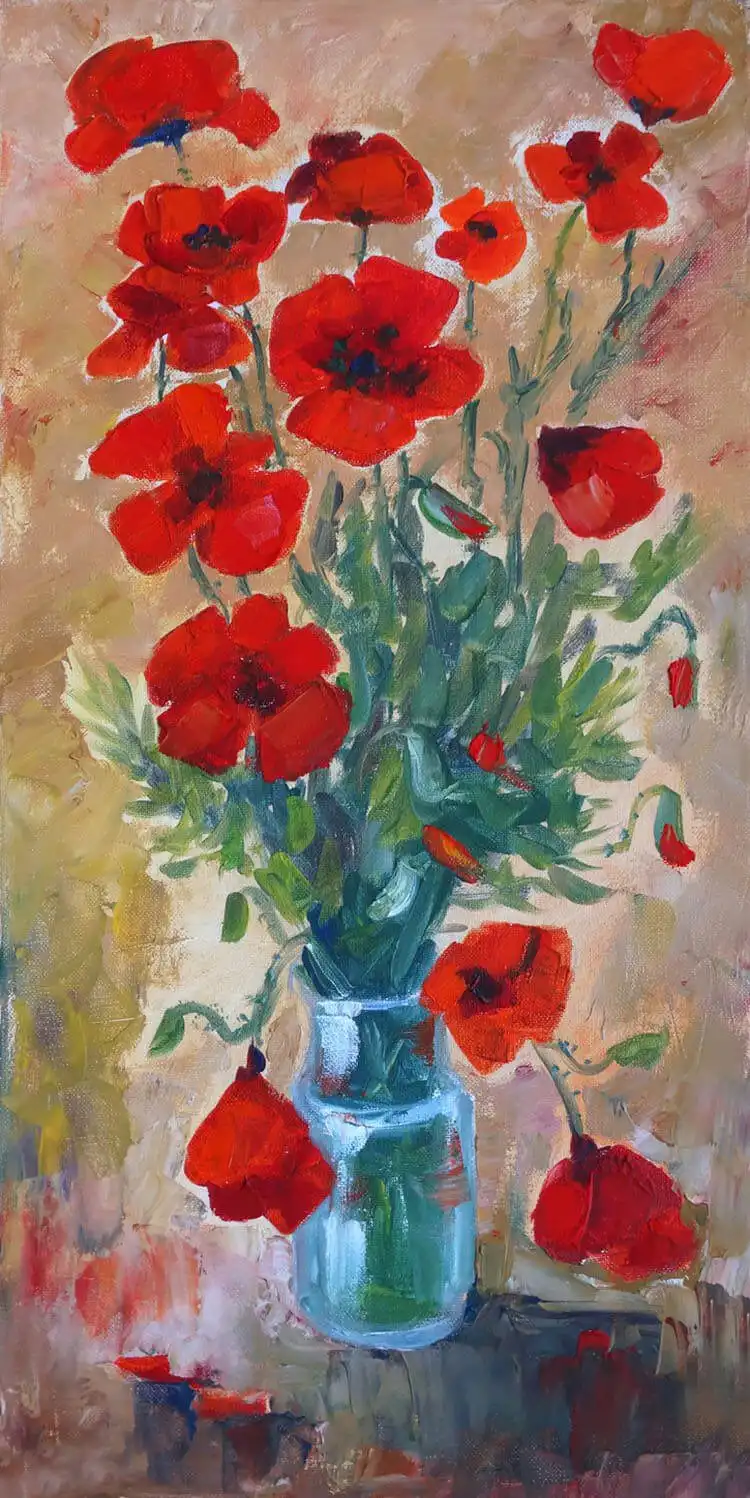
What Are the Benefits of Oil Painting?
Oil painting offers a multitude of advantages that have solidified its place as a favored medium among artists for centuries. One of its most significant benefits is its remarkable resistance to wear and tear, ensuring that paintings maintain their vibrancy and structural integrity over long periods. Oil paintings are renowned for lasting 50 years or more without experiencing significant fading or deterioration, making them excellent archival pieces.
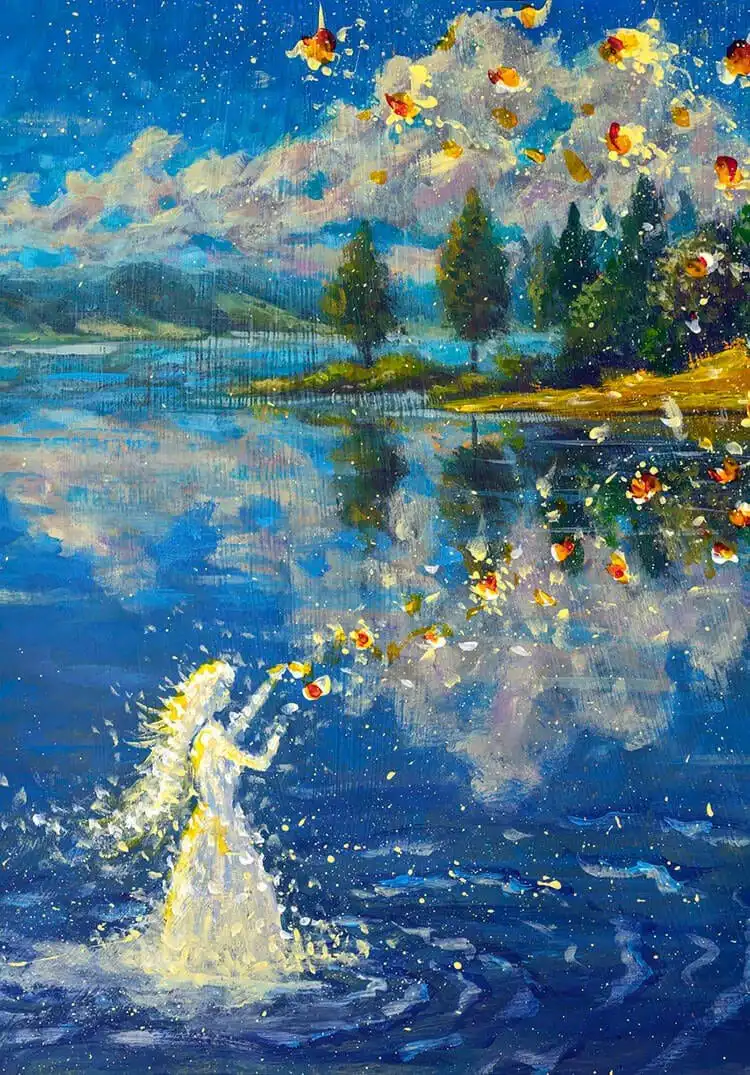
Furthermore, oil paints are incredibly versatile, adhering beautifully to a wide array of surfaces, including canvas, wood panels, and treated paper. The extensive palette of colors available allows artists to achieve virtually any desired visual effect, from subtle muted tones to bold, vibrant hues. This broad spectrum of color, combined with the medium’s blendability, provides artists with unparalleled creative freedom and expressive potential.
Different Oil Mediums
Oil mediums are indispensable tools for any oil painter, designed to modify the paint’s characteristics and enhance its workability. These mediums can be used to thin the paint, altering its consistency to make it smoother and more fluid, which is ideal for detailed work or creating transparent glazes. Beyond texture, mediums also play a crucial role in adjusting the paint’s drying time, giving artists greater control over their creative process. There is a diverse range of oil mediums, each possessing unique properties that cater to different artistic approaches and desired outcomes.
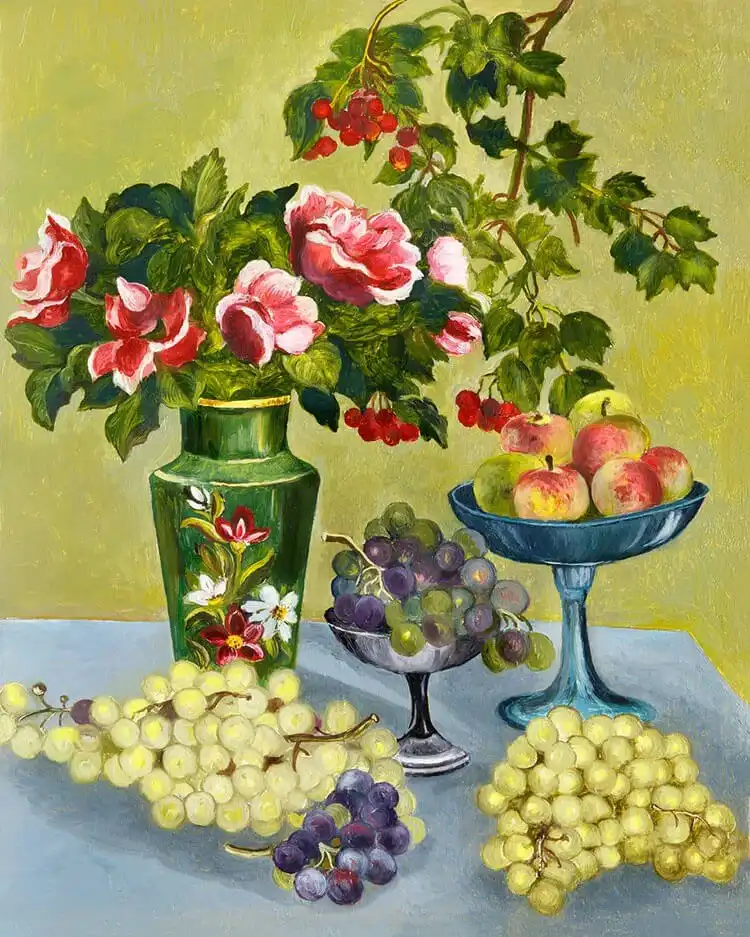
Linseed Oil
Refined linseed oil stands out as the most widely used oil medium among painters, prized for its reliable drying properties. As a drying oil, it actively assists in accelerating the painting’s drying process, typically allowing for a touch-dry surface within two to three days on average. This makes it a popular choice for artists who work in layers and prefer a relatively consistent drying schedule, providing good control over the painting progression.
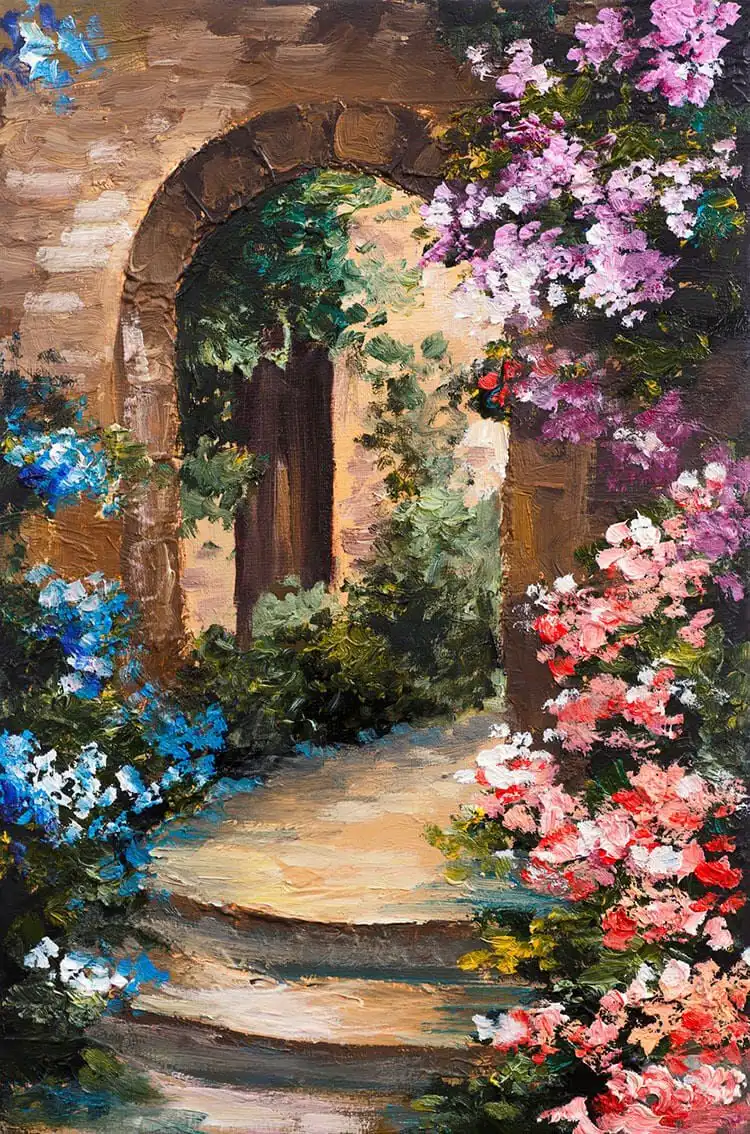
Poppy Seed Oil
In contrast to linseed oil, poppy seed oil offers a significantly slower drying time, often taking five to seven days to become touch-dry. This extended working time is particularly favored by artists who employ wet-on-wet techniques, allowing them to blend colors seamlessly and work on intricate details over a longer period. Its slower drying also contributes to a smoother, less brittle paint film, making it excellent for delicate layers.
Walnut Oil
Walnut oil presents a balanced drying rate, positioning itself between linseed and poppy seed oils, with an average drying time of about four to five days. Historically, this medium was a favorite of master artists like Leonardo da Vinci, appreciated for its luminous quality and consistency. While generally more expensive, walnut oil is valued for its ability to produce rich, fluid paint without excessive yellowing, offering a beautiful alternative for discerning artists.
Safflower Oil
Safflower oil shares many characteristics with poppy seed oil but typically dries slightly faster, offering a good compromise for artists. Its key benefits include a reduced tendency for yellowing, which is especially desirable when working with whites and light colors, ensuring your delicate hues remain true. Safflower oil also imparts a softer, more buttery feel to the paint, enhancing brushability and providing extended open time for wet-on-wet techniques.
What Do I Need to Get Started With Oil Painting?
Embarking on your oil painting journey requires a thoughtful selection of basic supplies that will set you up for success. While the world of art materials is vast, starting with a foundational set of quality tools will allow you to explore techniques and create beautiful pieces without feeling overwhelmed. Gathering these essentials ensures you have everything necessary to mix colors, apply paint, and clean up effectively, building a solid foundation for your artistic practice.
Oil Paint
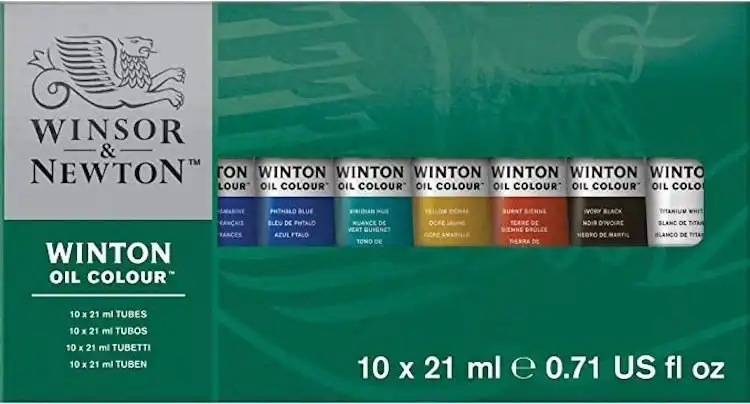
Naturally, oil paint is the cornerstone of your supplies. For beginners, it’s highly recommended to invest in a foundational set of 10 essential colors. This palette typically includes cadmium yellow pale hue, cadmium red deep hue, French ultramarine, phthalo blue, viridian hue, burnt umber, yellow ochre, burnt sienna, ivory black, and titanium white. Brands like Winsor & Newton Winton Oil Colour Paint offer excellent beginner sets, providing good quality pigments at an accessible price point, perfect for learning color mixing and application.
Painting Brushes
You don’t need to splurge on the most expensive brushes when you’re just starting out. A good variety of synthetic, bristle, or sable hair brushes in different shapes and sizes will serve you well. Look for flats, rounds, and filberts to cover most basic strokes. Brands like ADIS and Guys Premium Paint Brushes Set offer affordable yet functional options that are perfectly adequate for beginners learning to control their strokes and apply paint effectively.
Canvas
A properly prepared surface is crucial for oil painting. A cotton canvas is a popular and excellent choice for beginners due to its affordability and textured surface that holds oil paint well. Other suitable options include linen canvases, which offer a finer weave and greater durability, or treated Masonite panels, which provide a smooth, rigid surface. Ensure your chosen surface is primed with gesso, specifically for oil or universal use, to protect the fabric and prevent paint absorption.
Palette
A durable and non-absorbent palette is essential for mixing your oil paints. Glass or metal palettes are ideal choices as they are easy to clean and do not absorb the oils from the paint, which can happen with wooden palettes over time. A simple piece of glass from an old picture frame, with sanded edges for safety, can also serve as an effective and inexpensive mixing surface. The smooth, non-porous surface allows for true color mixing and easy scraping.
Easel
While not strictly mandatory, an easel significantly enhances the painting experience by holding your canvas at a comfortable working angle. This allows for better posture and provides a more stable surface, making it easier to step back and assess your work from a distance. For beginners, a simple tabletop easel or a lightweight tripod easel is often sufficient and can be a worthwhile investment to improve your painting comfort and technique.
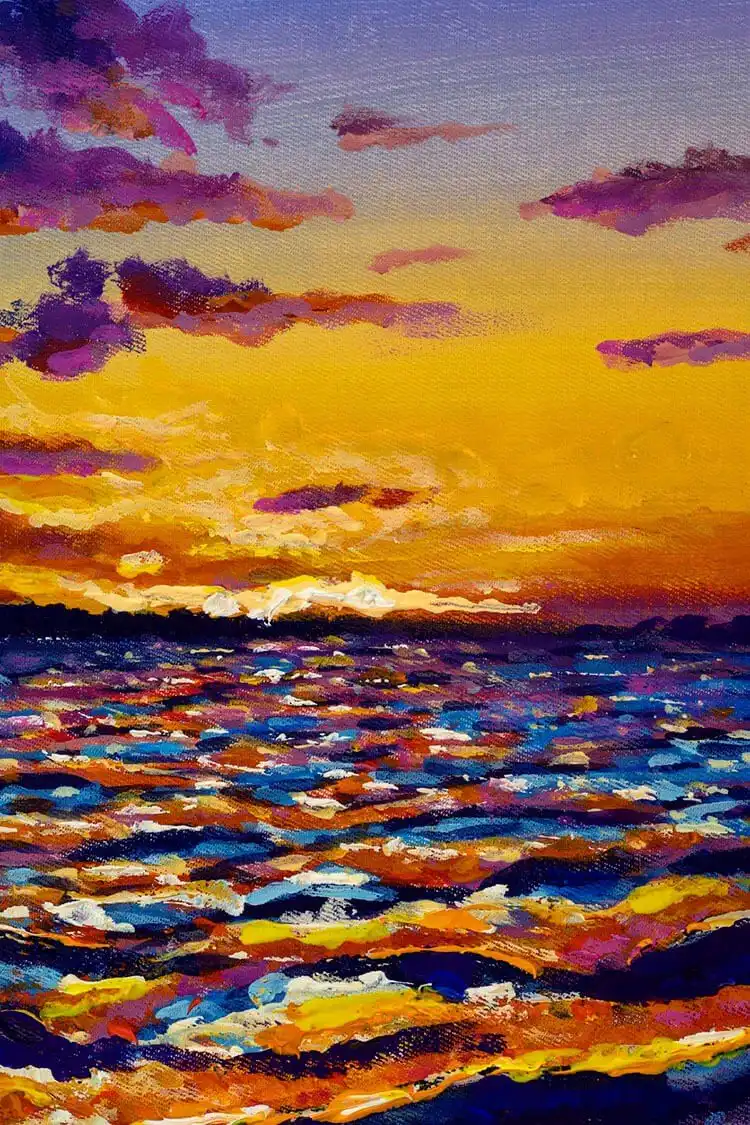
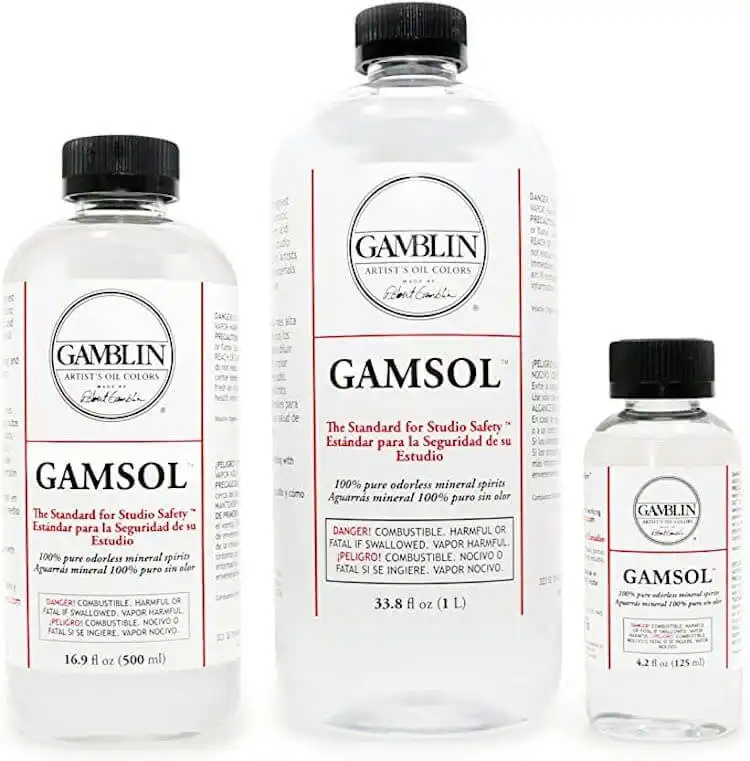
Solvent
Unlike acrylic paints, oil paints cannot be cleaned with water. You will need a solvent such as turpentine or artist-grade mineral spirits for cleaning your brushes and thinning your paints. Always prioritize safety by using solvents in a well-ventilated area to avoid inhaling fumes. Solvents are crucial for breaking down the oil in the paint, ensuring your brushes remain clean and flexible for future use, and for creating thin washes of color.
Oil Medium
As discussed, an oil medium like refined linseed oil is vital for achieving desired paint consistencies and extending working times. You will use your oil medium much like a watercolor artist uses water to adjust their paint’s flow and transparency. It helps create smooth transitions, adds luminosity, and can be crucial for techniques like glazing. Having an oil medium on hand gives you greater control over your paint’s behavior and the final look of your artwork.
Additional Tools
Beyond the core supplies, a few additional items will make your oil painting process much smoother. Keep a jar or dedicated container for holding solvent during brush cleaning – a silvertip jar with a coil at the bottom is excellent for scrubbing brushes. Plenty of paper towels or old rags are indispensable for wiping excess paint from brushes, cleaning surfaces, and correcting mistakes. Finally, a set of pencils can be useful for sketching out your composition directly on the canvas before applying paint, serving as a valuable guide.
How to Protect Your Oil Painting
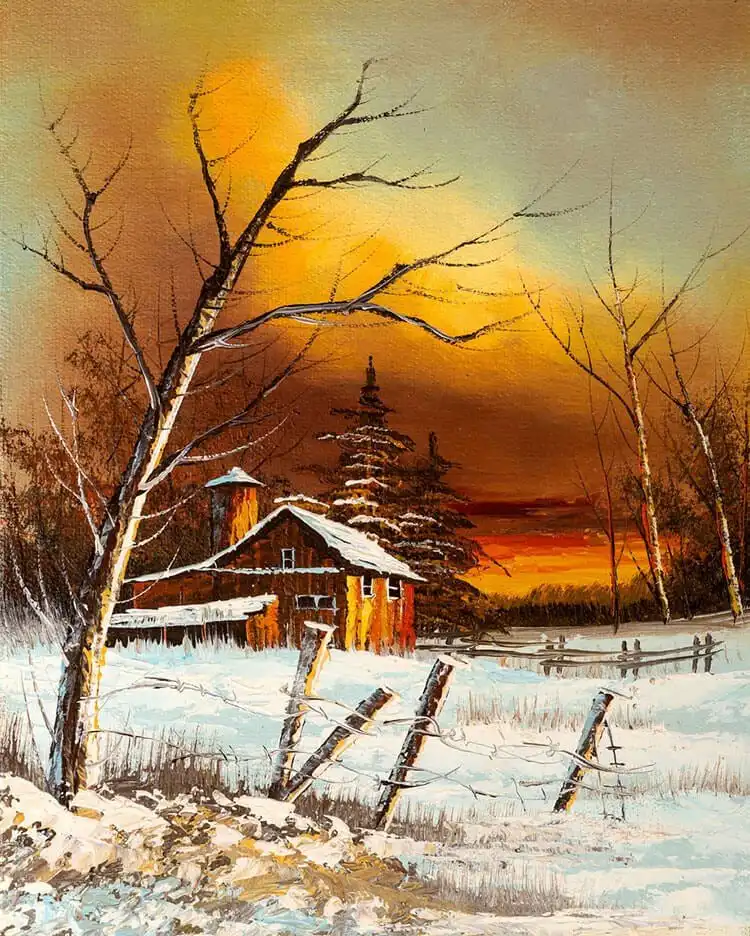
Once your oil painting is completely dry, which can take weeks or even months depending on paint thickness and mediums used, it’s crucial to varnish it. Varnishing serves as a protective layer against environmental damage, including dirt, dust, and harmful UV rays, which can cause colors to fade over time. You can easily purchase high-quality varnishes online or from your local art supply store, available in various finishes from matte to gloss.
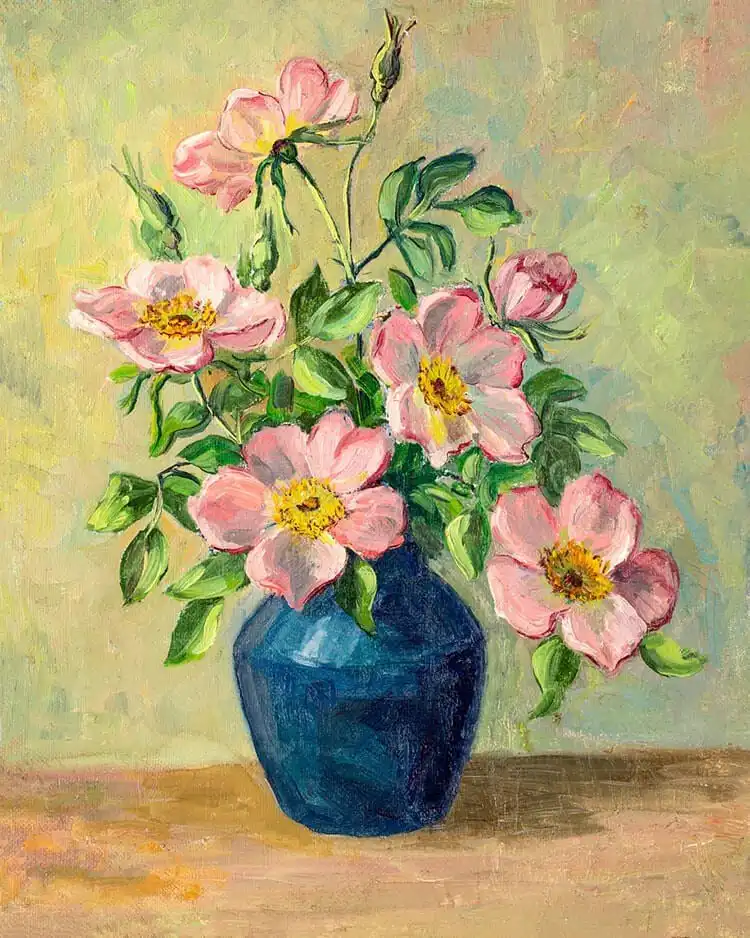
When applying varnish, always work in a clean, well-ventilated area to ensure proper drying and minimize dust accumulation. Use a soft, clean brush or a lint-free rag to apply the product. The key is to apply the varnish in thin, even layers, allowing each layer to dry completely according to the manufacturer’s instructions before adding the next. Typically, one to two coats are sufficient. Once the final layer of varnish is thoroughly dry, your painting will be protected, ensuring its beauty and longevity for many years to come.
Oil Painting Video Tutorials
For those just embarking on their oil painting journey, video tutorials are an invaluable resource. They provide visual demonstrations of techniques, color mixing, and brushwork that can be challenging to grasp from text alone. Watching experienced artists at work can accelerate your learning curve and inspire you to tackle new projects with confidence. These tutorials often break down complex processes into manageable steps, making oil painting more accessible for beginners.
- Oil Painting Basics Tutorial For Beginners – Painting Realistic Cherries
- How I Paint Glowing Clouds – Oil Painting Tutorial
- Oil Painting Tutorial – Ocean Sunset (Beginner)
- How to Paint Clouds – Tutorial on How to Paint Realistic Looking Clouds in Oils
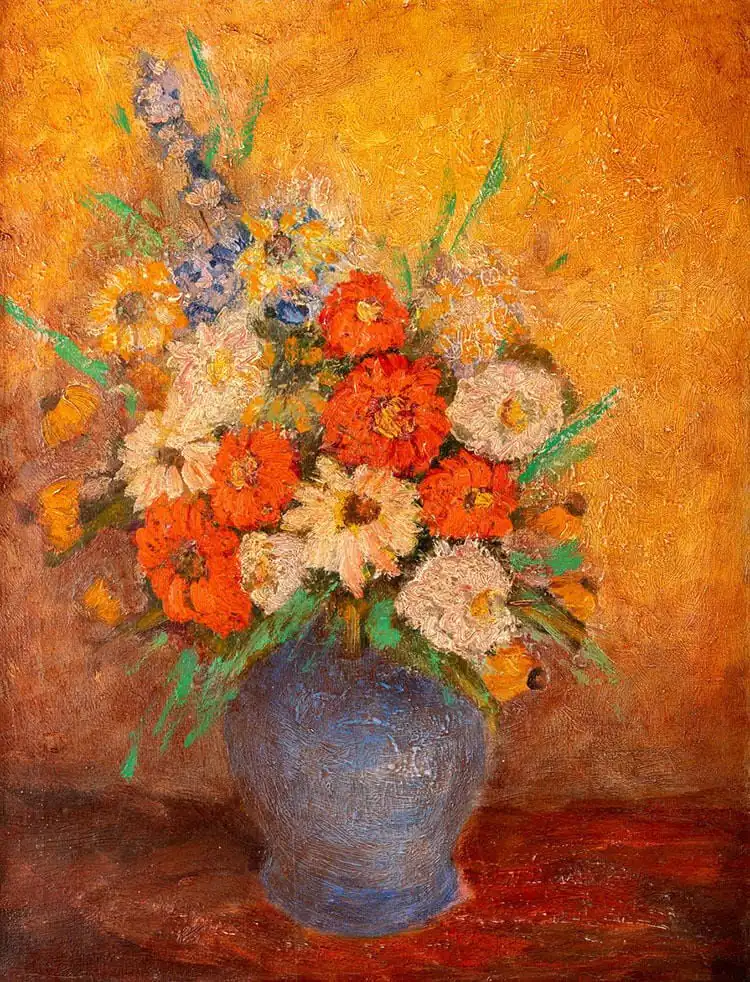
Now that you’re equipped with the basics of oil painting, from understanding your materials to protecting your finished work, it’s time to unleash your creativity and start painting. With a little practice and patience, you’ll soon be producing beautiful artworks that you can cherish for years. Don’t forget to save your favorite oil painting ideas to Pinterest, share this guide with fellow art enthusiasts, and leave a comment below with your first oil painting project!


