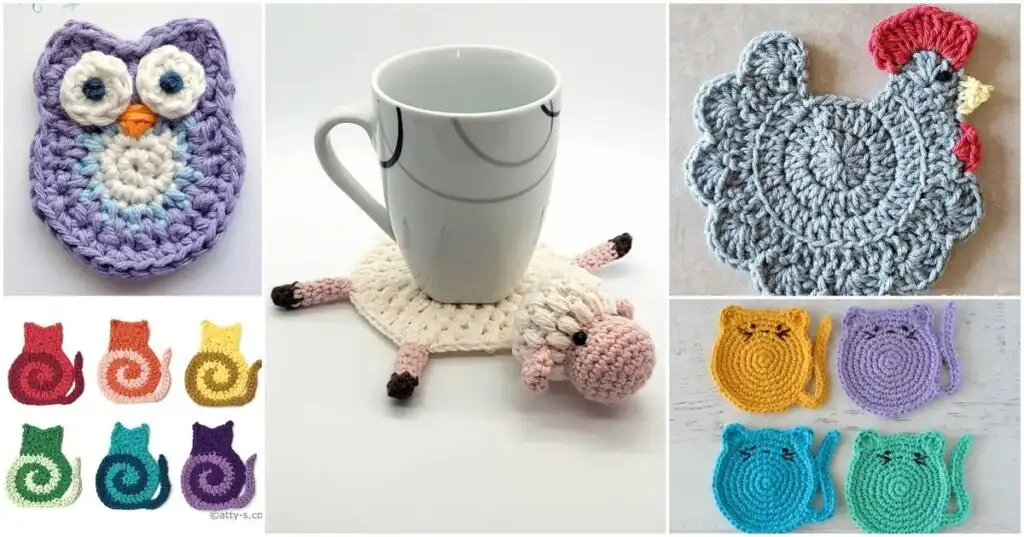
The 15+ Best Animal Coaster Free Crochet Patterns: Your Ultimate Guide!
Welcome to the whimsical world of crochet where practicality meets pure adorableness! If you’re looking to infuse your home with charm, protect your surfaces, and express your love for the animal kingdom, then you’ve landed in the perfect spot. Our comprehensive guide to The 15+ Best Animal Coaster Free Crochet Patterns will walk you through creating delightful designs that are as functional as they are cute.
Crochet coasters are often underestimated, but they offer an incredible canvas for creativity. Imagine sipping your morning coffee with a watchful owl beneath your mug, or protecting your table with a cheeky cat butt. These patterns are not just about preventing water rings; they’re about adding a touch of personality and handmade warmth to every corner of your home. Get ready to dive into a menagerie of yarn-tastic fun!
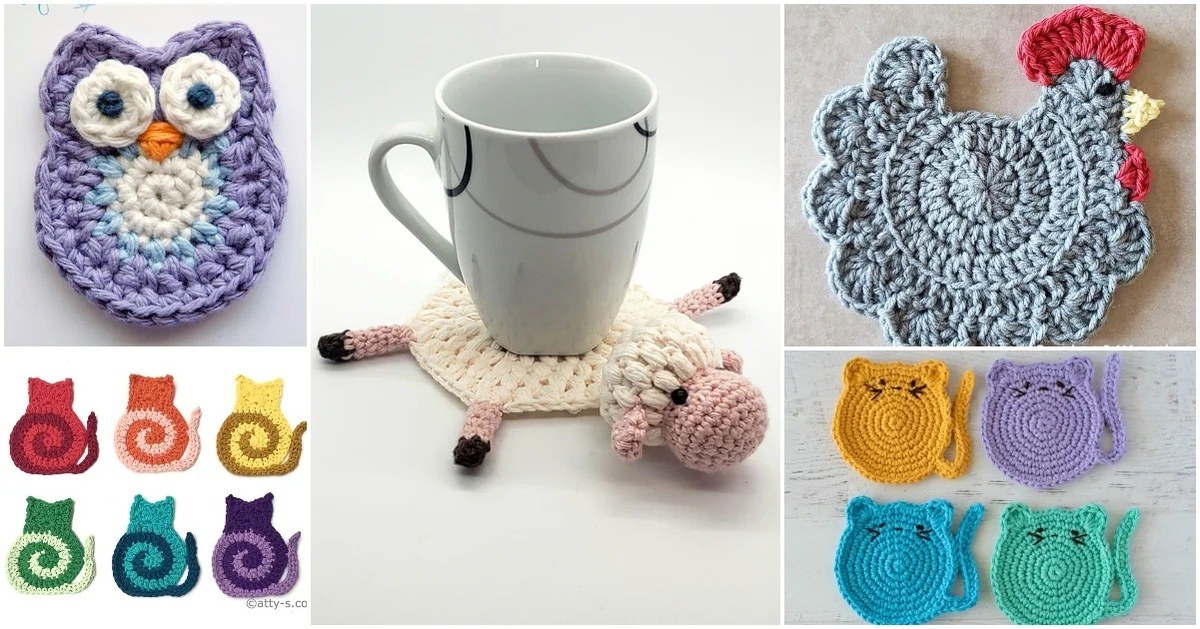
Project Snapshot: Your Animal Coaster Overview
- Skill Level: Easy to Intermediate. Basic stitches are used, with optional embellishments adding a touch of challenge.
- Approximate Time: 1-2 hours per coaster, depending on complexity and embellishments.
- Finished Dimensions: Approximately 4-5 inches (10-12.5 cm) in diameter for the base.
- Gauge: 4 rounds of coaster base = 3.5 inches (9 cm) in diameter using worsted weight yarn and a 4.0mm hook. Gauge is not critical for coasters but will affect final size.
Materials & Supplies List
Gathering your materials is the first exciting step on your crochet journey. For these charming animal coasters, we recommend materials that are both durable and easy to care for.
- Yarn: Worsted weight (#4) cotton yarn is ideal due to its absorbency, heat resistance, and washability. Choose a variety of colors for your animal designs (e.g., main body color, accent colors for features). Small amounts of scrap yarn are perfect for details!
- Crochet Hook: 4.0mm (US G-6) is a versatile size for worsted weight yarn, creating a sturdy yet flexible fabric.
- Yarn Needle (Tapestry Needle): Essential for weaving in ends and sewing on small embellishments.
- Scissors: Sharp pair for cutting yarn.
- Stitch Markers: Helpful for marking the beginning of rounds or important stitches, especially for beginners or intricate designs.
- Optional: Small buttons, embroidery floss, or safety eyes for facial features (ensure they are securely attached if for children).
Stitch Guide & Abbreviations (US Crochet Terminology)
Understanding these basic crochet stitches will be your foundation for crafting beautiful animal coasters. Practice each one until you feel comfortable!
- ch: Chain – Yarn over, pull through loop on hook.
- sl st: Slip Stitch – Insert hook into stitch, yarn over, pull through stitch and loop on hook.
- sc: Single Crochet – Insert hook into stitch, yarn over, pull up a loop (2 loops on hook), yarn over, pull through both loops.
- hdc: Half Double Crochet – Yarn over, insert hook into stitch, yarn over, pull up a loop (3 loops on hook), yarn over, pull through all three loops.
- dc: Double Crochet – Yarn over, insert hook into stitch, yarn over, pull up a loop (3 loops on hook), yarn over, pull through two loops, yarn over, pull through remaining two loops.
- inc: Increase – Work two stitches (sc, hdc, or dc) into the same stitch. This makes your work expand.
- dec: Decrease – Combine two stitches into one. For sc dec (sc2tog): Insert hook into first stitch, yarn over, pull up a loop (2 loops on hook), insert hook into next stitch, yarn over, pull up a loop (3 loops on hook), yarn over, pull through all three loops.
- magic ring (or magic circle): An adjustable loop that creates a tight center for starting projects like amigurumi or circles, preventing a hole.
- st(s): Stitch(es)
- Rnd: Round
Step-by-Step Pattern: Crafting Your Basic Animal Coaster Base
This foundational pattern creates a sturdy, flat circle that will serve as the canvas for all your animal-inspired designs. We’ll use a combination of single and double crochet stitches to achieve the perfect texture and size.
Foundation & Coaster Base
We’ll start with a magic ring to ensure a tight, hole-free center for your coaster, a classic technique for many circular crochet projects. This base is adaptable for almost any animal theme you envision.
- Rnd 1: Make a magic ring. Ch 2 (counts as first dc). Work 11 dc into the magic ring. Join with a sl st to the top of the beginning ch-2. Pull the magic ring tail tight to close the center. [12 sts]
- Rnd 2: Ch 2. Work 1 dc in the same stitch as join. Work 2 dc in each stitch around. Join with a sl st to the top of the beginning ch-2. [24 sts]
- Rnd 3: Ch 2. Work 1 dc in the same stitch as join. 1 dc in the next stitch, 2 dc in the next stitch. Repeat from to around. Join with a sl st to the top of the beginning ch-2. [36 sts]
- Rnd 4: Ch 2. Work 1 dc in the same stitch as join. 1 dc in the next 2 stitches, 2 dc in the next stitch. Repeat from to around. Join with a sl st to the top of the beginning ch-2. [48 sts]
- Rnd 5: Ch 1 (does not count as a stitch). Work 1 sc in the same stitch as join. Work 1 sc in each stitch around. Join with a sl st to the first sc. [48 sts]
Fasten off and weave in ends. This creates a solid base for your coaster. You can continue increasing in a similar pattern (e.g., Rnd 5: ch 2, 1 dc in first st, 1 dc in next 3 sts, 2 dc in next st, repeat) for larger coasters if desired. The final round of single crochet provides a neat, sturdy edge.
Adding Character: Animal Embellishments & Details
Now for the fun part! This is where your basic circle transforms into an adorable animal. These are general guidelines; feel free to experiment with colors and sizes. For smaller, detailed pieces, you might find inspiration in patterns like these 5 Amazing Sea Creature Keychain Free Crochet Patterns.
Ears & Features (Cats, Bears, Owls, Chickens)
Many animals have distinct ear shapes. Triangles are versatile for cats, bears, and owls, while small ovals can work for chickens or rounded ears.
- Small Triangle Ear (Make 2):
- Ch 4.
- Row 1: Sc in 2nd ch from hook and in next 2 chs. Ch 1, turn. [3 sc]
- Row 2: Sc2tog, sc in last st. Ch 1, turn. [2 sc]
- Row 3: Sc2tog. Fasten off, leaving a long tail for sewing. [1 sc]
Attach: Fold the ear slightly and sew to the top edge of your coaster base, about 1-1.5 inches apart.
- Rounded Ear (Make 2):
- Make a magic ring. Work 6 sc into the ring. Pull tight. Sl st to first sc. [6 sc]
- Rnd 2: Ch 1. Work 2 sc in each st around. Join with sl st. Fasten off, leaving a long tail. [12 sc]
Attach: Flatten the circle and sew to the top edge of the coaster.
Textural Elements (Sheep, Paw Prints)
Texture can bring an animal to life! Bobble stitches are perfect for sheep, while small circles create paw pads.
- Fluffy Sheep Coaster:
After completing Rnd 4 of the base, instead of a sc round, work a round of bobble stitches. For a bobble stitch: Yarn over, insert hook into stitch, yarn over, pull up a loop, yarn over, pull through 2 loops (you have 2 loops on hook). Repeat from to 4 more times into the same stitch (you will have 6 loops on hook). Yarn over, pull through all 6 loops. Ch 1 to secure. Skip next stitch and sc in the following stitch. Repeat around. Add small black ears (tiny triangles) and embroidered eyes.
- Playful Paw Print Coaster:
Create a main circle (Rnds 1-4 of base) in a paw color. Then, make one larger small circle (magic ring, 6sc, join) for the main pad and three smaller small circles (magic ring, 4sc, join) for the toes. Sew these onto the main coaster base. For more detailed animal designs, you might explore patterns like the Colorful Crochet Hermit Crab Pattern Ideas Guide for inspiration on combining shapes.
Dimensional Accents (Turtles, Frogs, Owl Eyes)
Small attached pieces can give a 3D effect.
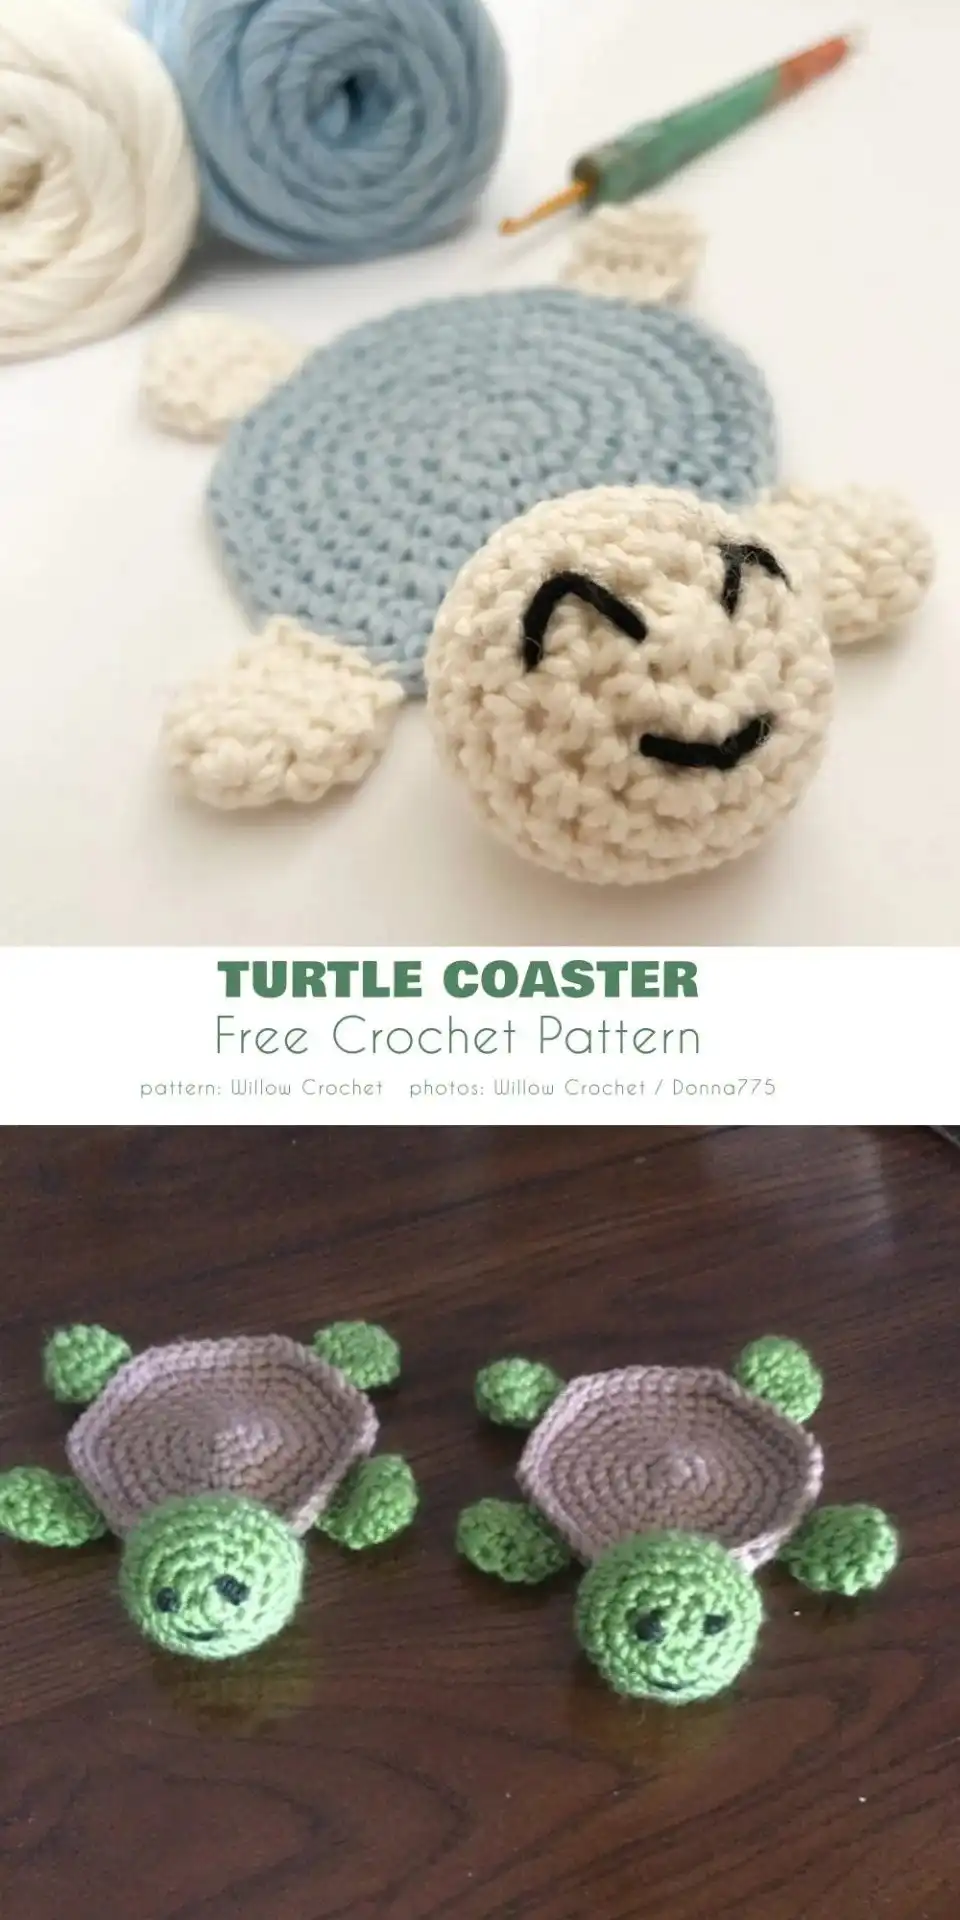
- Turtle Shell Segments: Work small half-circle shapes in contrasting colors and sew them onto the main coaster base.
- Ch 6.
- Row 1: Sc in 2nd ch from hook and in next 4 chs. Ch 1, turn. [5 sc]
- Row 2: Sc across. Ch 1, turn. [5 sc]
- Row 3: Sc2tog, sc in next st, sc2tog. Ch 1, turn. [3 sc]
- Row 4: Sc3tog. Fasten off.
Make several of these in green and brown, and arrange them on your coaster base to create a shell pattern. Add tiny green appendages for legs and a head.
- Owl Eyes: Make two small white circles (magic ring, 8 hdc, join) and two smaller black circles (magic ring, 6 sc, join). Sew black onto white, then white onto the coaster. Add a small orange triangle for a beak. For other plushie-style animal ideas, check out the Crochet Honey Bear Pattern – Crochet Plushie.
Expert Designer Tips for Flawless Results
Achieving a professional-looking finish is all about paying attention to the details. These tips from experienced designers will elevate your animal coasters from handmade to truly spectacular.
- Consistent Tension is Key: Maintain an even tension throughout your crocheting. This ensures your stitches are uniform, your coaster lies flat, and your finished project has a polished look. Too tight, and it will curl; too loose, and it will be floppy.
- Weave in Ends as You Go (or Neatly at the End): Long, dangling yarn tails can ruin the aesthetic. Weave in ends securely and invisibly. For color changes, weave in both tails in opposite directions for extra security. A neat finish makes all the difference.
- Invisible Joins for Seamless Rounds: When joining rounds, use a slip stitch that blends in. After your final stitch of the round, remove your hook, insert it from back to front through the top of the first stitch of the round, then put the loop back on your hook and pull it through. This creates a nearly invisible seam.
- Consider Your Yarn Choices Wisely: While cotton is recommended for coasters due to its absorbency and heat resistance, you can experiment. Acrylic is great for durability and a wide color range, but may not absorb spills as well. Natural fibers like wool are also an option but might require more delicate care.
- Don’t Skip Blocking: Even for small items like coasters, a light blocking can make them perfectly flat and help the stitches settle. It gives your finished piece a professional, even appearance and can correct minor curling.
Care, Washing & Blocking Instructions
To ensure your beautiful handmade animal coasters last for years to come, proper care is essential. Here’s how to keep them looking their best.
Washing Your Crochet Coasters
Because coasters are prone to spills, they will need occasional cleaning. Hand washing is generally the safest method for handmade crochet items.
- Spot Clean First: For small spills, try spot cleaning with a damp cloth and a mild soap.
- Hand Wash: Fill a basin with cool or lukewarm water and a small amount of gentle detergent (a wool wash or baby shampoo works well). Submerge your coasters and gently squeeze them to allow the water and soap to penetrate. Avoid harsh scrubbing or twisting, which can distort the stitches.
- Rinse Thoroughly: Drain the soapy water and refill with clean, cool water. Gently squeeze the coasters to rinse out all the soap. Repeat until the water runs clear.
- Remove Excess Water: Gently press the coasters between two clean towels to remove as much water as possible. Do not wring or twist.
Blocking Your Crochet Coasters
Blocking is the process of shaping and setting your crochet work. For coasters, it ensures they lie perfectly flat and uniform.
- Prepare Your Blocking Surface: Use a foam mat, corkboard, or even a clean towel laid flat.
- Pin into Shape: While the coasters are still damp, gently stretch and shape them to their desired dimensions (a perfect circle). Use rust-proof pins to secure the edges to your blocking surface. Make sure they are not stretched too tightly, just enough to even them out.
- Allow to Dry: Leave the coasters pinned in place until they are completely dry, which can take 24-48 hours depending on humidity.
- Enjoy: Once dry, remove the pins. Your coasters will be perfectly shaped and ready to use!
Styling & Creative Variations
The beauty of these animal coaster patterns lies in their versatility. With a basic circular base, the possibilities for customization are endless! Let your imagination run wild to create a whole menagerie for your home or as thoughtful gifts.
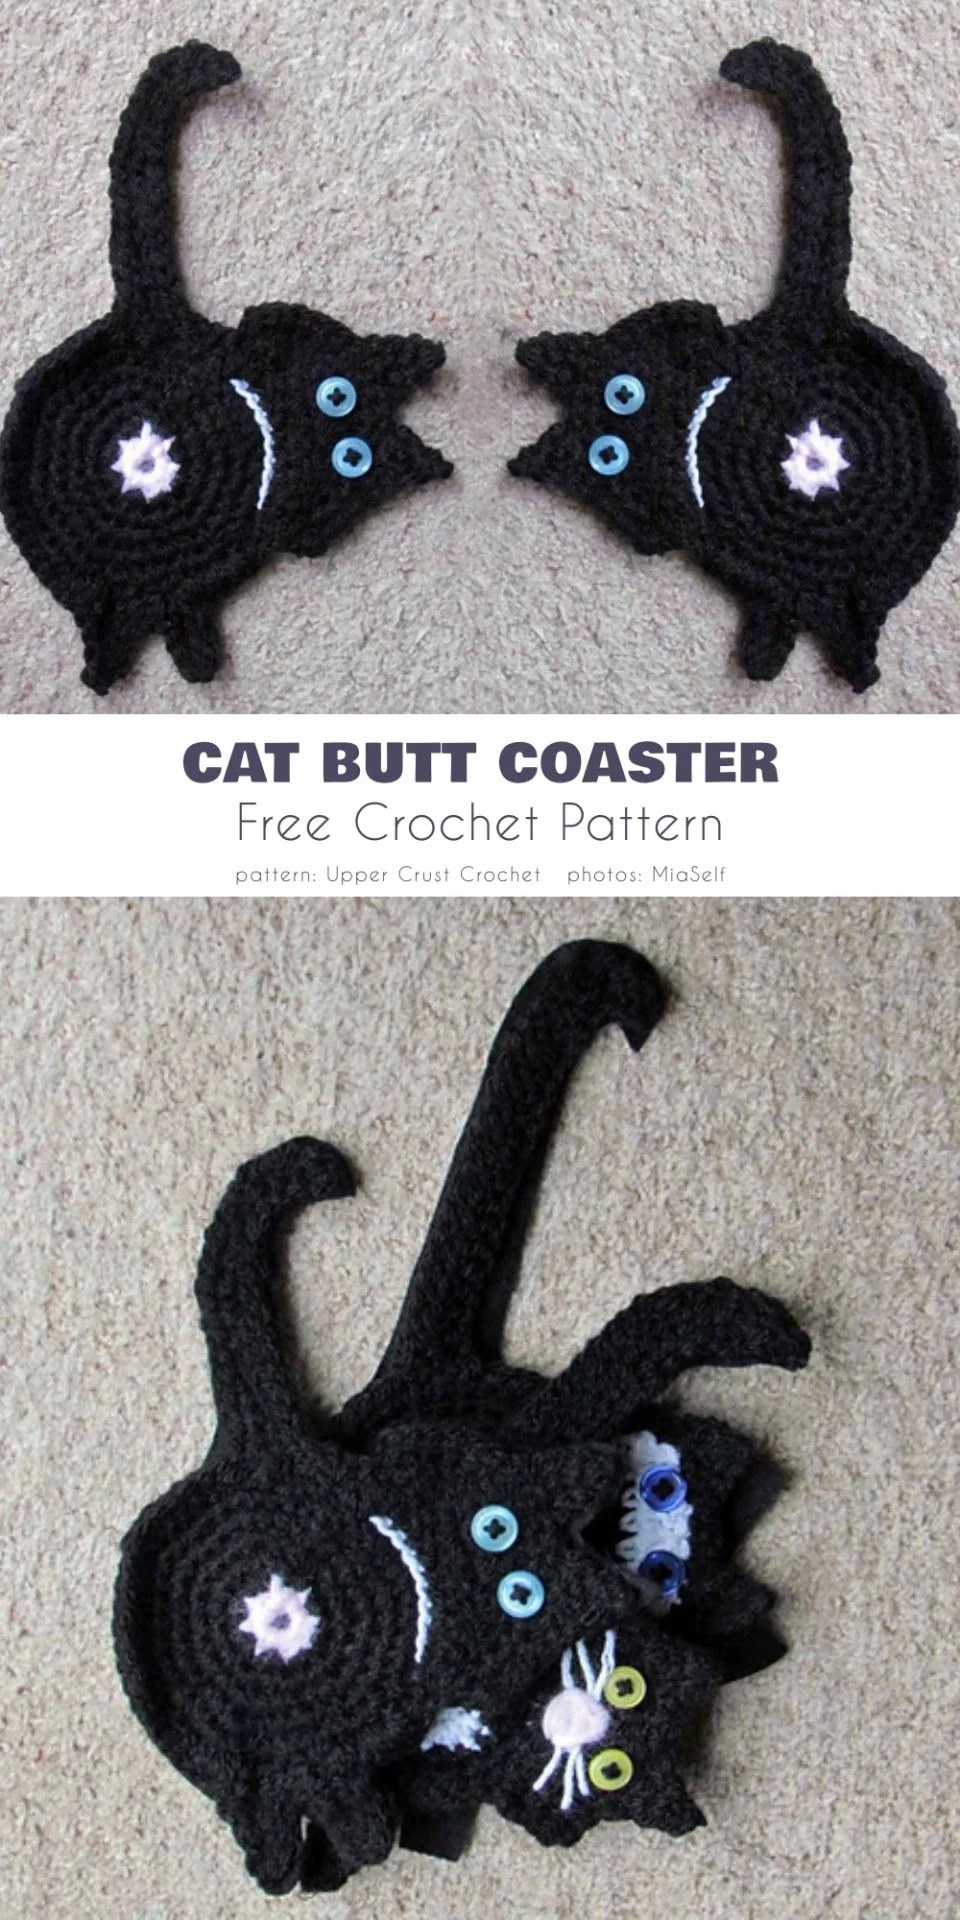
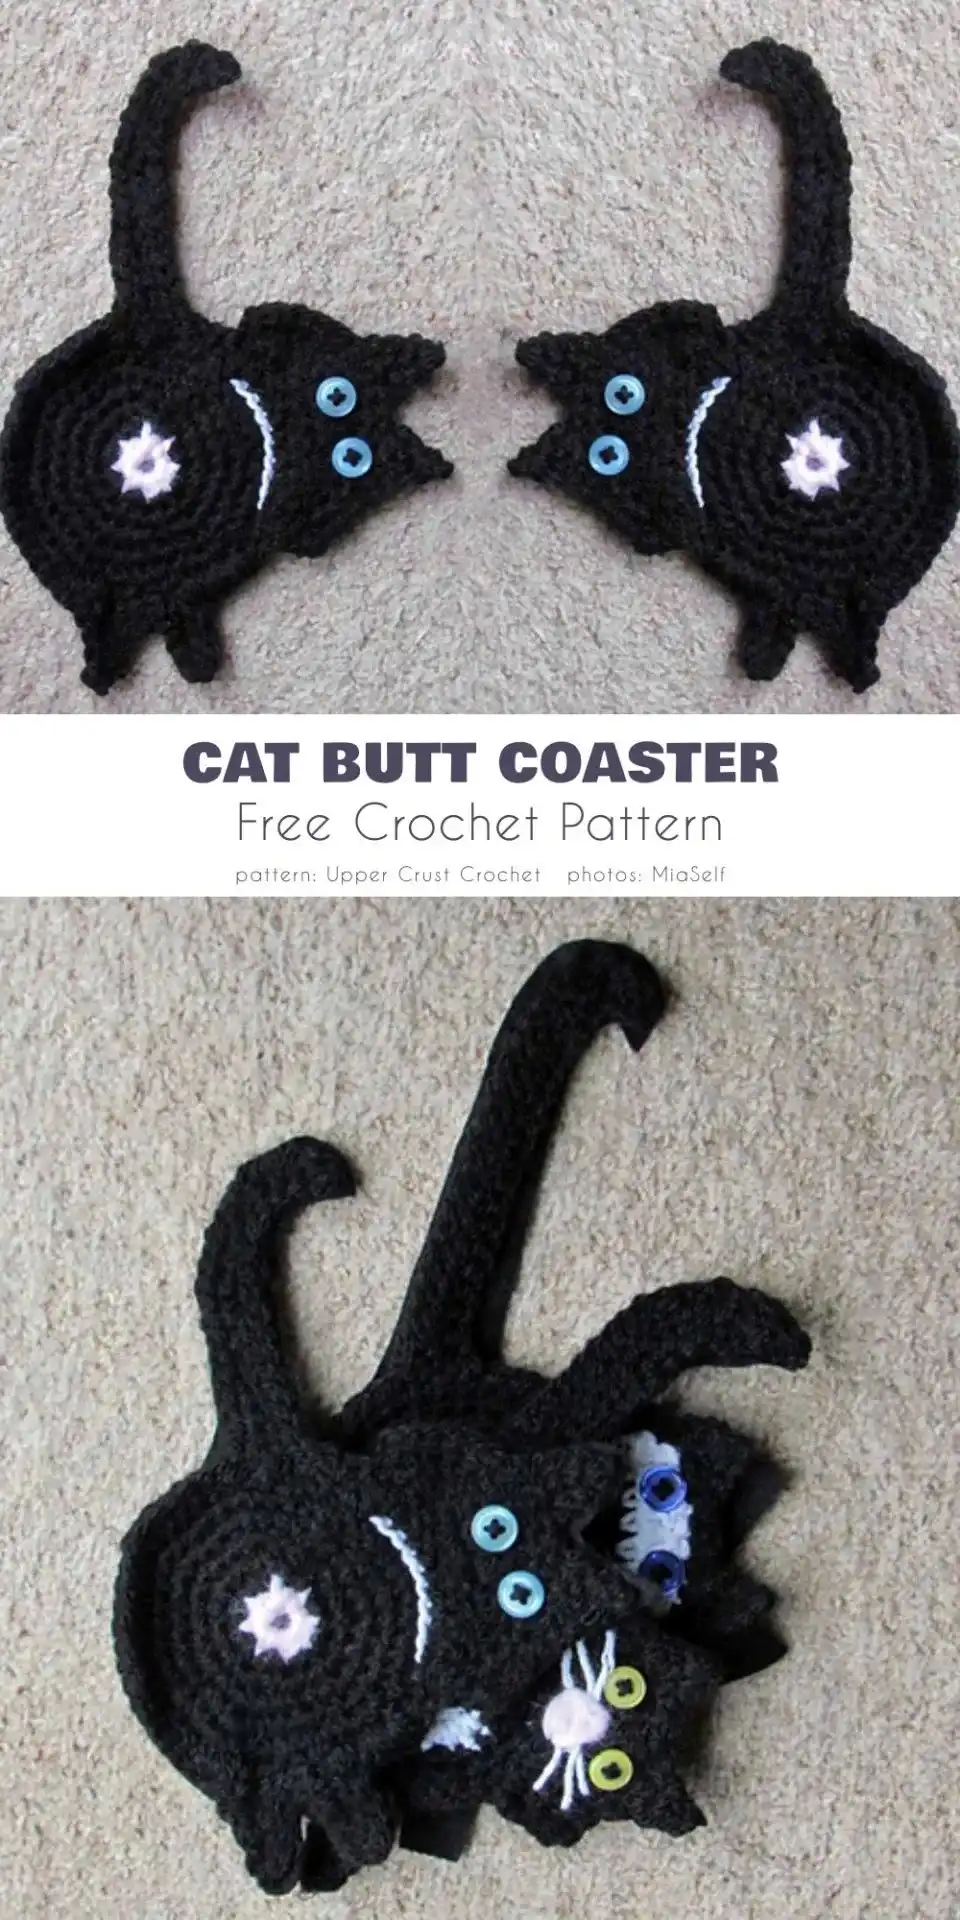
- Whimsical Cat Coasters: Use grey, black, or ginger yarn for the main body. Add small triangular ears in a matching or contrasting color. Embroider sleepy eyes and whiskers with black embroidery floss. For a touch of humor, you can even design a “cat butt” coaster by making a circular base, adding two small oval shapes for hind legs, and a tiny, curled tail with a few chain stitches.
- Charming Turtle Coasters: Opt for green or brown for the body. Create a shell effect by crocheting smaller circles or half-circles in varying shades of green, brown, and yellow, then sewing them onto the main coaster. Add tiny flippers and a head peeking out.
- Fluffy Sheep Coasters: Use creamy white or off-white yarn. Incorporate bobble stitches or loop stitches for a woolly texture. Small black or dark brown ears and embroidered eyes complete the look.
- Playful Paw Print Coasters: Choose a base color like brown, tan, or black. Crochet a larger oval for the main paw pad and three smaller ovals or circles for the toes in a contrasting color (e.g., pink or white). Arrange and sew them onto the base.
- Wise Owl Coasters: Use earthy tones like brown, beige, or grey. Add large white circles for eyes, with smaller black circles for pupils. A small orange or yellow triangle for a beak and triangular ears atop the head bring this nocturnal friend to life.
- Animal Crossing Leaf Coasters: While not an animal itself, the leaf motif suggests the presence of creatures! Crochet a leaf shape (start with a chain, work sc/hdc on both sides, tapering at the ends) and add small “nibbles” by skipping stitches or creating small indentations.
- Pop-Up Designs: The scraped content mentioned pop-up turtles and other animals. While more advanced, you can create a similar effect by crocheting separate 3D heads and limbs and attaching them in a way that they stand up when the coaster is in use, or by stuffing small parts slightly. This adds an interactive element that kids (and adults!) will adore.
- Farm Animal Fun: Don’t forget barnyard friends! Simple chicken coasters can be made with a white base, a red comb (small wavy piece), and a yellow beak. Explore more ideas with Simple Chicken Ideas Free Crochet Patterns.
Frequently Asked Questions About Animal Coasters
Frequently Asked Questions
What is the best yarn for animal crochet coasters?
Worsted weight (#4) cotton yarn is highly recommended for crochet coasters. Cotton is absorbent, heat-resistant, and easy to wash, making it ideal for protecting surfaces from spills and hot drinks. It also holds its shape well.
Is this animal coaster pattern beginner-friendly?
Yes, the basic coaster base pattern is very beginner-friendly, using fundamental stitches like chain, single crochet, and double crochet. Adding the animal embellishments can range from easy (simple ears) to intermediate (more complex dimensional features), allowing you to choose your comfort level.
How can I make my animal coaster lie perfectly flat?
Consistent tension throughout your crocheting is crucial. If your coaster starts to curl, you might be crocheting too tightly or need to add more increases in your rounds. Lightly blocking your finished coaster by pinning it to shape while damp and allowing it to dry flat will also help it achieve a perfectly flat, professional look.
Can I adjust the size of my animal coasters?
Absolutely! To make your coaster larger, simply continue adding increase rounds following the established pattern (e.g., in Rnd 5, work 1 dc in next 3 stitches, 2 dc in next, etc.). To make it smaller, stop at an earlier round or use a smaller hook with the same yarn.
How do I attach small animal features like ears or eyes securely?
Use a yarn needle to sew on small features. For security, make sure to sew through both the feature and several stitches of the coaster base multiple times. Weave the yarn tails back through the coaster fabric before trimming to ensure they are well hidden and unlikely to unravel. For items meant for children, avoid small buttons or plastic safety eyes unless securely fastened and checked for durability.
Ready to Make Your Tabletop Roar? Save This Pin!
We hope this guide to The 15+ Best Animal Coaster Free Crochet Patterns has sparked your creative spirit! From cheeky cats to wise owls, these projects are a fantastic way to add charm and personality to your home. They make thoughtful gifts, perfect for housewarmings, birthdays, or just because.
Don’t let these adorable ideas slip away! Be sure to save this tutorial to your favorite Pinterest crochet boards so you can easily find it whenever inspiration strikes. We’d absolutely love to see your finished animal coasters. Share your makes with us in the comments below, tell us which animal you chose to crochet, and what colors you used. Happy crocheting!


