Cozy & Quick: Free Crochet Pillow Pattern Using Super Bulky Bernat Blanket Yarn
If you’re anything like me, you love quick, satisfying projects that add a cozy touch to your space. That’s exactly what inspired me to create this easy Sweater Weather crochet pillow, a truly delightful beginner-friendly project. This free crochet pillow pattern uses super bulky Bernat Blanket yarn, making it wonderfully soft and fast to work up.
I wanted something stylish yet functional, something I could make in just a few hours and proudly place on my bed or sofa. This pillow is super soft, incredibly easy to make, and will look fantastic in any room of your home, adding that perfect touch of handmade charm and warmth.
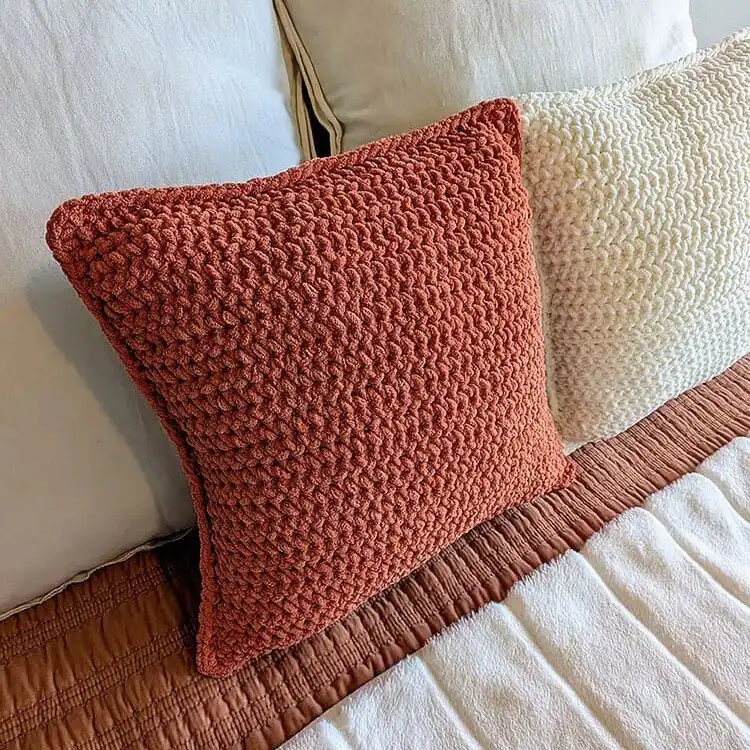
You can find the complete free pattern instructions below, or for those who prefer an ad-free experience, a printable PDF version is often available for purchase from the designer’s shop. This pattern is designed for efficiency and visual appeal, ensuring a satisfying crafting journey.
Materials
Crafting this plush pillow requires a specific selection of items to ensure its signature softness and durability. The primary material is the incredibly popular Bernat Blanket yarn, known for its super bulky weight and velvety texture, which makes for a quick and satisfying project. You’ll also need a comfortable filling and essential crochet tools.
- 1 Bernat Blanket #6 Super Bulky Yarn (approx. 220 yds): This yarn is crucial for achieving the pillow’s squishy, cozy feel and works up very quickly due to its thickness. Choose a color that complements your home decor.
- Poly-fil for stuffing: Ensure you have enough to generously stuff your 18×18 inch pillow, creating a plump and inviting cushion.
- US size L / 8.0 mm crochet hook: This larger hook size is perfectly matched for the super bulky yarn, ensuring your stitches are even and the fabric isn’t too stiff.
- Stitch markers (optional): Highly recommended for beginners or if you lose your place easily, these help mark the beginning/end of rows or specific stitches.
- Scissors: A sharp pair for cleanly cutting your yarn.
- Tapestry needle: Essential for weaving in yarn ends neatly and seaming your pillow panels together for a polished finish.
Size (approximate)
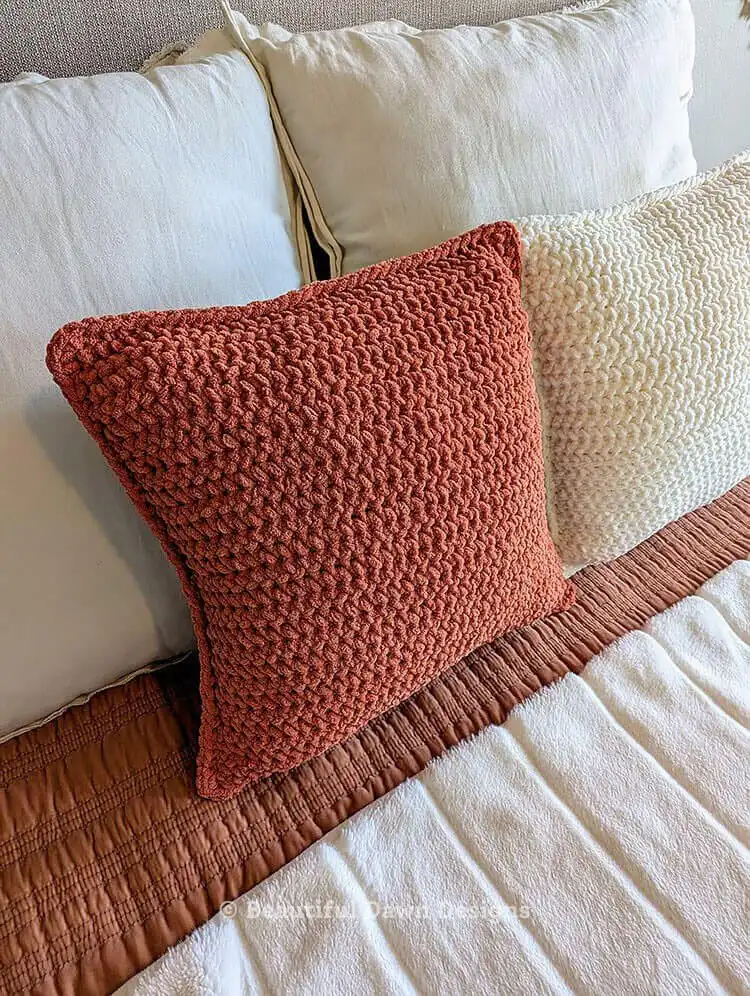
When completed according to the pattern, your finished crochet pillow will measure approximately 18 inches by 18 inches. This standard size is versatile for sofas, armchairs, or beds, providing a comfortable and decorative accent. The super bulky yarn ensures a substantial and huggable result.
Gauge (4in x 4in)
Achieving the correct gauge is important for ensuring your pillow turns out the intended size and uses the expected amount of yarn. For this pattern, a 4×4 inch square should approximately contain 8 stitches and 7 rows. If your gauge is different, adjust your hook size accordingly (smaller hook for too loose, larger hook for too tight).
Size Adjustment
One of the great features of this pattern is its adaptability. To adjust the width of your pillow, simply begin with a longer or shorter starting chain. You can use any number of chains to achieve your desired width. Once you have your preferred starting chain, continue to follow the crochet pattern as written until your pillow reaches the desired length. This flexibility allows you to customize your creation for different spaces, or even explore making crochet wearables by adapting the stitch pattern.
Pattern Notes
To ensure a smooth and enjoyable crocheting experience, keep these important notes in mind. These tips are designed to clarify common questions and prevent potential frustrations, especially if you’re new to working with super bulky yarn or specific stitch techniques. Understanding these details will help you create a beautiful, even fabric.
- The chain 1 does not count as a stitch: This is a common practice in crochet patterns that helps create a neater edge. When you turn your work, the chain 1 simply gives you height for the next row but isn’t counted in your stitch total.
- If you have trouble identifying the first or last stitch of the row, use stitch markers to help you keep track: This is particularly useful when working in the back loop only (BLO) or front loop only (FLO) as the stitch structure can sometimes make the true last stitch hard to spot. Placing a marker in the first stitch of each row will save you from accidental increases or decreases.
Abbreviations (US)
Understanding these standard US crochet abbreviations is key to successfully reading and following the pattern. If you’re familiar with these, you’ll find the pattern straightforward. If any are new to you, a quick reference guide can be helpful, ensuring you correctly execute each stitch. Mastering these terms can even help you create fun crochet accessories from other patterns.
- ch: chain
- st(s): stitch(es)
- sc: single crochet
- sc blo: single crochet back loop only
- sc flo: single crochet front loop only
- sl st: slip stitch
Sweater Weather Pillow Pattern
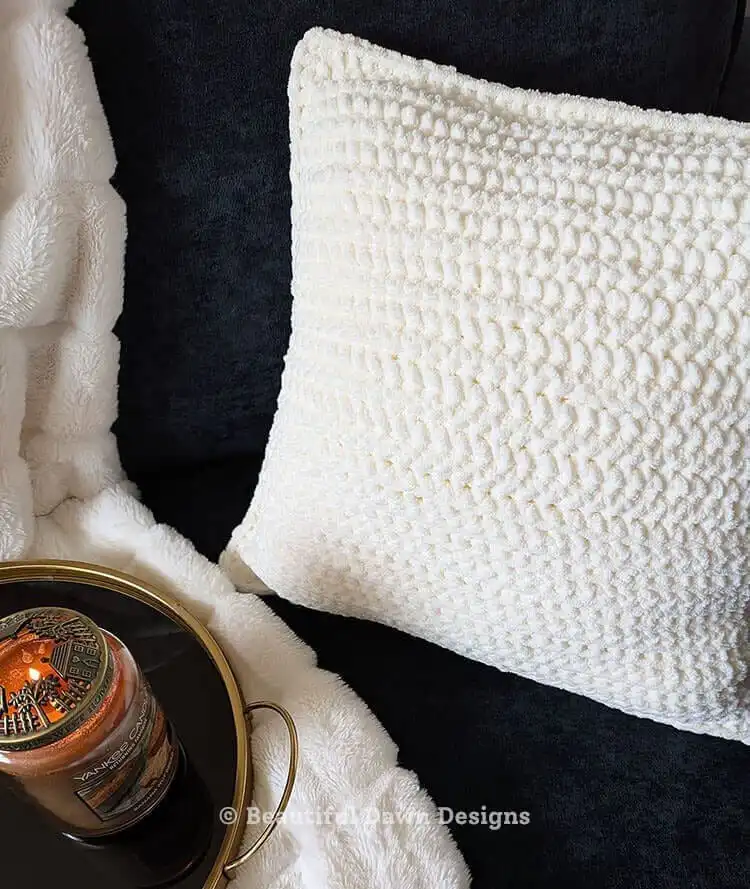
This section provides the core instructions for crocheting the main panels of your pillow. You will be making two identical panels that will then be joined together. The pattern utilizes basic single crochet stitches with variations in the front and back loops to create a lovely ribbed texture reminiscent of a knitted sweater. Pay close attention to the stitch counts to maintain the pillow’s square shape.
Make 2 of these panels.
To begin, chain 37.
Row 1: Place 1 sc in the 2nd ch from the hook and in each ch across. Ch 1 and turn. (36 sts)
Row 2: Place 1 sc blo in the 1st st and in each st across. Ch 1 and turn. (36 sts)
Row 3: Place 1 sc flo in the 1st st and in each st across. Ch 1 and turn. (36 sts)
Repeat Rows 2-3 in that order until you have a total of 28 rows. (36 sts)
Row 29: Place 1 sc in the 1st st and in each st across. Fasten off and weave in ends. (36 sts)
Assemble the Pillow
Once both panels are crocheted, it’s time to bring your pillow to life by assembling them and adding the stuffing. This step not only joins the two sides but also creates a clean, decorative edge around your pillow. Take your time during the stuffing process to ensure an evenly filled and firm cushion. This finishing touch brings out the beauty of your handmade seasonal home decor item.
Place your two pillow panels directly on top of each other, making sure the edges are perfectly aligned.
- Attach your yarn to the top left corner of both panels. Chain 1, then single crochet around the entire perimeter of the pillow, crocheting through both layers to join them. Whenever you reach a corner, place 3 single crochet stitches into that corner to create a neat turn without pulling.
- Once you reach the top right corner of your pillow, pause your seaming. Now is the time to generously stuff your pillow with Poly-fil. Continue to single crochet the remaining side of the pillow closed, adding more stuffing as needed to achieve your desired plumpness and evenness.
- When you reach the corner where you started, place 3 single crochet stitches into that starting corner. Slip stitch into the next stitch to seamlessly join the round, then fasten off your yarn and weave in any remaining ends with your tapestry needle for a polished finish.
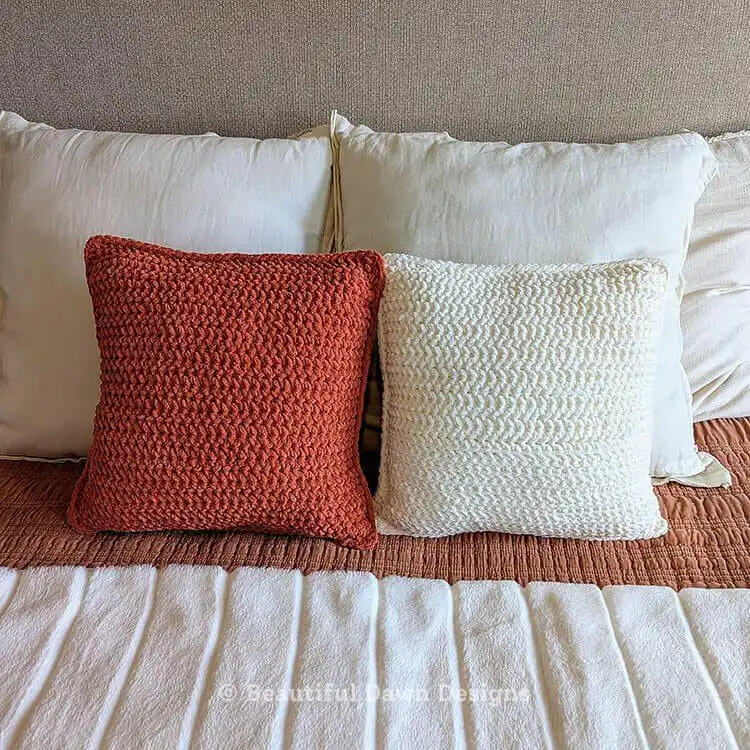
We hope you enjoyed creating this cozy Sweater Weather crochet pillow! It’s a wonderful project for adding a touch of handmade comfort to any space. Don’t forget to save this pin to your Pinterest board, share it with a fellow crafter, and let us know in the comments how your pillow turned out!


