Craft Beautiful Coasters: Free Quick and Easy Crochet Pattern – Great Handmade Gift Idea
Discover the joy of creating practical and pretty items with this free quick and easy crochet coaster pattern. Perfect for beginners and seasoned crocheters alike, these coasters work up in under 30 minutes, making them an ideal project for a relaxing afternoon or a thoughtful last-minute handmade gift idea. Imagine pairing a set of these with a cozy mug and some gourmet coffee – a truly charming handmade gift idea!
Crochet coasters are not just functional; they add a touch of handmade warmth to any home decor. This simple pattern uses basic stitches to create a sturdy, attractive coaster that protects your surfaces in style. Get ready to dive into your yarn stash and craft something beautiful today!
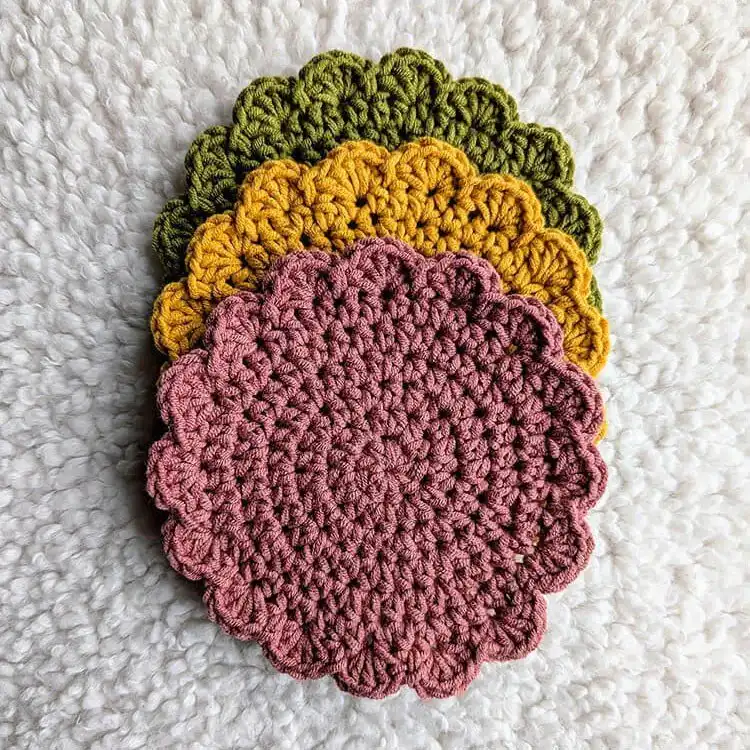
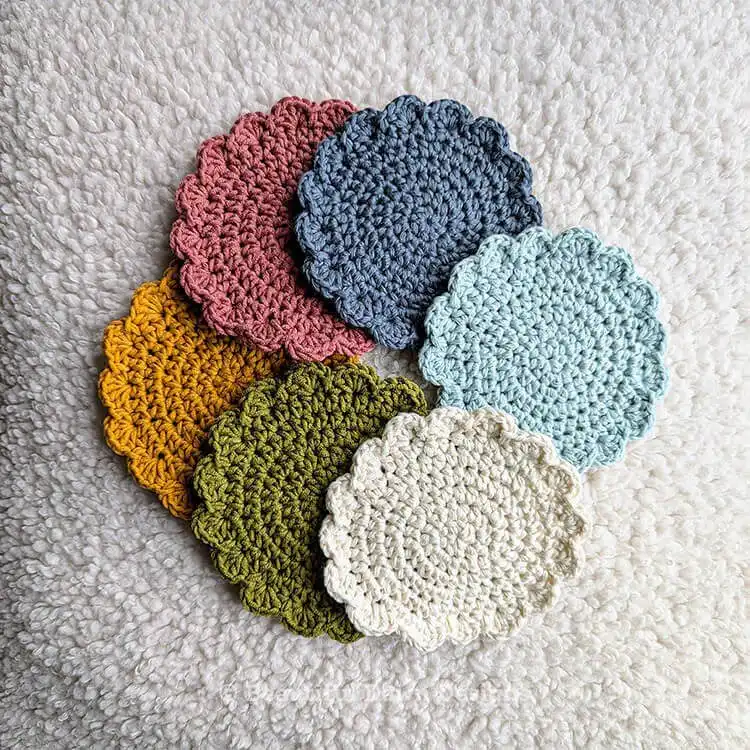
Materials are key to a successful crochet project, and for these coasters, you’ll want something durable and absorbent. While you can certainly use any worsted weight yarn you have on hand, a cotton blend is highly recommended for its excellent absorbency and ability to withstand heat. For the pictured coasters, Lion Brand Made With Love The Cottony One Yarn offers a lovely texture and vibrant colors. Gather your chosen yarn, a US size G (4.0 mm) crochet hook, a stitch marker to keep track of your rounds, sharp scissors for a clean cut, and a tapestry needle for weaving in those final ends.
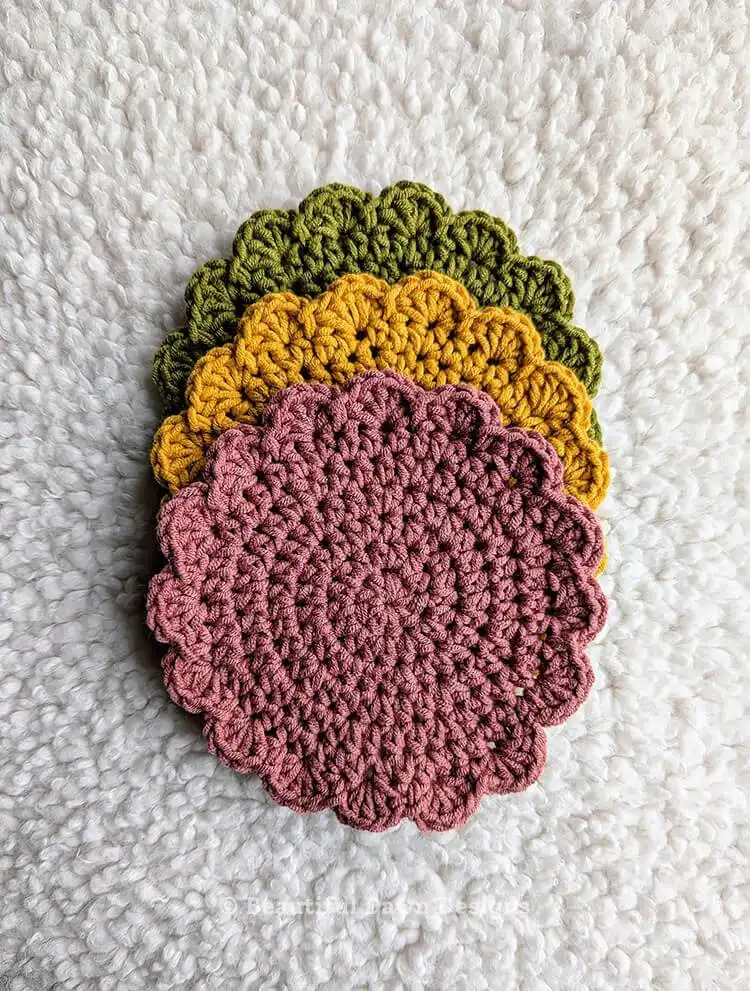
Before you begin, understanding a few pattern notes will ensure a smooth crocheting experience. We’ll be working these coasters in continuous rounds, which means you won’t join with a slip stitch at the end of each round unless specifically instructed. This technique creates a seamless spiral. If you notice your coasters curling or not lying flat, a quick steam block can work wonders; simply hover a steam iron over them or use a clothing steamer (never directly touch the iron to your crochet!). However, these little beauties tend to flatten out beautifully with regular use.
Familiarizing yourself with crochet abbreviations is like learning a secret language that unlocks countless patterns. This pattern uses standard US crochet terms, making it accessible for most crocheters. You’ll encounter ch (chain), st(s) (stitch(es)), hdc (half double crochet), sc (single crochet), inc (increase, meaning to work two stitches into the same stitch), and sl st (slip stitch). A quick review of these terms will help you confidently follow each step.
Quick and Easy Coaster Video Tutorial
Sometimes, seeing a stitch in action makes all the difference! For visual learners or those who prefer a guided approach, a video tutorial can be incredibly helpful. While this article provides a clear written pattern, imagine a video that walks you through each round, demonstrating the stitch placement and techniques for a perfect coaster. Such a visual aid can clarify any tricky steps, ensuring your project comes out flawlessly. You can also explore other coaster ideas that might offer video guidance for different styles.
Quick and Easy Crochet Coaster Pattern
Ready to start? This pattern begins with a simple chain and builds quickly. Remember to keep your tension consistent for a neat, even finish. For those looking for more variety after mastering this, check out a collection of animal coaster free crochet patterns for your next crochet projects!
To begin: Chain 2 (Ch 2).
Round 1: Work 8 half double crochet (hdc) stitches into the 2nd chain from the hook. You should now have 8 stitches. Don’t forget to place your stitch marker in the first stitch of this round; it’s your best friend for keeping track of where each round begins and ends when working in continuous spirals.
Round 2: Work an increase (inc) in each stitch around. This means you will place 2 hdc stitches into every stitch from the previous round. You should finish with a total of 16 stitches, and your circle should start to take shape.
Round 3: The pattern for this round is Increase (inc), half double crochet (hdc) in the next stitch. Repeat this sequence from to all the way around your circle. This round will increase your stitch count to 24 stitches, further expanding the coaster’s diameter while keeping it flat.
Round 4: Continue expanding your coaster with the sequence: Increase (inc), half double crochet (hdc) in the next 2 stitches. Repeat from to around. You’ll notice your coaster growing steadily, now reaching 32 stitches. Even spacing is crucial here to maintain a perfect circle.
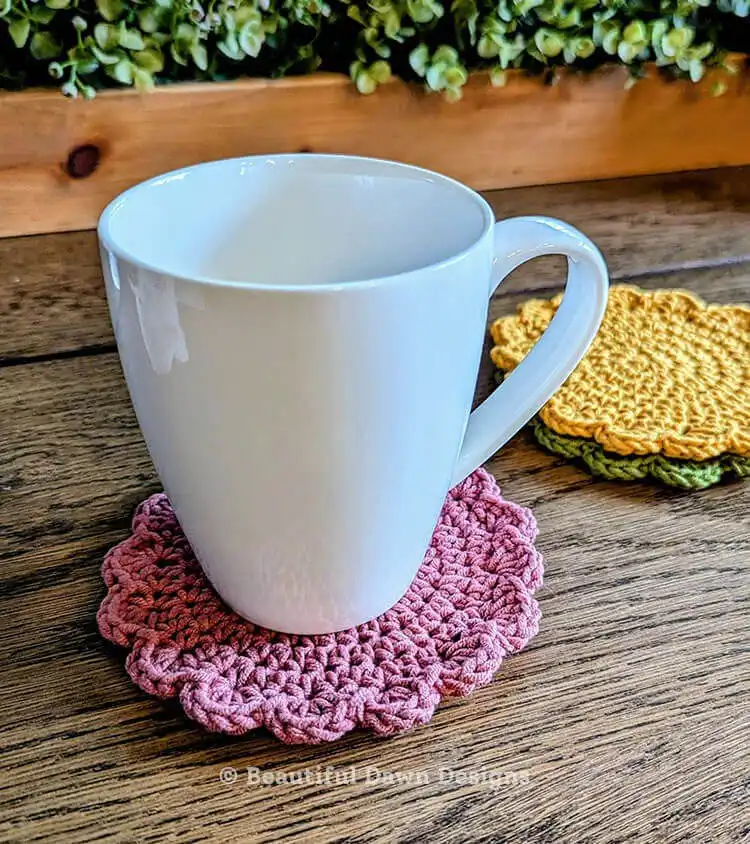
Round 5: For this round, the sequence is Increase (inc), half double crochet (hdc) in the next 3 stitches. Repeat this from to around your work. You should now have a total of 40 stitches. Your coaster is getting close to its final size and is perfect for holding a mug.
Round 6: In your final increasing round, follow this pattern: Increase (inc), half double crochet (hdc) in the next 4 stitches. Repeat from to around. At the end of this round, you will have 48 stitches. Now, slip stitch (sl st) to the first stitch of the next round; this is the only time you’ll join, creating a stable base for the decorative edge. If you enjoy making practical items, consider this easy gift idea for a free crochet dish scrubby pattern.
Round 7: This round creates a lovely scalloped edge. Chain 1 (ch 1), then single crochet (sc) in the same stitch. Then, Work 5 half double crochet (hdc) stitches in the next stitch (creating a shell), skip the next stitch, then slip stitch (sl st) in the next stitch. Repeat this sequence from to all the way around. This final round adds a beautiful decorative touch, making your coaster truly stand out.
Once you’ve completed Round 7, fasten off your yarn, leaving a tail of about 6 inches. Use your tapestry needle to expertly weave in all loose ends. A well-woven end ensures your coaster is durable and looks professionally finished. Now you have a beautiful, handmade coaster ready to use or gift! For organizing your yarn for more projects, try a crochet storage basket, or perhaps a more advanced project like a crochet shawl.
We hope you enjoyed this free quick and easy crochet coaster pattern! Don’t forget to save this pin to your Pinterest board for future reference and share it with your crafty friends. We’d love to see your creations in the comments below!


